Download presentation
Presentation is loading. Please wait.

1
ANDY WARHOL – POP ART PORTRAITS B.E.S.T Summer Program

2
OVERVIEW Students will be able to explore how contemporary and traditional art media can be used to create an expressive/defining self-portrait.

3
MATERIALS Overhead/Transparency Film (cut to 8x10”) (Heavy weight) White paper 8x10” Sharpie Pens/Markers Acrylic Paint Liquid glue/glue sticks Black Acrylic Paint Paint Brushes Acrylic gloss medium Digital Camera/ Basic Photo-editing software (PPT or Word) Word Processor Magazines Scissors Images of Andy Warhol’s portraits – use as example Teacher’s example (completed work)
 (Heavy weight) White paper 8x10 Sharpie Pens/Markers Acrylic Paint Liquid glue/glue sticks Black Acrylic Paint Paint Brushes Acrylic gloss medium Digital Camera/ Basic Photo-editing software (PPT or Word) Word Processor Magazines Scissors Images of Andy Warhol’s portraits – use as example Teacher’s example (completed work)")
4
DAY 1 Today, we will be able to talk about the artwork of Andy Warhol and how his work was a reflection of the times and culture and compare it to what we see in media today. We will then begin the planning of our own portraits by having our photos taken and brainstorming words that can be included in our portraits to express: goals/aspirations/the essence of who we are.

5
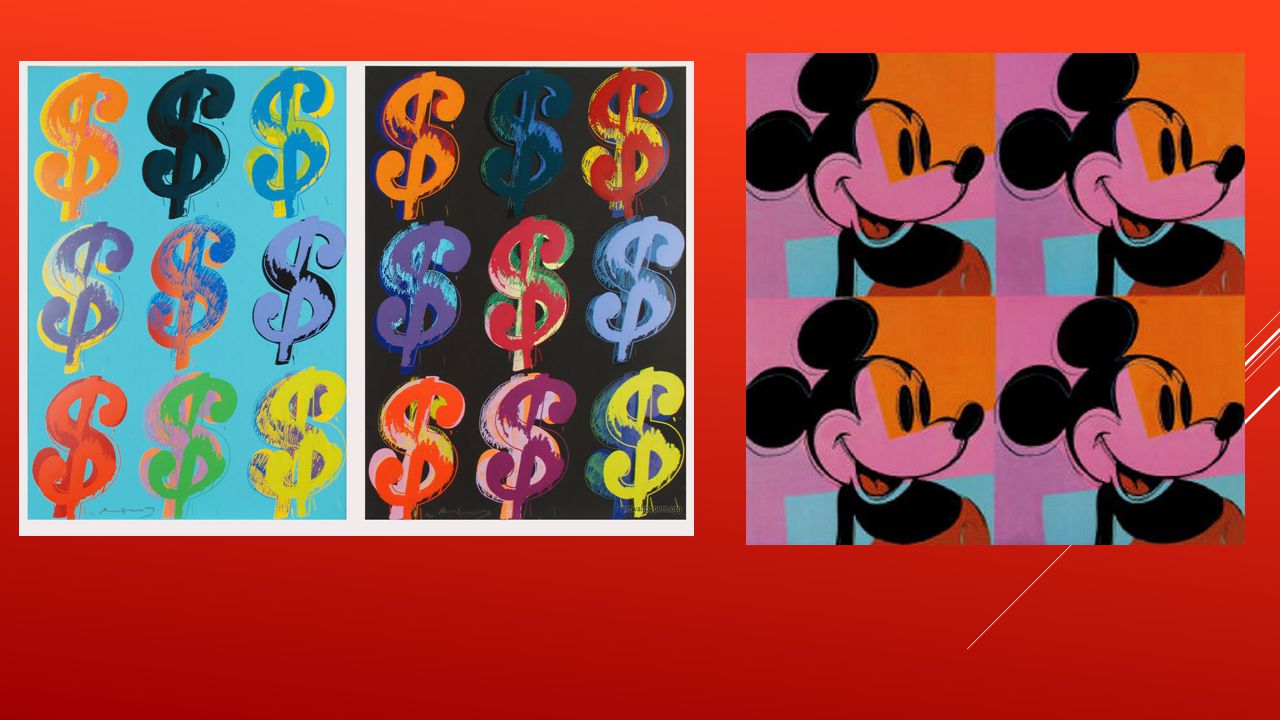
ANDY WARHOL Andy Warhol was part of the Pop Art movement. He was famous for exploring pop ular culture in his work, using images of brands like Coca Cola, Listerine and Campbell’s Soup

6
MARILYN, SILKSCREEN ON PAPER, 1967 He liked to use bright colors and silk screening techniques to mass-produce artworks based on publicity photographs of stars, like this famous image of Marilyn Monroe

7
MARILYN DIPTYCH, 1962 Silk-screening is a process which can create lots of artworks/prints that look the same. The design is separated out into individual colors, and the position of each color is marked out by a stencil. By pushing ink through the stencils one at a time, the colors build up to form a picture

8
CAMPBELL'S SOUP CANS, 1962

10
Resource: http://kids1.tate.org.uk/blog/who-is-andy-warhol/

11
WHAT TYPES OF THINGS DO WE SEE TODAY THAT ARE REPEATED OVER AND OVER IN THE MEDIA- PEOPLE? IMAGES? WORDS? MUSIC (LYRICS) ?
 .")
12
BRAINSTORM- SHARE IDEAS WITH SMALLER GROUPS & THEN SHARE OUT What kinds of words can you use to describe yourself? Line from a book or story? Song? Poem? Famous saying? Taking Photos Think about how you want to take your portrait? Do you have an expression? **Your portrait does not have to be of your entire body or face. A portrait can be anything that is of you- your hands, your shoes, etc……)
.")
13
CLEAN- UP/ REFLECTIONS

14
DAY 2

15
Today we will be able to use computer software in order to edit our portrait images so that can be printed. We will then use demonstrated transferring techniques in order to copy our portrait onto transparency. We will then collect words/images that we will use to collage onto our backgrounds.

16
MATERIALS Printed Image ( portrait) Transparency film Black Paint Sharpie Marker Newspaper/magazine clippings Types words/sayings White Paper for background
 Transparency film Black Paint Sharpie Marker Newspaper/magazine clippings Types words/sayings White Paper for background")
17
TRANSFERRING YOUR PORTRAIT ONTO TRANSPARENCY ( CONTINUED) 1. Line up your portrait and transparency- 2. paper clip them together 3. Use the sharpie marker to begin tracing your portrait onto the transparency- USE LINE ONLY 4. If your forget where you may have traced- carefully –lift up your transparency from the printed image 5) Begin to fill in your portrait with either the sharpie marker or black paint. Take your time- until you are done.
 Begin to fill in your portrait with either the sharpie marker or black paint. Take your time- until you are done..")
18
BACKGROUND- COLLAGE

19
WHAT IS COLLAGE?

20
COLLAGE IS…. A collage is a picture that is created by gluing items to a surface. The items are usually flat but collage can be made from raised items like dried pasta and seeds. The resulting image will still be relatively flat. HTTP://WWW.PAPERCRAFTSFORCHILDREN.COM/PAPER-CRAFT-ESSENTIALS/COLLAGE/

21
BACKGROUNDS- DEMONSTRATION ON HOW TO BEGIN ARRANGING MATERIALS Collect materials Plan first before you glue anything down onto your background Make sure anything you glue down is flat

22
WORK- TIME

23
CLEAN- UP/ REFLECTIONS

24
DAY 3

25
TODAY, WE WILL BE ABLE TO USE MIXED MEDIA MATERIALS AND PAINTING TECHNIQUES IN ORDER TO DESIGN OUR EXPRESSIVE PORTRAITS. Day 3

26
DEMONSTRATION ON HOW TO ATTACH YOUR PORTRAIT (TRANSPARENCY) ON TOP OF YOUR BACKGROUNDS
 ON TOP OF YOUR BACKGROUNDS")
27
WORK- TIME Gather your materials together Continue arranging gathered materials onto your backgrounds and using your choice of materials to continue working on your portrait By the end of today- your portrait should be glued on top of your background

28
CLEAN-UP/REFLECTIONS

29
DAY 4 LAST DAY!!!

30
TODAY, WE WILL BE ABLE TO USE MIXED MEDIA MATERIALS AND PAINTING TECHNIQUES IN ORDER TO FINISH DESIGNING OUR EXPRESSIVE/IDENTITY PORTRAITS. Day 4

31
TODAY, WE WILL: Complete our Portraits Conclusion/ Gallery Walk- What did you learn about yourself or someone else?

32
LAST DAY!!! Portraits You will have time to finish up your portraits Gallery Walk Take a look at the work others have done.

Similar presentations


>")


 was born in Pittsburgh, Pennsylvania. He helped to develop Pop Art, one of the best-known and most fun.>")


