Download presentation
Presentation is loading. Please wait.

1
Chapter 10: Wrapping and Taping Techniques

2
Routinely used various reasons
Provide compression to minimize swelling Injury prevention Provide additional stability to an injured structure Application requires skill While wrapping and taping skills are not difficult, trained individuals with advanced experience should perform taping/bandaging There are slight nuances to taping and variations to numerous taping techniques Techniques may work better for one athlete vs. another – adjustments can be made

3
Tape application can be time consuming
Taping supplies are often expensive and may not fit institution’s budget Tape application can be time consuming Tape vs. Bracing – effectiveness in providing support and preventing injury Should never be used as a substitute for rehabilitation Must work to correct deficiency/weakness and use tape/brace as an adjunct

4
Elastic Wraps Applied for a variety of purposes
Compression of acute injuries – limit swelling Secure dressing or ice pack Provide support to injured soft tissue structure Gauze, cotton cloth, elastic wrapping Length and width vary and are used according to body part and size Sizes ranges 2, 3, 4, 6 inch width and 6 or 10 yard lengths

5
Elastic Wrap Application
Hold wrap in preferred hand with loose end extending from bottom of roll Back surface of loose end should lay on skin surface Pressure and tension should be standardized Anchor is created by overlapping wrap Start anchor at smallest circumference of limb

6
Body part should be wrapped in position of maximum contraction
More turns with moderate tension vs. fewer turns with maximum tension Each turn should overlap by half to prevent separation Begin distally and move proximally Circulation should be monitored when limbs are wrapped

7
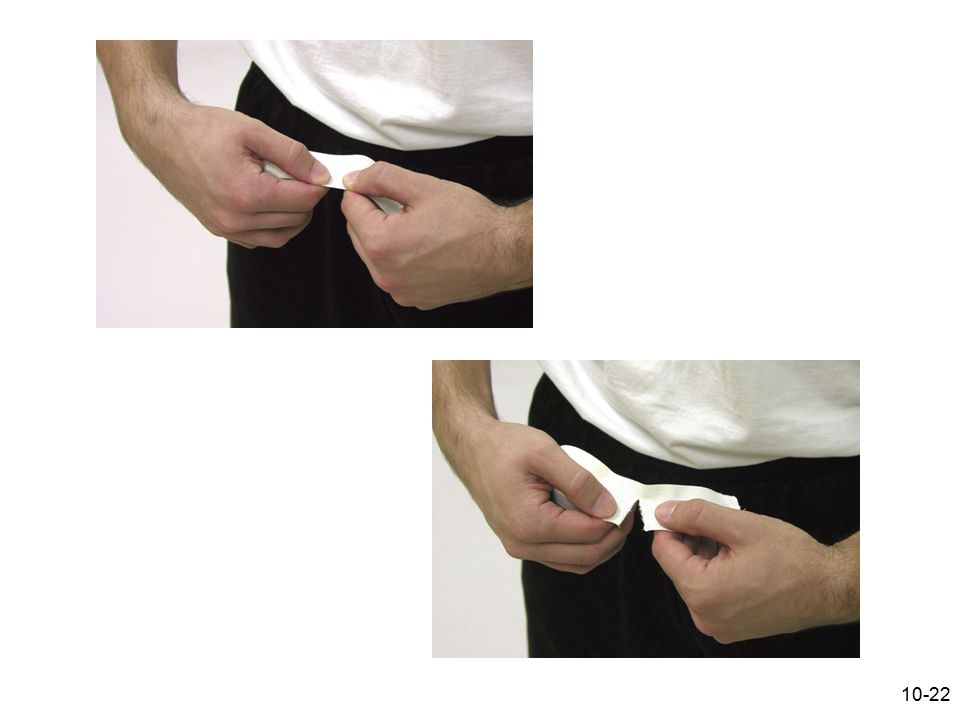
Elastic wraps can be used to provide support for a variety scenarios:
Ankle and foot spica Lower leg spiral bandage (spica) Groin support Shoulder spica Elbow figure-eight Hand and wrist figure-eight
 Groin support. Shoulder spica. Elbow figure-eight. Hand and wrist figure-eight.")
8
Ankle/Foot Spica

9
Lower Leg Spiral Wrap

10
Hip Spica & Groin Wrap

11
Shoulder Spica

12
Elbow Figure ‘8’

13
Hand/Fingers Figure ‘8’

14
Non-elastic White Adhesive Tape
Great adaptability due to: Uniform adhesive mass Adhering qualities Lightness Relative strength Help to hold dressings and provide stability and protection to injured areas Comes in varied sizes (1”, 1 1/2” , 2”)
")
15
Tape Grade Adhesive Properties
Graded according to longitudinal and vertical fibers per inch More costly (heavier) contains 85 horizontal and 65 vertical fibers Adhesive Properties Should adhere regularly and maintain adhesion with perspiration Contain few skin irritants Be easily removable without leaving adhesive residue and removing superficial skin
 contains 85 horizontal and 65 vertical fibers. Adhesive Properties. Should adhere regularly and maintain adhesion with perspiration. Contain few skin irritants. Be easily removable without leaving adhesive residue and removing superficial skin.")
16
Winding Tension Critically important
If applied for protection tension must be even

17
Elastic Adhesive Tape Storing Adhesive Tape
Used in combination with non-elastic tape Good for small, angular parts due to elasticity. Comes in a variety of widths (1”, 2”, 3”, 4”) Allows for expansion of body parts Muscle during contraction, foot during WB Storing Adhesive Tape Store in a cool place Stack so that the tape rests on its flat top or bottom to avoid distortion of the roll
 Allows for expansion of body parts. Muscle during contraction, foot during WB. Storing Adhesive Tape. Store in a cool place. Stack so that the tape rests on its flat top or bottom to avoid distortion of the roll.")
18
Preparation for Taping
Skin surface should be clean of oil, perspiration and dirt Hair should be removed to prevent skin irritation with tape removal Tape adherent is optional Foam and skin lubricant should be used to minimize blisters

20
Tape directly to skin for maximum support
Prewrap (roll of thin foam) can be used to protect skin in cases where tape is used daily Prewrap should only be applied one layer thick when taping and should be anchored proximally and distally
 can be used to protect skin in cases where tape is used daily. Prewrap should only be applied one layer thick when taping and should be anchored proximally and distally.")
21
Proper taping technique
Tape width used dependent on area Acute angles = narrower tape Tearing tape Various techniques can be used but should always allow athletic trainer to hold on to roll of tape Do not bend, twist or wrinkle tape Tearing should result in straight edge with no loose strands Some tapes may require cutting agents

23
Rules for Tape Application
Tape in the position in which joint must be stabilized Overlap the tape by half Avoid continuous taping Keep tape roll in hand whenever possible Smooth and mold tape as it is laid down on skin Allow tape to follow contours of the skin

24
Rules for Tape Application (cont.)
Start taping with an anchor piece and finish by applying a locking strip Where maximum support is desired, tape directly to the skin Do not apply tape if skin is hot or cold from treatments

25
Removing Adhesive Tape
Manual Removal Always pull tape in direct line with body One hand pulls tape while other hand presses skin in opposite direction Use of scissors and cutters Be sure not to aggravate injured area with cutting device

26
Using “Tape Remover” Waterproof tape
Alcohol-based liquid useful for removing adherent Works best when scrubbing with towel or cloth Wash tape remover off with soap and water Waterproof tape Swimmer, diver, or water polo player might require application of adhesive tape If waterproof tape is not available, duct tape can be used as an effective substitute

27
Common Taping Techniques

28
Arch Taping

29
Great Toe Taping

30
Toes

31
Closed Basket Weave Ankle Taping
Used for newly sprained ankles Also utilized for chronically weak ankles

32
Achilles Tendon (prevent Achilles over-stretching)
")
33
Knee Taping - Should never be used as replacement to rehabilitation

34
Elbow (Prevents elbow hyperextension)
")
35
Wrist (Protects and stabilizes badly injured wrist)
")
36
Thumb (Provide support to musculature and joint)
")
Similar presentations


 This adheres to body contours and its elastic properties mean that it can 'give' a little with.>")


