Download presentation
Presentation is loading. Please wait.

1
The Grid Method of Drawing

2
How to get started

3
Measure and mark hatch marks in 1 inch increments on the top, bottom left and right sides of your paper. Connect the hatch marks.

4
Repeat this process on your chosen image Measure and mark hatch marks in 1 inch increments on the top, bottom left and right sides of your paper. Connect the hatch marks

5
How To Begin Choose your image Create a grid on the picture Draw a correlating grid on your paper Re-create the image

7
Always begin by sketching lightly

8
A good example of student work

9
Choose an image of interest to you. Make it challenging, but not so difficult that it can’t be completed

10
Remember, the grid method is a technique designed to aid the artist in the accuracy of drawing, including size and placement of subjects within the picture plane

11
Two Examples of Anamorphic Grids

12
An anamorphic or altered grid

13
Anamorphic American Gothic

14
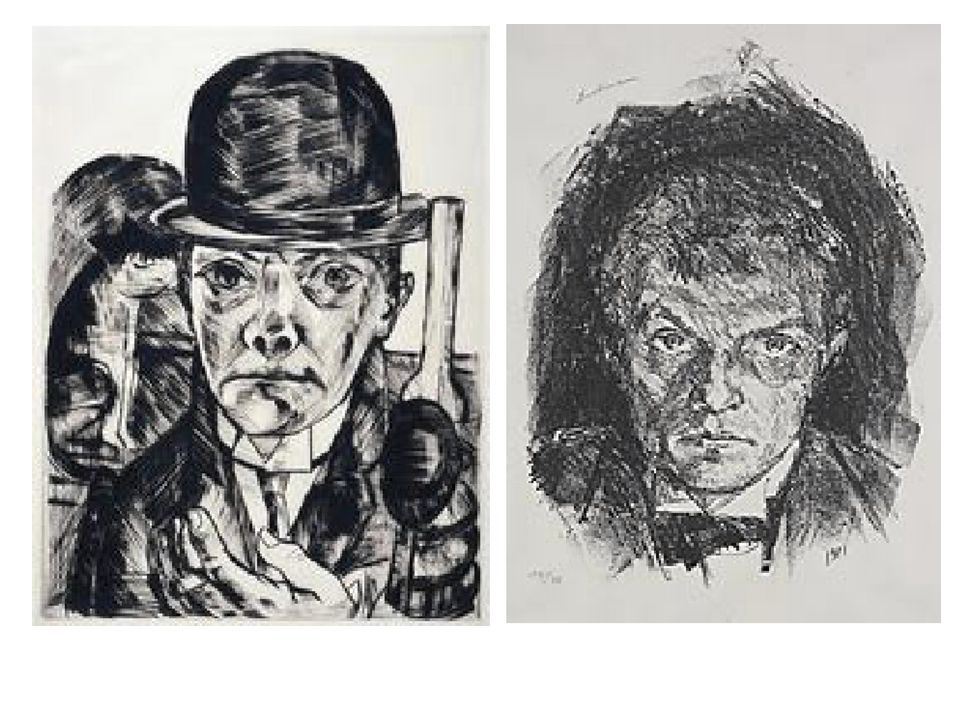
Two self-portraits by Max Beckmann

16
7 Daily Practices Report to class on time Bring a pencil Check the quarter assignment chart Check the weekly outcomes/objectives board Participate in the classroom activities Clean your work area and return to your seat Remain seated until the dismissal bell tones

17
Pay your Art I Course Fee of $25.00

Similar presentations