Download presentation
Presentation is loading. Please wait.

1
SETUP Chapter 6 Lead Abatement for Workers Course

2
Learning Objectives u How to keep lead out of the air u How to protect yourself from lead while you work u What a lead job looks like u How to clean the work room u How to set up the work room u How to set up a decontamination area u How to use the decontamination area 2

3
Working with Lead u All lead paint abatement methods create dust u Burning lead creates lead fumes 3

4
Rules for Lead Work 1. Keep dust levels down 2. Contain the work area 3. Follow good hygiene practices 4. Use personal protective gear 5. Clean up 4

5
Keep Lead Dust Levels Down! u Avoid methods that create a lot of dust and waste u Use a HEPA vacuum u Use wet methods 5

6
Contain the Work Area u Protect non-leaded surfaces from lead dust u This practice keeps lead dust from spreading u Keep everyone except workers away from the lead u Clean up will be easier 6

7
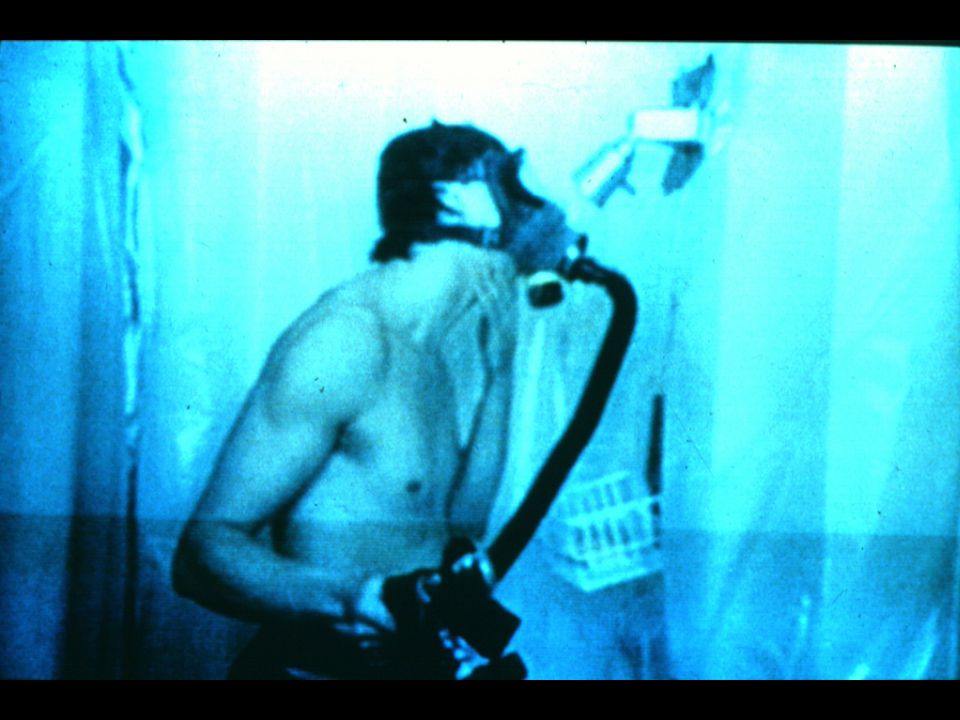
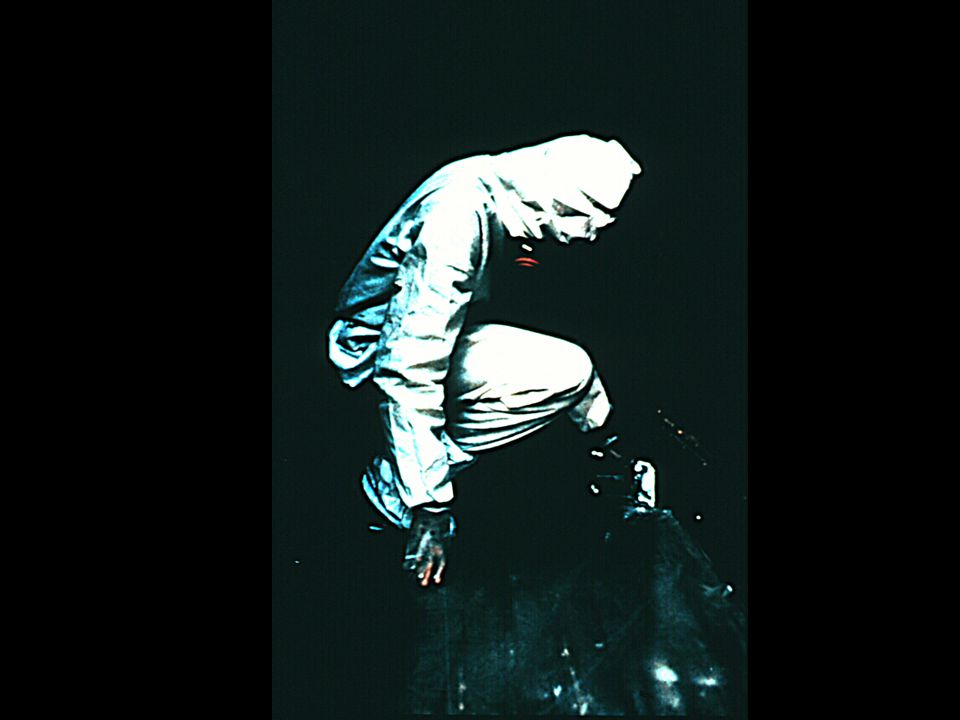
Use Protective Gear and Clothing u Respirators u Disposable coveralls u Nonskid booties u Gloves u Protective eye gear DO NOT take lead dust home on work clothes! 7

8
~~~ CAUTION ~~~ Don’t take lead dust home! 8

9
Follow Good Hygiene Practices u Wash your hands and face each time you leave the work area u Washing up before leaving the work area prevents ü Getting lead in your mouth ü You from poisoning yourself NEVER eat, drink, smoke or put on makeup in the work area! 9

10
Cleanup u Prevents further exposures to lead u Protects you while you work u Keeps harmful dust levels down u Prevents the spread of lead dust Good cleanup is required for an abatement job to pass the final inspection. 10

11
Setup u A good setup is very important on an abatement job u Before doing any work find out ü If you will need protective gear ü If you will need a respirator u Check State regulations for work area preparation 11

12
Setup Check List u Put up warning signs. ü Only people working on the lead-paint abatement should enter the job site ü Occupants may return after the job passes a final clearance inspection ü Warning signs should be posted at the exits and entrances of areas to be abated 12

13
OSHA Warning Sign WARNING LEAD WORK AREA POISON NO SMOKING, EATING, OR DRINKING 13

14
OSHA Warning Sign (Spanish) PELIGRO PLOMO EN ESTE AREA ES VENENOSO NO FUMAR, TOMAR, O COMER 14
 PELIGRO PLOMO EN ESTE AREA ES VENENOSO NO FUMAR, TOMAR, O COMER 14")
16
Setup Check List u Identify work site safety hazards ü Identify hazards before starting the job ü Post warning signs that say “DANGER” until the problem is repaired 16

19
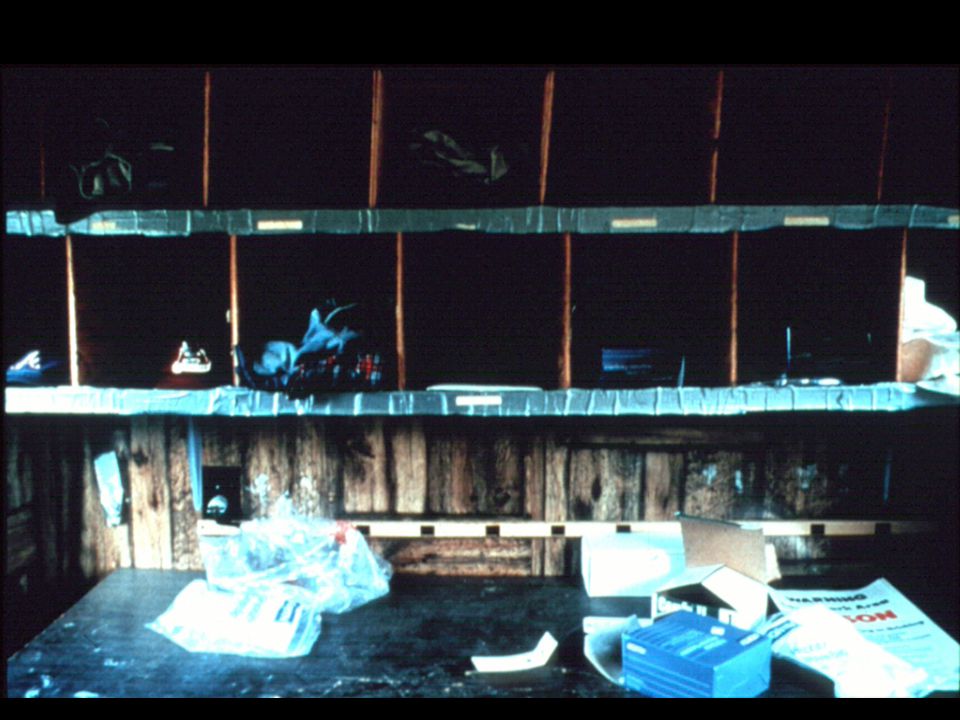
Setup Check List u Clean and remove anything you can move ü Chairs, desks, computers, bookcases, office supplies, paintings, cooking pans, books, lamps, tables, etc. u Clean, cover, and seal the things you cannot move ü Radiators, installed cabinets, etc. 19

22
Setup Check List u Shut off and seal off ventilation system ü Lead dust goes where air goes ü Lock the electrical box and label it with a tag DANGER DO NOT OPERATE 22

24
Setup Check List u Provide ventilation (airflow) for workers ü Negative air machine ü Makeup air 24
 for workers ü Negative air machine ü Makeup air 24")
26
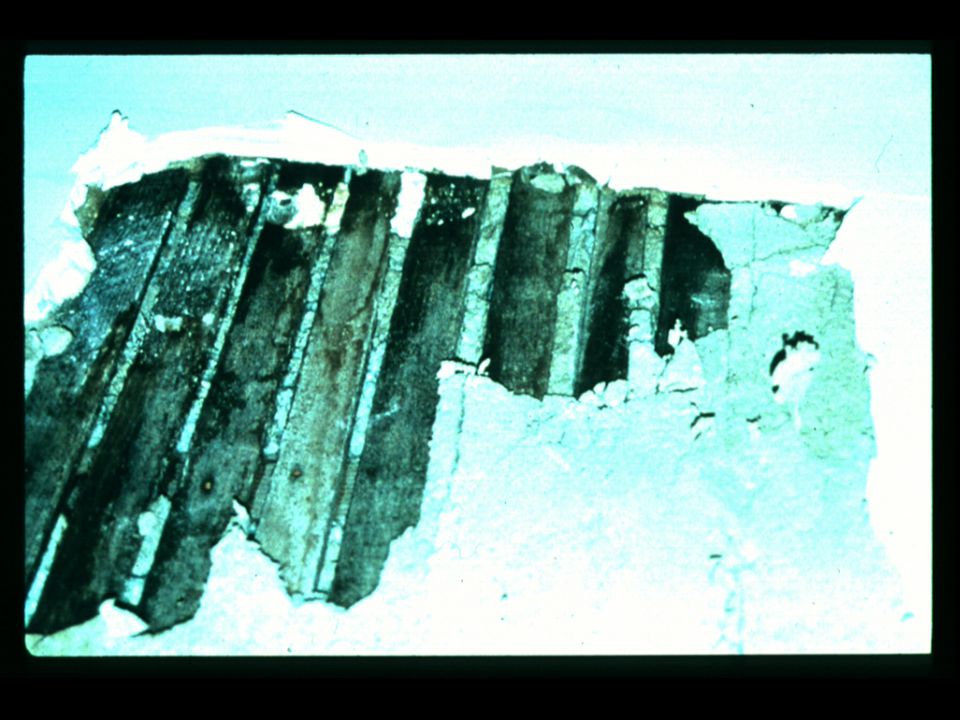
Setup Check List u Do necessary repair work ü Collapsed stairways, ceiling floors, etc. ü Moisture damage ü Damaged plaster ü Water systems 26

28
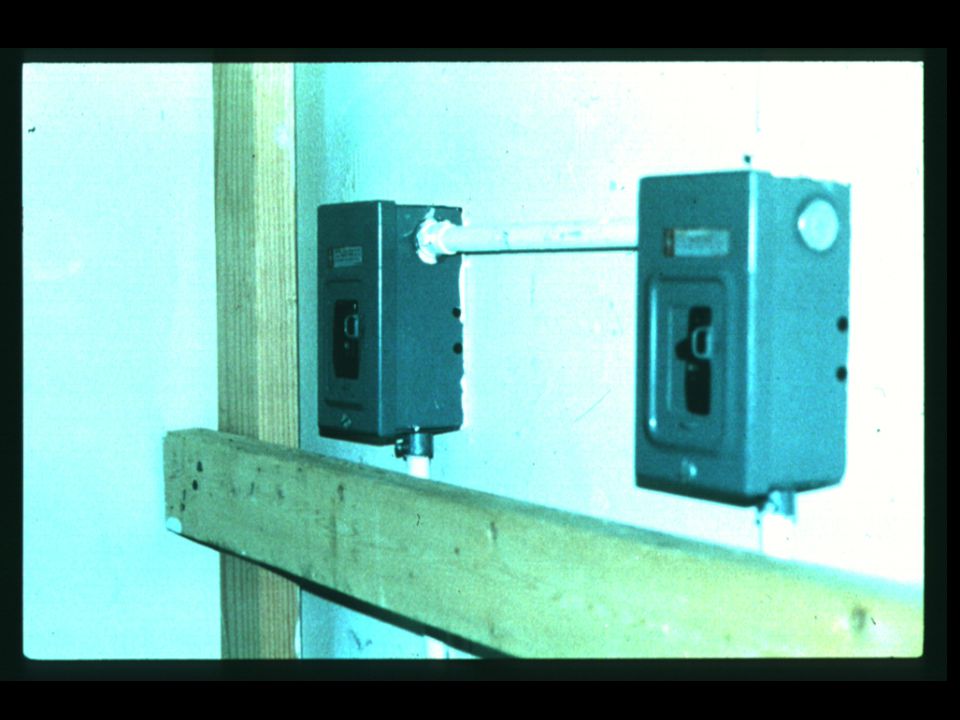
Setup Check List u Shut off and lock out electricity ü Small jobs ü Large jobs ü Turning off wall switches is not enough ü Temporary power DANGER DO NOT OPERATE 28

30
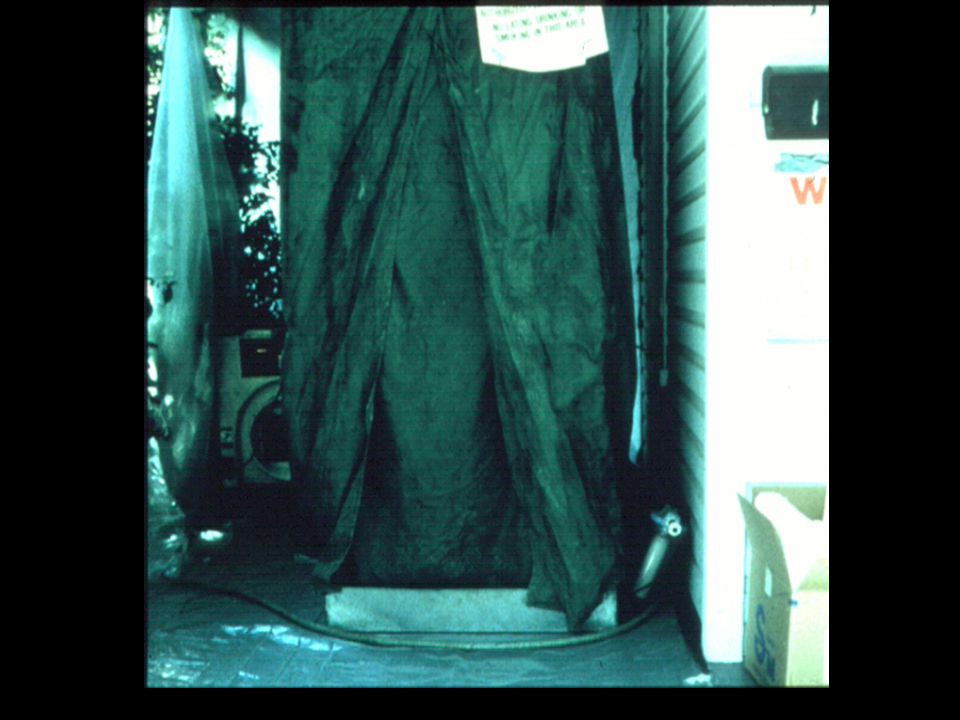
Setup Check List u Setup the decontamination and wash areas ü Enter and exit the work area through the decon ü Setup decon in a clean area ü Large-scale jobs Dirty room; shower; clean change area ü Small-scale jobs Must have separate clean change and storage area 30

35
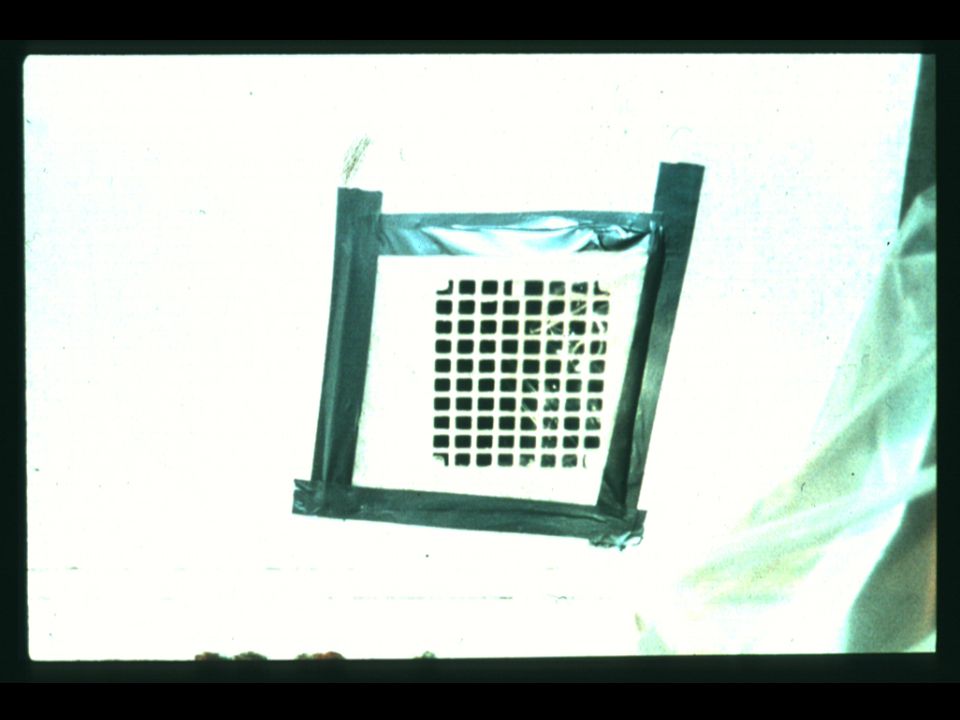
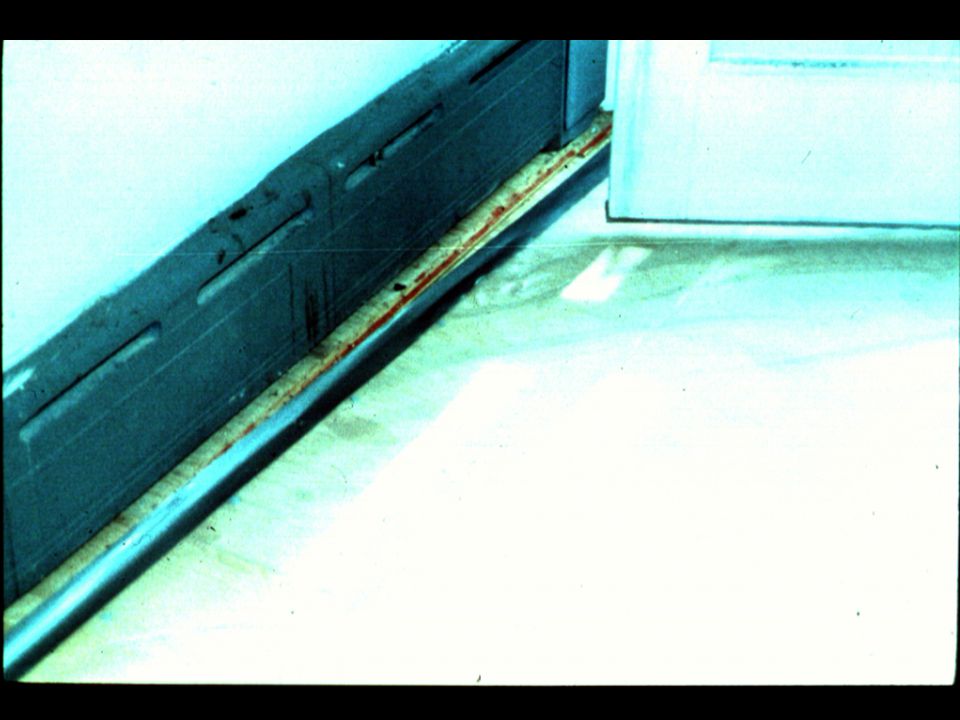
Setup Check List u Mop and seal the floors ü Cover dry floor with two layers of 6 mil poly ü Look for tears in the poly as you work ü Repair rips as soon as you notice them 35

41
Setup Check List u Bring in equipment and tools ü Ensure that needed tools are in the work room before abatement begins Cleaning equipment Negative air machines Scaffolding Ladders 41

43
Setup Check List u Seal off the work site ü Prevents people from passing through accidentally ü Must be dust tight ü Seal may not be broken until Abatement is complete, AND Area passes final clearance 43

44
Setup Check List u Separate “dirty work” area from the rest of the work area ü Helps control the transfer of dust. ü Put up an air lock ü Seal vents ü Do not remove debris through “cleaner” areas ü Avoid tracking dust 44

47
Setup Check List u Set up locked storage space for waste. ü Must not be accessible to children or animals ü Put up a warning sign that says: “DANGER LEAD WASTE” ü If applicable, inform rental company ü Lay a path of poly to storage space 47

50
Setup Check List u Secure the work site ü Helps to prevent Vandalism Loss of property ü Keeps people from entering the contaminated area ü Lock doors and windows 50

55
Setup Check List for Interim Controls u Warning signs and mark off area u Keep people out of the work area u Wear protective gear as appropriate ü Label rugs and send them out to be cleaned u Clean and seal what remains in the area u Turn off HVAC 55

56
Setup Check List for Interim Controls u Seal air vents and openings u Place layers of poly at least 6 feet in every direction from work area u Bring all tools and equipment into the work area u Seal off work site from the rest of the building 56

57
These are not Interim Controls u Stripping u Demolition u Paint removal u Component replacement Use a full abatement setup for these activities. 57

Similar presentations


 for employee training.>")


