Download presentation
Presentation is loading. Please wait.

1
ARCHIVISTS’ TOOLKIT WORKSHOP Resources Module (2) UGA March 13, 2008
 UGA March 13, 2008")
2
WORKING AT THE COMPONENT LEVEL Collections can be divided into series, subseries, files, items etc. AT allows description of each of these levels and offers the possibility of very detailed description AT uses the “Child” and “Sibling” metaphors to add components to a finding aid

3
EXERCISE 5a Adding Child/Sibling Components

4
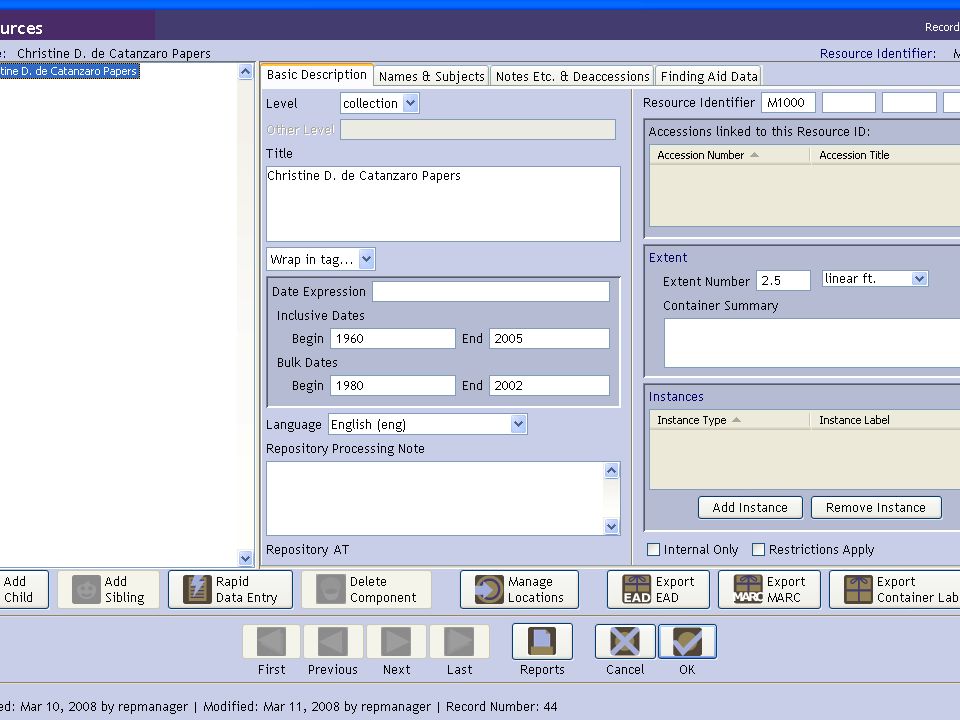
EXERCISE 5a – INSTRUCTIONS (1) Open the Collection Level description that you created in Exercises 3 and 4 On the left side of the screen, click on the collection title NB: You are at the Collection level At the bottom left of your screen, click on the “Add Child” icon A new screen will appear with 3 tabs at the top
 Open the Collection Level description that you created in Exercises 3 and 4 On the left side of the screen, click on the collection title NB: You are at the Collection level At the bottom left of your screen, click on the Add Child icon A new screen will appear with 3 tabs at the top")
8
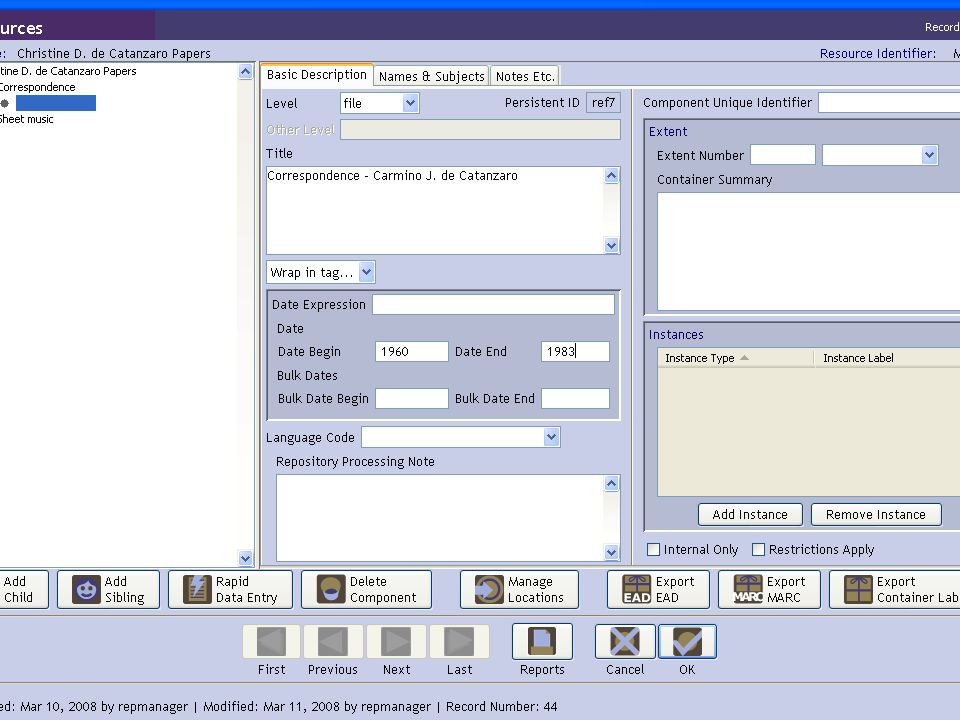
EXERCISE 5a – INSTRUCTIONS (2) Select a Level from the drop-down menu for the record. (Your level will probably be: Series, File, or Item, depending on your collection.) Enter a Title for the component (Series Title/File Title, Item Title). Enter either a Date Expression or a Begin Date and End Date.
 Enter a Title for the component (Series Title/File Title, Item Title). Enter either a Date Expression or a Begin Date and End Date..")
10
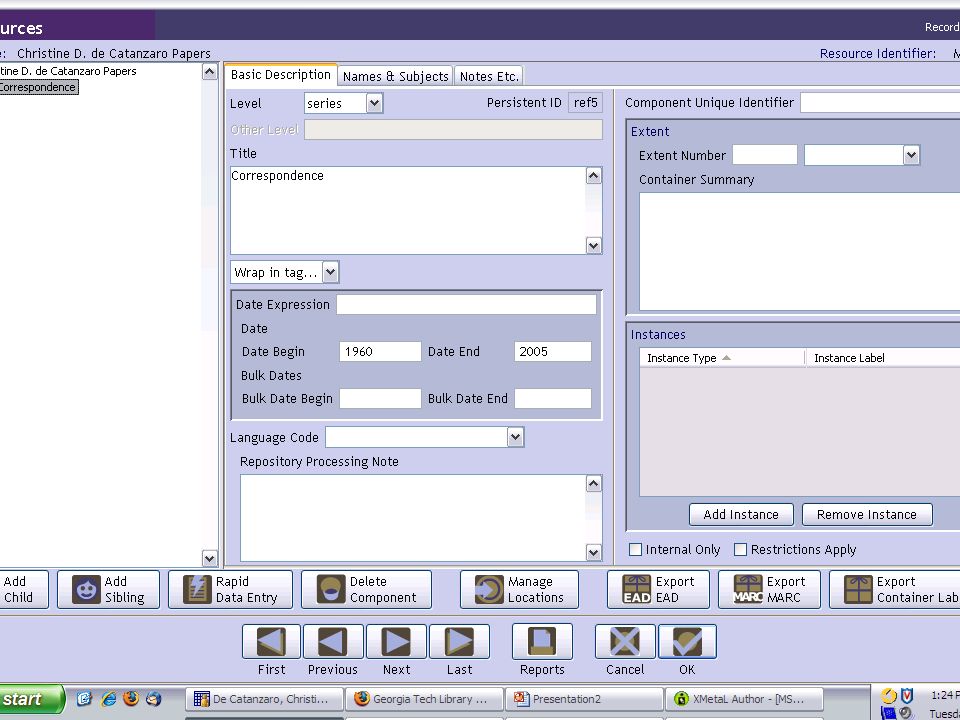
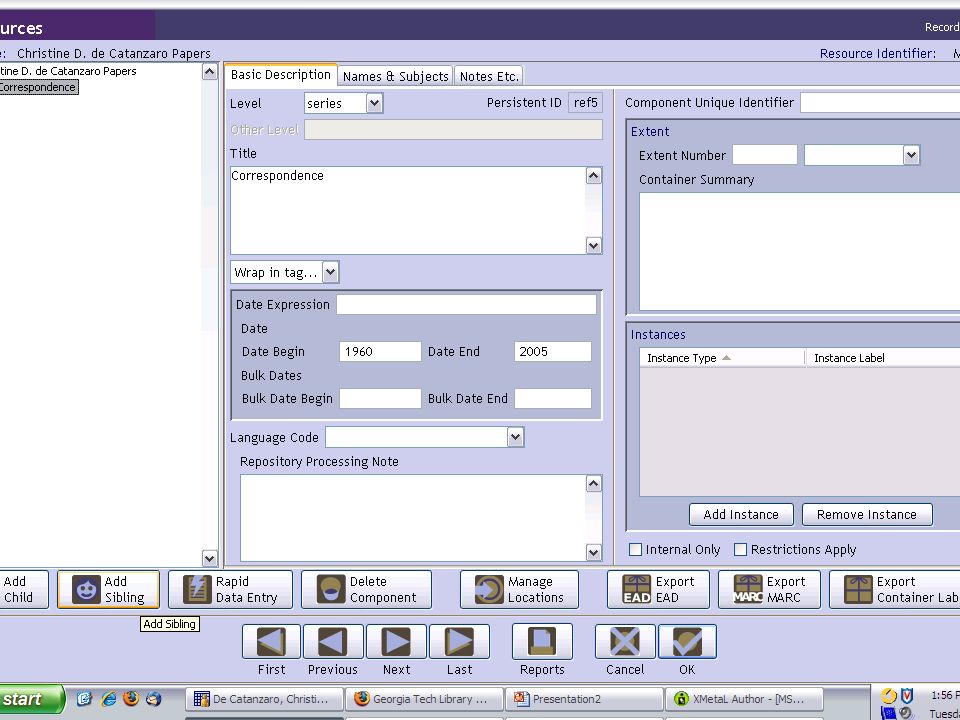
EXERCISE 5a – INSTRUCTIONS (3) Enter a second component (either a second series, file, or item) at the same level as the first component: –On the left side of the screen, click on the title of the first series, file, or item. Make sure it is highlighted –Click on the “Add Sibling” icon

12
EXERCISE 5a – INSTRUCTIONS (4) For the second component level: –Select a Level for the record –Enter a Title –Enter a Date Expression or a Begin Date and End Date
 For the second component level: –Select a Level for the record –Enter a Title –Enter a Date Expression or a Begin Date and End Date")
15
EXERCISE 5a – INSTRUCTIONS (5) Click “OK”
 Click OK")
16
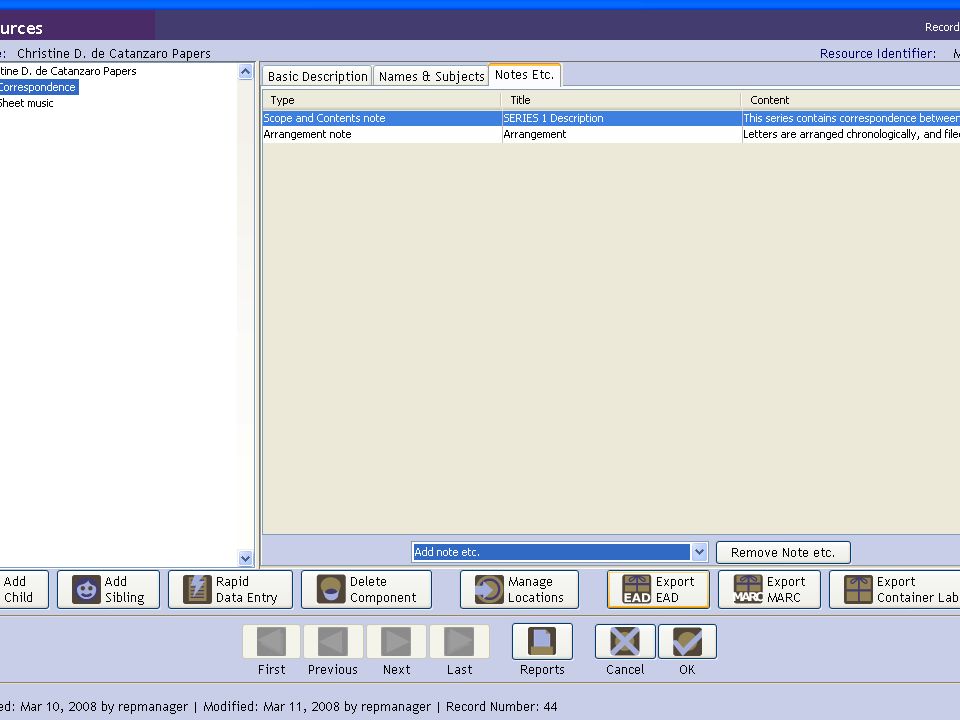
EXERCISE 5b – INSTRUCTIONS (1) Add a Child record to one of the components: –On the left side of the screen, click on the component you want to select –Click on the “Add Child” button –A new screen should appear for you to enter the Level, Title, and Date Expression/Begin and End Date
 Add a Child record to one of the components: –On the left side of the screen, click on the component you want to select –Click on the Add Child button –A new screen should appear for you to enter the Level, Title, and Date Expression/Begin and End Date")
18
EXERCISE 5b – INSTRUCTIONS (2) Adding an instance –The file created on the previous slide is in a folder numbered Box 1, folder 1 –To record this information click the “Add Instance” button (at right of screen, toward the bottom) –A screen will appear asking what type of instance you want to create –For a folder, select “Mixed materials”
 Adding an instance –The file created on the previous slide is in a folder numbered Box 1, folder 1 –To record this information click the Add Instance button (at right of screen, toward the bottom) –A screen will appear asking what type of instance you want to create –For a folder, select Mixed materials")
20
EXERCISE 5b – INSTRUCTIONS (3) A new screen will appear Enter box/folder information on this screen Click “OK”
 A new screen will appear Enter box/folder information on this screen Click OK")
23
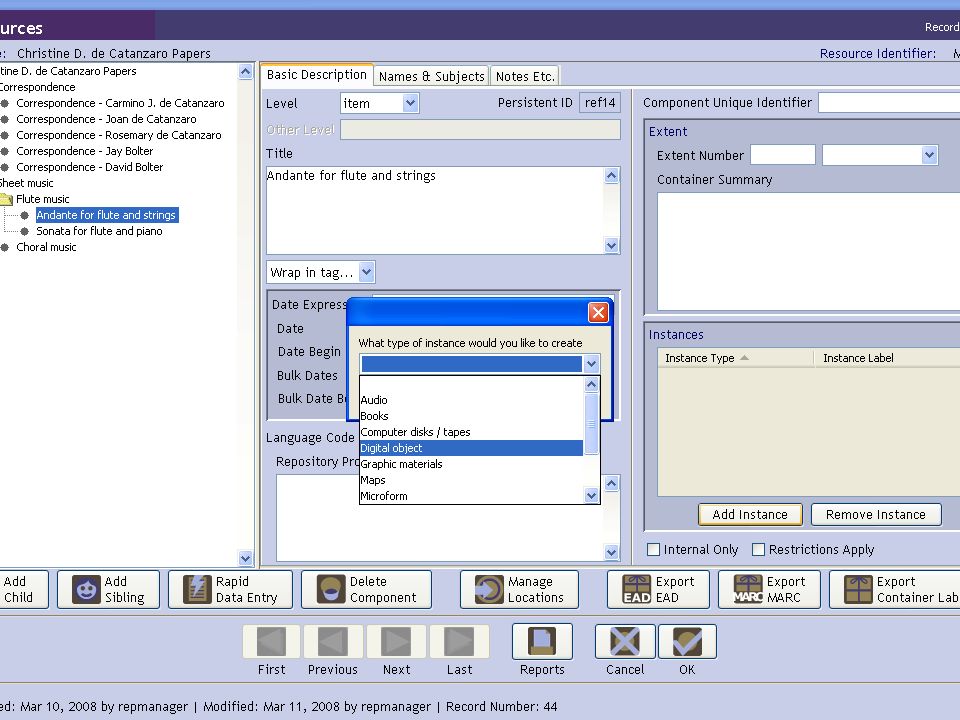
EXERCISE 5c – INSTRUCTIONS (1) Adding a digital object –Click the “Add Instance” button at the right toward the bottom of the screen –A screen will appear asking what type of instance you want to create –For a digital object, select “Digital object”
 Adding a digital object –Click the Add Instance button at the right toward the bottom of the screen –A screen will appear asking what type of instance you want to create –For a digital object, select Digital object")
25
EXERCISE 5c – INSTRUCTIONS (2) A new screen will appear on which you can record the data you need for your export Note that you can export METS and MODS for digital object records
 A new screen will appear on which you can record the data you need for your export Note that you can export METS and MODS for digital object records")
27
OTHER FEATURES OF AT RESOURCE MODULE Rapid data entry is available to enter all data, including Box/folder information, on one screen A “Delete Component” button is available Managing locations is also available from the Resource Module

Similar presentations


>")


