Download presentation
Presentation is loading. Please wait.

1
Mountain Navigation

2
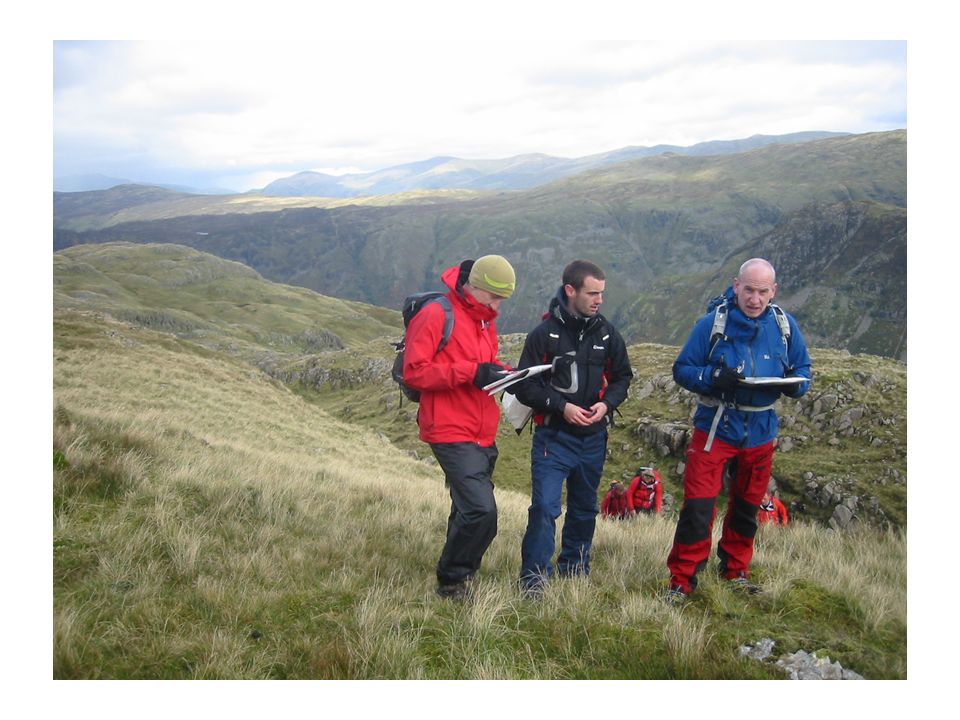
Strategies for safe navigation Errors do occur. Re-location. The navigator should have a number of strategies to allow the recognition of errors and recovery to a safe situation. E.g. Cross checking with group members. Bearings and timings on the move. Feeling the ground. Recognising terrain underfoot. Using contours. Looking carefully at map detail. Direction of walls, streams, ridges. Aspect of slope.

4
Where am I? Where am I going? What am I doing here?

5
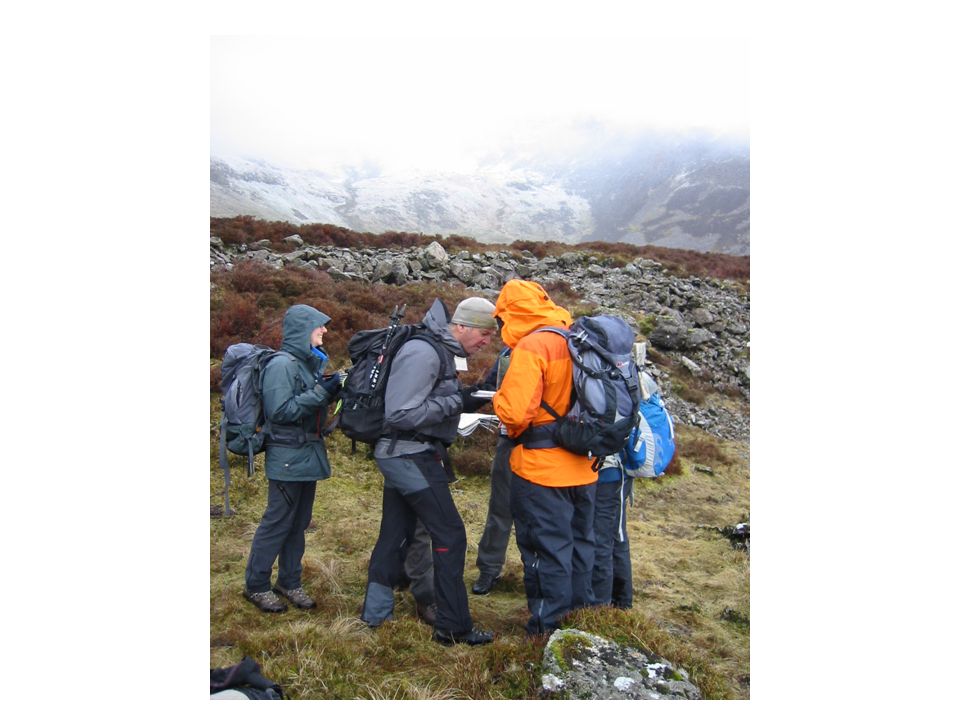
Setting the Map Lay the map on the ground with the North aligned to North on the land Use local features if visible to relate to the map Use a compass aligned to the grid lines on the map in poor visibility

6
Orientation 1. Your surroundings. Uphill or down hill? Looking at the map, where you are relative to: Linear features such as Roads, Rivers, Railways, Fences, Ridges, Crags. Area features such as Settlements, Woodland, Bridges, Obvious Landscape Features – Moors, Quarries, Lakes. Spot features such as Buildings, Rocks, Knolls, Peaks, Cols, Junctions, Bridges.

9
Orientation 2. Yourself. Confirm your route, your general direction of travel for the route, your specific direction of travel for the leg. Set the map and / or use your compass. What can you see? What are the contours and slopes like? The third dimension!

10
Orientation 3. Get the compass out! Bearings and Distance? Which Direction? How far to where? How long will it take? Stay Happy! Don’t be afraid to ask for assistance.

11
The days journey Average Speed 4km per hour plus time for rests. Break the journey into sections or “legs”. Use 1.5 minutes per 100meters. 15 minutes per kilometer. Work out the height gained or lost. Use 1 minute per 10 metres of ascent. Add time for rests. So we can go from one point (Grid Ref.) to another (Grid Ref.) and calculate the total journey.
 to another (Grid Ref.) and calculate the total journey..")
13
Grid references There are numbers along the edges of your map. Horizontal ones are Eastings (going East) Vertical ones are Northings (going North) These create grid squares on the map 1km by 1km. Each sheet has a letter reference related to a 100km square used in the survey of the whole country. E.g. NY. Find this on the legend on the map. Use the Letter reference then Eastings then Northings numbers E.G NY 311 270 Knowe Crags This is a six figure Grid Reference. Each grid square can be subdivided by ten for readings that do not fall exactly on the lines.
 Vertical ones are Northings (going North) These create grid squares on the map 1km by 1km. Each sheet has a letter reference related to a 100km square used in the survey of the whole country. E.g. NY. Find this on the legend on the map. Use the Letter reference then Eastings then Northings numbers E.G NY Knowe Crags This is a six figure Grid Reference. Each grid square can be subdivided by ten for readings that do not fall exactly on the lines..")
14
A Grid Reference This would be NH 820 750 or NH 826 759

15
Ready Reckoner

16
Distance and Timing Macro Navigation. Used to gauge an approximate time scale for a journey. More exact timing can be judged by breaking the route up into sections or legs and looking more closely at terrain and height gained (see Micro Navigation) E.g. Length of route say 16km Depending on fitness speed at 4km per hour = 4 hours Plus added time for stops etc.= 1 hour Total time required = 5 hours
 E.g. Length of route say 16km Depending on fitness speed at 4km per hour = 4 hours Plus added time for stops etc.= 1 hour Total time required = 5 hours.")
17
Distance and Timing Micro Navigation. Used for pinpoint accuracy. Employs all of the skills of an accomplished navigator in any conditions. Break down legs into manageable sizes, dependant on terrain and conditions, usually no more than 800 metres but often around 100 to 300 metres. Requires a working knowledge of the speed of travel in varying conditions say between 1.25 and 1.5 minutes per 100 metres plus added time per 10 metres height gain, say 0.5 to 1 minute. E.g. On easy terrain. 300 metres distance at 1.5 minutes per 100 meters = 4.5 minutes 50 metres height gain 5 x 0.5 minutes= 2.5 minutes Total time required= 7.0 minutes Pacing. How many paces per 100 metres?

18
Measuring Distance Measuring distance. Romer or millimetres? A Romer (on the compass baseplate) is less accurate but saves the mental maths. 1:25000 scale. Using millimeters divide by 4, 1:50000 divide by 2 E.g. 24 millimeters divide by 4 = 6 = 600 meters or 0.6km 24 millimeters divide by 2 = 12 = 1200 meters or 1.2km
 is less accurate but saves the mental maths. 1:25000 scale. Using millimeters divide by 4, 1:50000 divide by 2 E.g. 24 millimeters divide by 4 = 6 = 600 meters or 0.6km 24 millimeters divide by 2 = 12 = 1200 meters or 1.2km.")
19
Using a compass The compass will be used for taking bearings off the map and, in reverse, taking bearings off the ground. Allowance is required for magnetic variation. Care must be taken to ensure that the compass bezel is orientated correctly to grid north on the map especially if the map is being used “set” or orientated to the ground. Lay the edge of the baseplate along your bearing Orientate the lines under the bezel with the blue grid lines on the map to North. Read the bearing and add magnetic variation. Line up the red end of the needle with North on the compass. Follow the direction of travel arrow on the baseplate.

20
Silva Type 4 Compass

21
Silva Field Compass

22
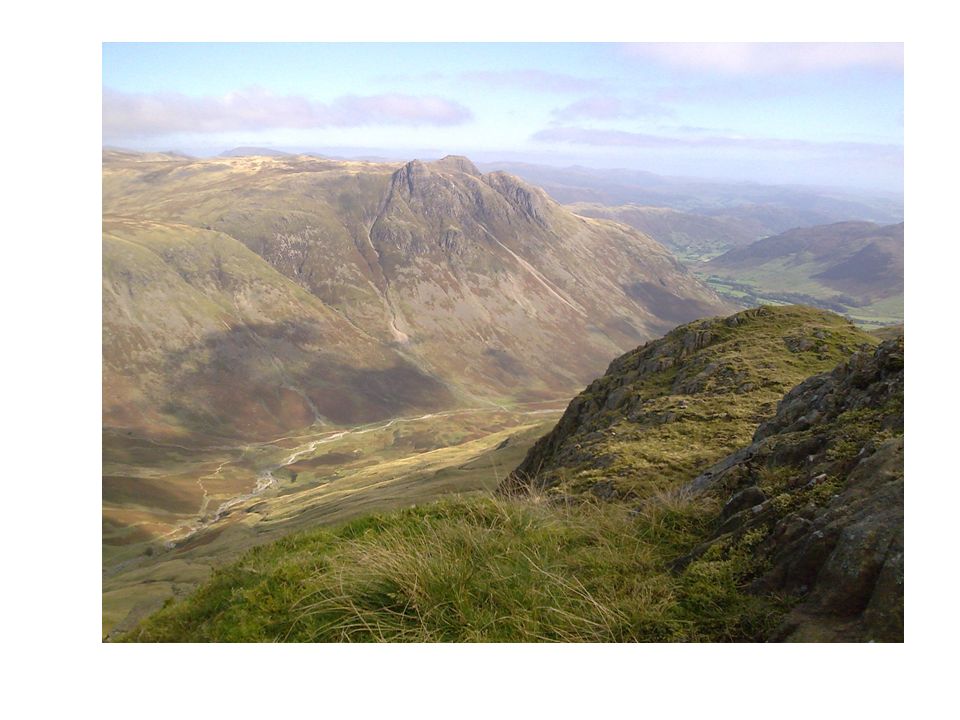
The Navigator’s Toolbox A clear head! Delegate support Pause for thought. Verbalise the problem. Contours & Height Interval Shape Concave Convex Steepness

23
The Navigator’s Toolbox Linear features Tracks and paths Walls Rivers and streams Roads Railways Forest edges Ridges Crags

24
The Navigator’s Toolbox Area features Buildings Woodland Lakes and Tarns Moorland Limestone pavement

25
The Navigator’s Toolbox Spot features Cairn Building Knoll or ring contour Rock Tarn Bridge Junction

26
The Navigator’s Toolbox What else? Running water Wind Sun Sound Moon Moss Snow People

27
The Navigator’s Toolbox And finally! Map and Compass GPS Smartphone

28
END

Similar presentations


 Map features and grid references, direction.>")


