Download presentation
Presentation is loading. Please wait.

1
Videography Process: 3 Phases of Making a Successful Video Lesson 2

2
Put your thinking caps on! What steps or phases would you go through to create a Public Service Announcement video? From start to finish

3
3 Phases of Production Pre-production Production Post-production

4
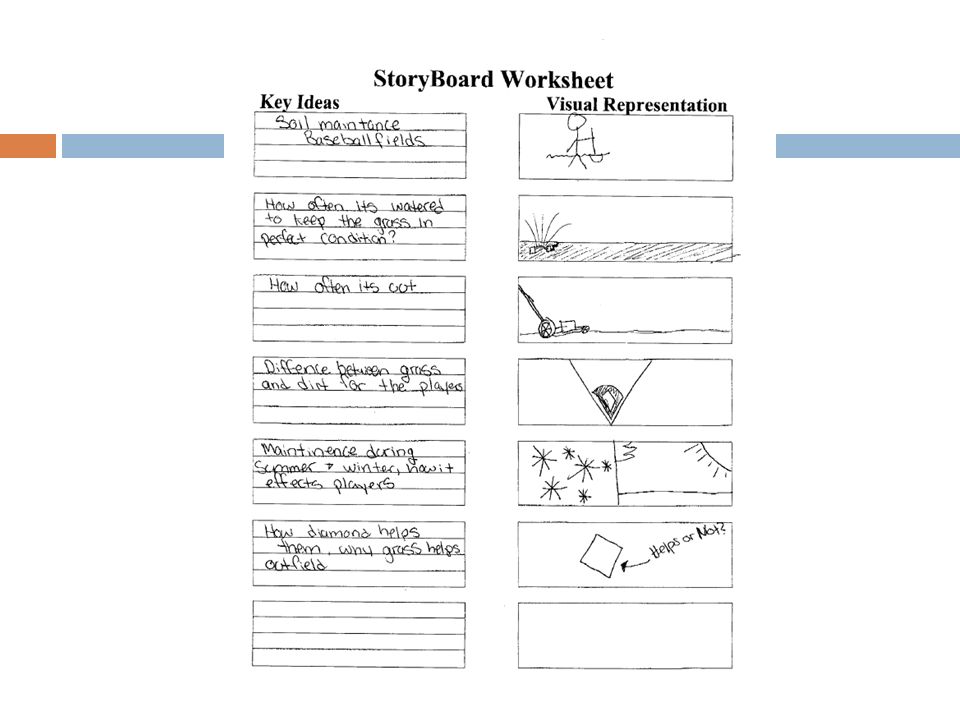
1 st Phase: Pre-production This phase includes: Research Scripting/storyboarding Graphic/audio/video clips Steps 1. Choose crew, brainstorm ideas, plan theme/sets/props/costumes. 2. Do research, write script, create storyboard, and create signage.

5
Pre-Production…the most crucial part.

7
2 nd Phase: Production This phase includes: Camera Sound Talent Transitions Videotaping Steps 1. Direct, rehearse talent, arrange set, lights, sound 2. Action! Broadcast/videotaping

8
Production Footage The footage collected by the video camera during this stage is unedited and know as raw. Raw footage is transferred from the camera to the computer for editing. You will learn about capturing and editing in post-production.

9
Production Tips Practice with the equipment and play your video back to ensure that the equipment is functioning properly. Editing cannot correct filming errors. So re-do the shot immediately. Errors that cannot be corrected Bad sound Out of focus footage Having a date on everything you recorded Unsteady camera work

10
Production Tips Keep your footage list handy during filming. Create a log for the video you capture. Good footage or important information This will make post-production easier. Use the video techniques previously presented.

11
3 rd Phase: Post-Production This phase includes: Review Editing Steps 1. Create camera log, obtain extra shots/dubs, graphics, sounds, etc. 2. Edit video.

12
POST-PRODUCTION EDITING

13
Purpose Editing involves Combining the Video Transitions Voice-over and Music All in a way that presents your message to your audience in a creative and effective way.

14
Using Software You will use Microsoft MovieMaker to edit this project. Using the software you can import your video footage, make edits, add effects, and export in a format that is viewable by others.

15
Editing Terms Capture The process of moving the footage from the camera to a computer. Shot A specific subject filmed from a certain angle. You should mark the shots that you want to use in the final project. Timeline The location where you place your shots in order and connect them together.

16
A Simple Outcome In the simplest form a set of shots in the timeline will produce a movie, but adding additional features can enhance the overall quality!

17
Enhancing Videos Audio The sounds, voices or music that accompany raw footage or are part of the edited video. Your video will have audio even if no one is on screen speaking. During editing, you can split the audio and video and replace the raw audio or incorporate additional audio that will blend with the raw audio. You can use the following audio to enhance your video. Public domain music Voice over Sound bites

18
Enhancing Videos Transitions A feature that creates smooth movements from one shot to the next. Transitions can also create interest and range from simple or fancy. Credits The introductory slides that setup the video. The end slides that give credit to the film crew and any other contributors.

19
Post-Production Editing Tips Make movie settings fit the output device. Remove any clips that do not add to the message. Mistakes Pauses Footage that is good, but does not support the message. Crop wisely

20
LET’S REVIEW Production Phases

21
Review Pre-production Get your ideas together, organize all details with your group. 1 st Phase of Production…

22
Review Production This is when all the great ideas get put into action. Take shots, interview people, etc. 2 nd Phase of Production…

23
Review Post Production This is where you review all that you have done and edit your material! 3 rd Phase of Production…

24
Now What? Once your project is edited, you will need to render the footage. The raw footage must be compressed to decrease the overall file size. Rendering is the process of compressing and packaging the video footage in a format that can used by players like Windows Media or QuickTime.

25
Common File Formats Determine which player the video can be viewed using. Formats .wmv A Microsoft format that plays using Windows Media Video. The file is highly compressed and usually looks grainy when viewed, but is small enough to send via e-mail. .mov An Apple format that plays using QuickTime Movie. The quality is great, but the size is large.

26
Sharing Your Finished Video E-mail Public Domain YouTube accepts QuickTime file format. CD/DVD

27
Review Get in your groups. Create a checklist. Divide list into pre-production, production, post- production. Under each phase include 3-5 tasks you will need to accomplish for your video project.

28
Resources Mobile Classroom Project. Videography. University of Arkansas. Retrieved from http://aeed.uark.edu/5812.htm on 2 April 2012.http://aeed.uark.edu/5812.htm Presentation adapted by Mona Lincoln from Videography Lesson 1

Similar presentations


>")


