Download presentation
Presentation is loading. Please wait.

2
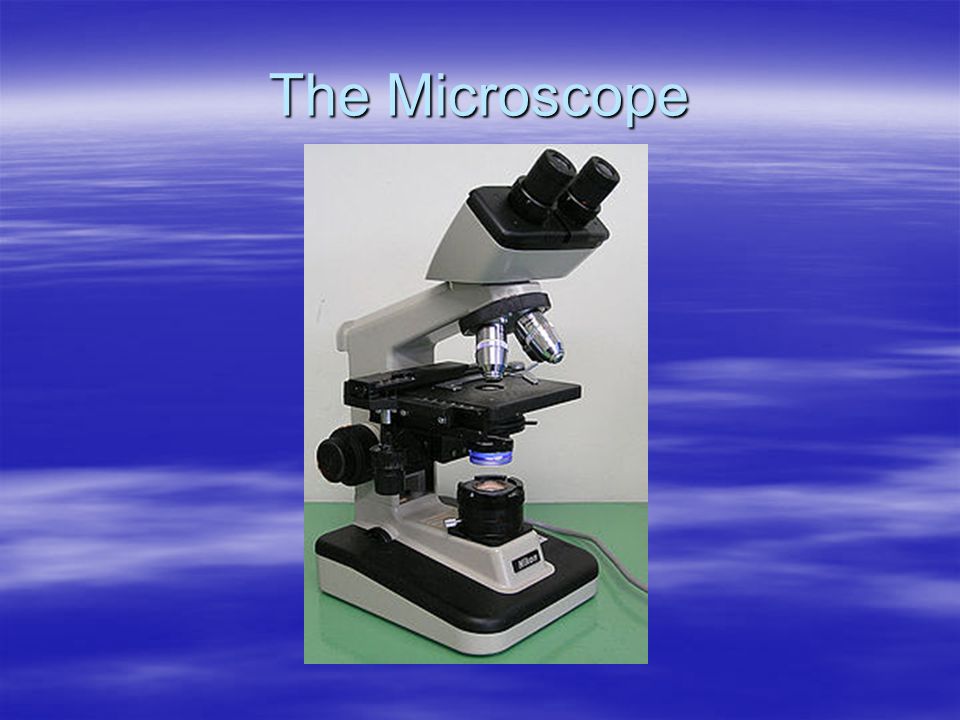
The Microscope

3
The History Many people experimented with making microscopes Was the microscope originally made by accident? (Most people were creating telescopes) The first microscope was 6 feet long!!! The Greeks & Romans used “lenses” to magnify objects over 1000 years ago.
 The first microscope was 6 feet long!!. The Greeks & Romans used lenses to magnify objects over 1000 years ago..")
4
The History Hans and Zacharias Janssen of Holland in the 1590’s created the “first” compound microscope Anthony van Leeuwenhoek and Robert Hooke made improvements by working on the lenses Anthony van Leeuwenhoek 1632-1723 Hooke Microscope Robert Hooke 1635-1703

5
The History Zacharias Jansen 1588-1631 The “First” Microscope

6
How a Microscope Works Convex Lenses are curved glass used to make microscopes (and glasses etc.) Convex Lenses bend light and focus it in one spot.
 Convex Lenses bend light and focus it in one spot.")
7
Magnification To determine your magnification…you just multiply the ocular lens by the objective lens Ocular 10x Objective 40x:10 x 40 = 400 So the object is 400 times “larger” Objective Lens have their magnification written on them. Ocular lenses usually magnifies by 10x

8
Caring for a Microscope Clean only with a soft cloth/tissue Make sure it’s on a flat surface Don’t bang it Carry it with 2 HANDS…one on the arm and the other on the base

9
Carrying a Microscope Correctly

10
Using a Microscope Start on the lowest magnification Don’t use the coarse adjustment knob on high magnification…you’ll break the slide!!! Place slide on stage and lock clips Adjust light source (if it’s a mirror…don’t stand in front of it!) Use fine adjustment to focus
 Use fine adjustment to focus.")
11
Different Microscopes Dissection Microscope Compound Microscopes Scanning Electron Microscopes Transmission Electron Microscope

12
Dissection Microscope Dissection Microscopes are light illuminated. The image that appears is 3-Dimensional. It is used for dissection to get a better look at the larger specimen. Dissection Microscopes have a low magnification so you can not see the individual cells on a specimen using it.

13
Dissection Microscope

14
Compound Microscope Compound Microscopes are also light illuminated. The image seen with this microscope however is 2- Dimensional. This is the most commonly used microscope. You can view individual cells, even alive ones. It has a high magnification, however a low resolution.

15
Compound Microscope

16
Scanning Electron Microscope Scanning Electron Microscopes (or SEM), are electron illuminated. The image is seen in 3D. They have high magnification and high resolution. The specimen is coated in gold and the electrons bounce off to give you an exterior view of the specimen. The pictures are in black and white.

17
Scanning Electron Microscope

18
Transmission Electron Microscope Transmission Electron Microscopes (or TEM) are also electron illuminated. This gives a 2D view. Thin slices of specimen are obtained. The electron beams pass through this. It has a high magnification and a high resolution.

19
Transmission Electron Microscope

20
Parts of the Microscope and Their Function On the next slide there is an image of a microscope, very similar to the scopes we use in class. Click on the boxes to see the name and function of each part of the microscope.

21
Click on Me

22
Click Here to Return to the Main Slide #1 Tube – Reflects light up to the viewers eye

23
Click Here to Return to the Main Slide #2 Revolving Nosepiece– Allows for quick change of objectives

24
Click Here to Return to the Main Slide #3 Low Power Objective – The first lens you use when doing proper microscope work. Usually 4 X

25
Click Here to Return to the Main Slide #4 Medium Power Objective – The second lens you use when doing proper microscope work. Usually 10 X

26
Click Here to Return to the Main Slide #5 High Power Objective – The highest magnification used. Usually 43 X. NEVER use the course adjustment when using this lens.

27
Click Here to Return to the Main Slide #6 Stage Clips – Use to keep the slide in place.

28
Click Here to Return to the Main Slide #7 Diaphragm – Use to vary the amount of light passing through the slide. Usually it is better if the amount of light is low.

29
Click Here to Return to the Main Slide #8 Light Source – Sends light up through the diaphragm and through the slide for viewing

30
#9 Eye Piece—The part you look at with your eye. Usually 10 X magnification. Click Here to Return to the Main Slide

31
Click Here to Return to the Main Slide #10 Neck – Used to safely transport microscope

32
Click Here to Return to the Main Slide #11 Stage – Slides are placed on this

33
Click Here to Return to the Main Slide #12 Coarse Adjustment – Used to make large changes in focus. NOTE Never use this when viewing on high power

34
Click Here to Return to the Main Slide #13 Fine Adjustment – Used to small adjustments of focus

35
Click Here to Return to the Main Slide #14 Base – Used to safely transport the microscope

Similar presentations


.>")


