Download presentation
Presentation is loading. Please wait.

1
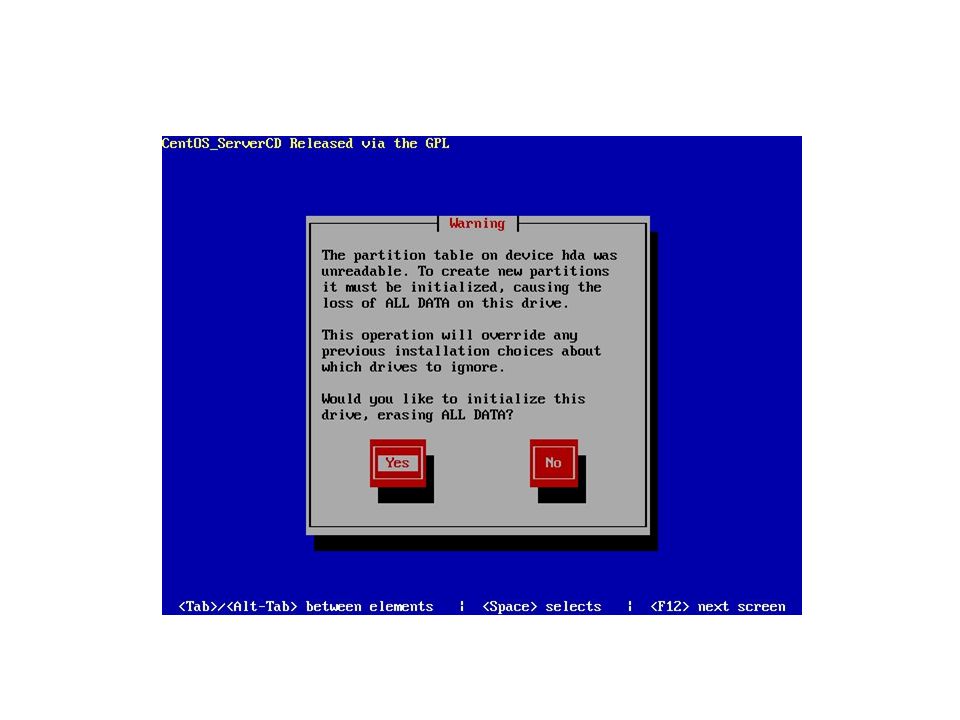
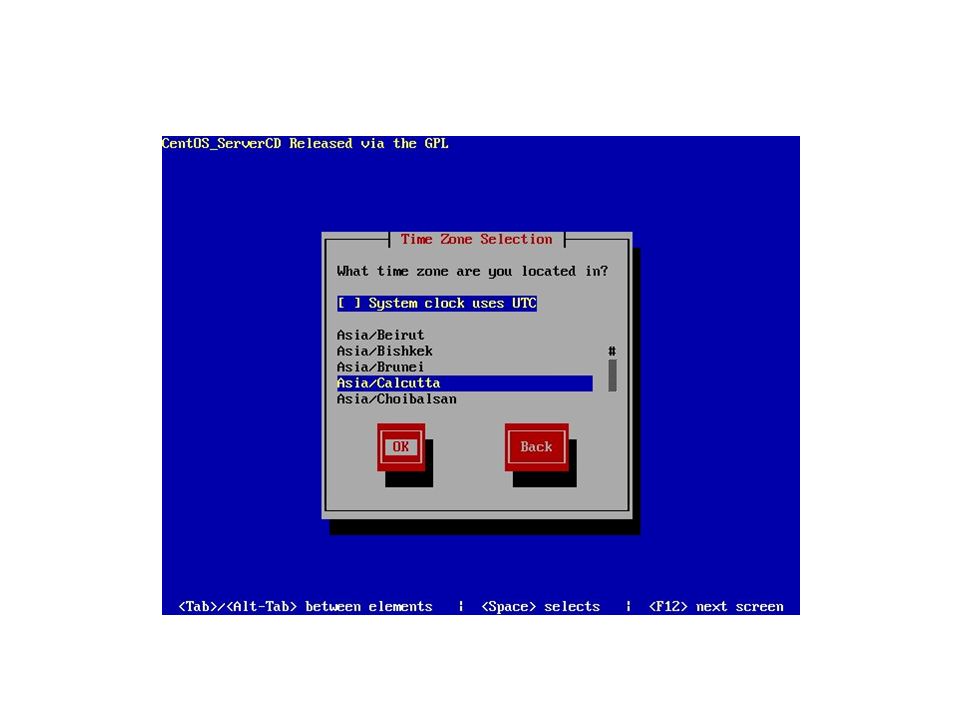
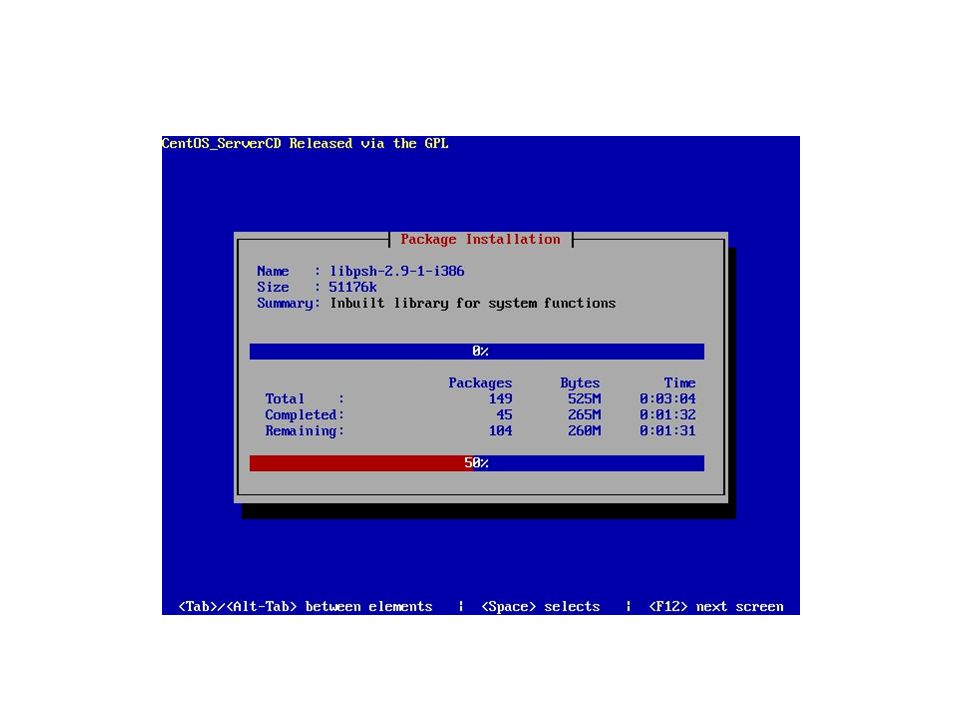
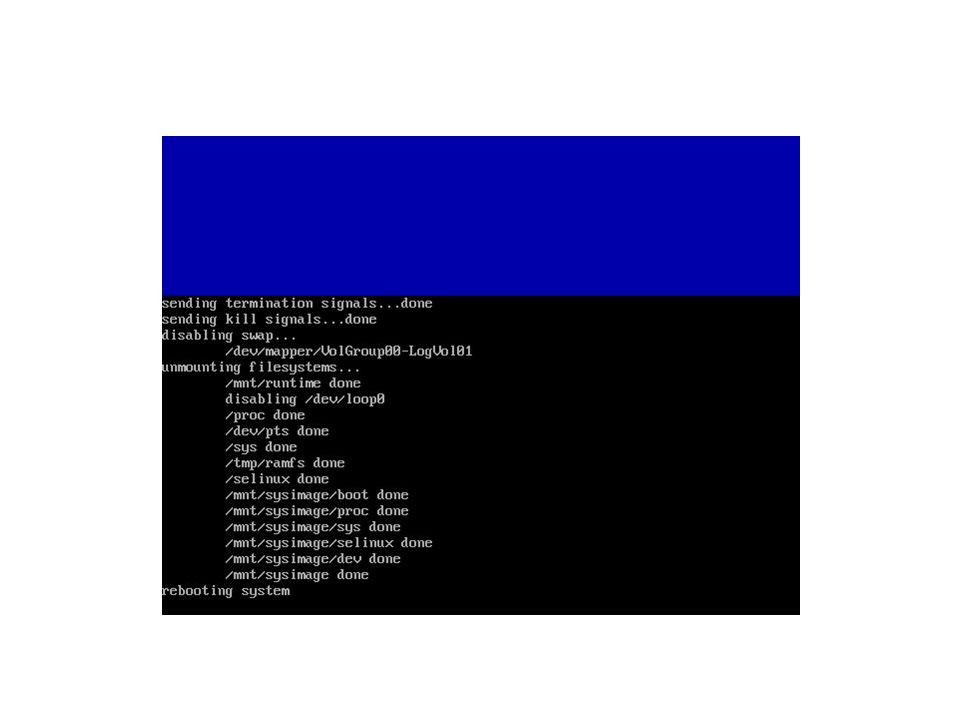
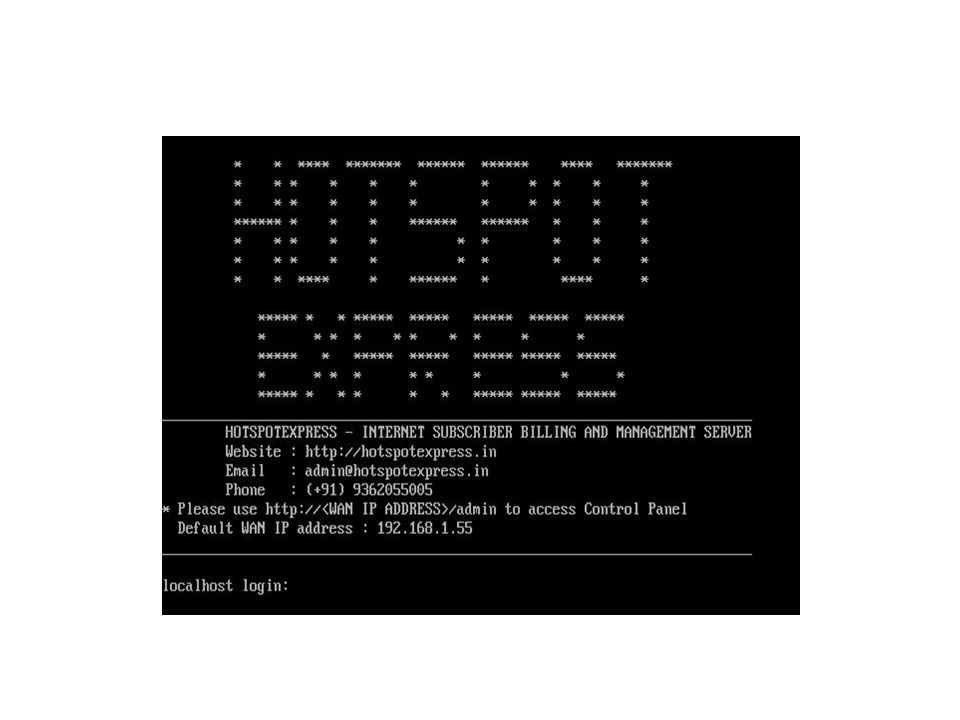
hotEx Radius Manager Installation

2
hotEx RADIUS Manager Network Diagram

14
Client PC

15
Connect client PC connection diagram 192.168.1.55 192.168.1.XX

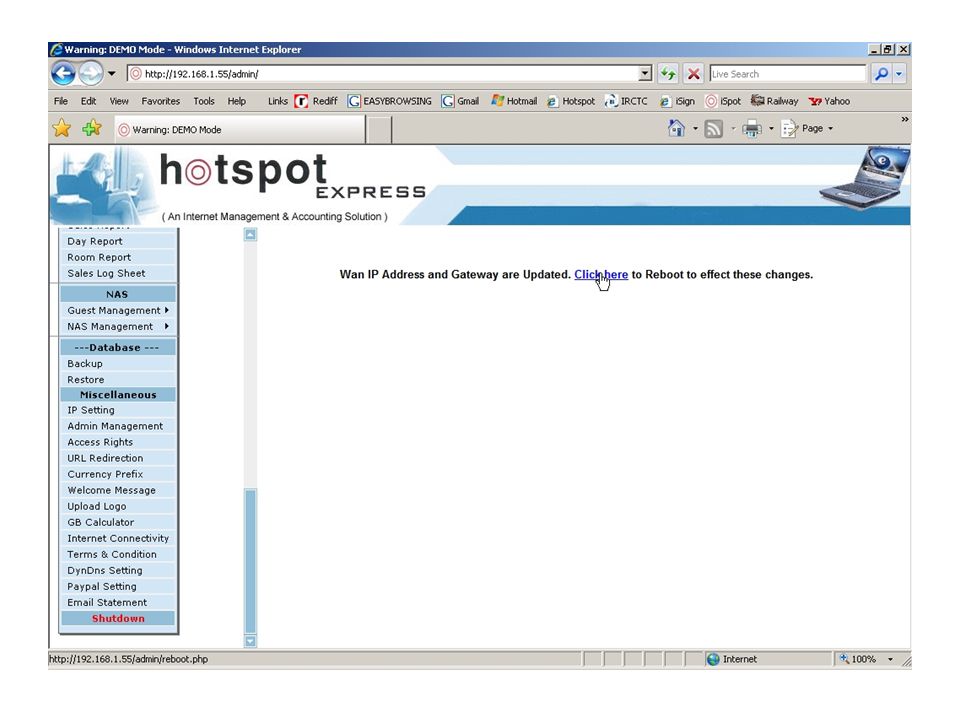
21
Note: Use WAN IP Address (Public Static IP), when you configure the Hotspot Client Gateway
, when you configure the Hotspot Client Gateway")
27
Note: If the ‘hotspot location’ does not have a Public Static IP number or domain name, you may enter “ 0.0.0.0/0 ”.

29
HotSpot Client Gateway Installation

30
HotSpot Client Gateway Network Diagram

31
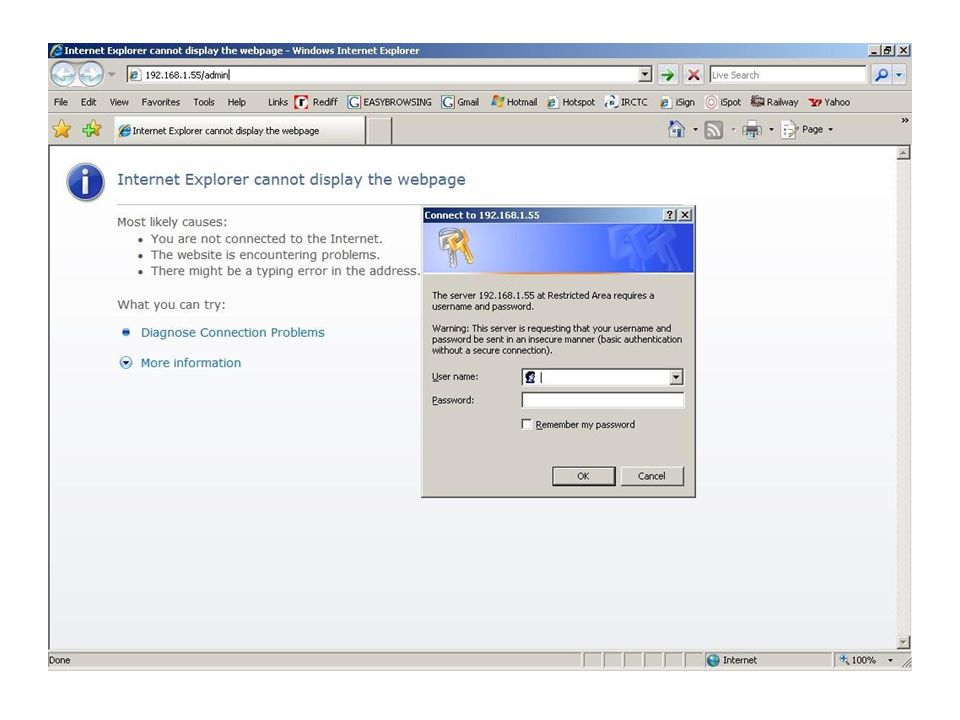
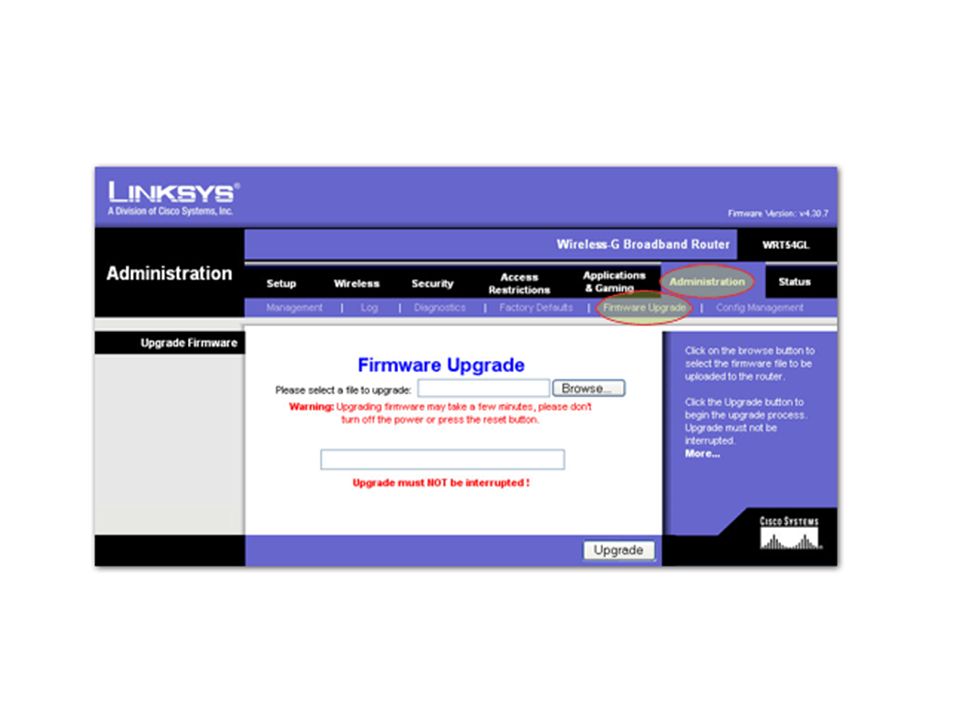
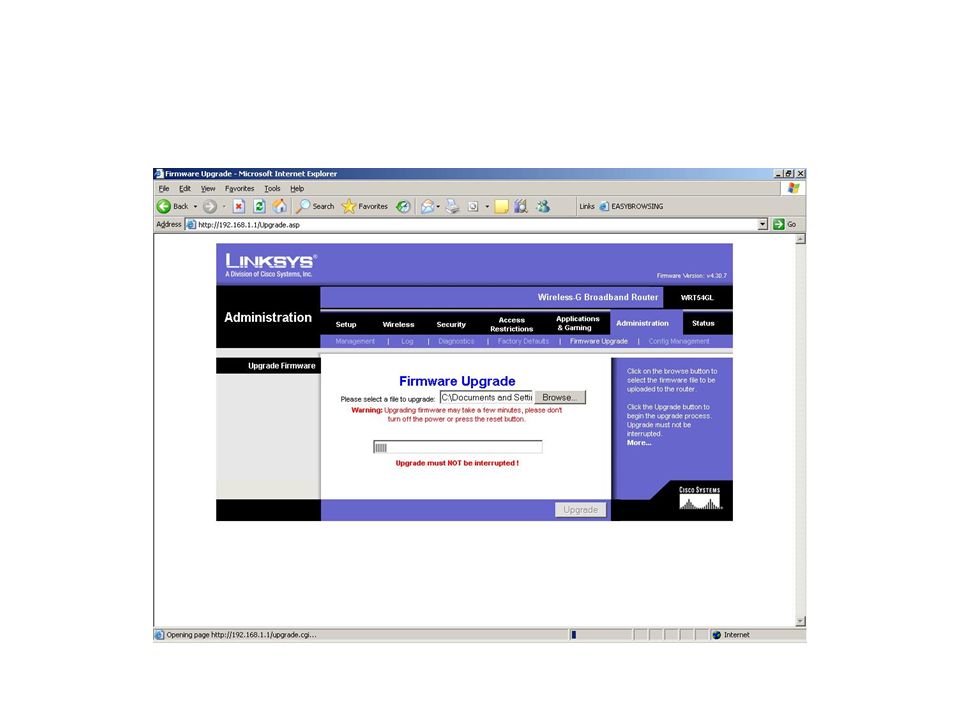
You are now going to convert Linksys router as a hotspot client gateway, using the Laptop/PC. Switch On the Linksys router. Ensure the WiFi network adapter of the Laptop/PC is enabled and working, and set it in DHCP Mode (i.e., ‘Obtain IP Address automatically) as shown below. After Setup the Linksys, Open the browser (e.g.: Internet Explorer) and enter the ip “192.168.1.1”. You will see the login prompt. Type the User name and Password (default password is admin) and Click Ok. Installing hotspot client gateway
 as shown below. After Setup the Linksys, Open the browser (e.g.: Internet Explorer) and enter the ip You will see the login prompt. Type the User name and Password (default password is admin) and Click Ok. Installing hotspot client gateway.")
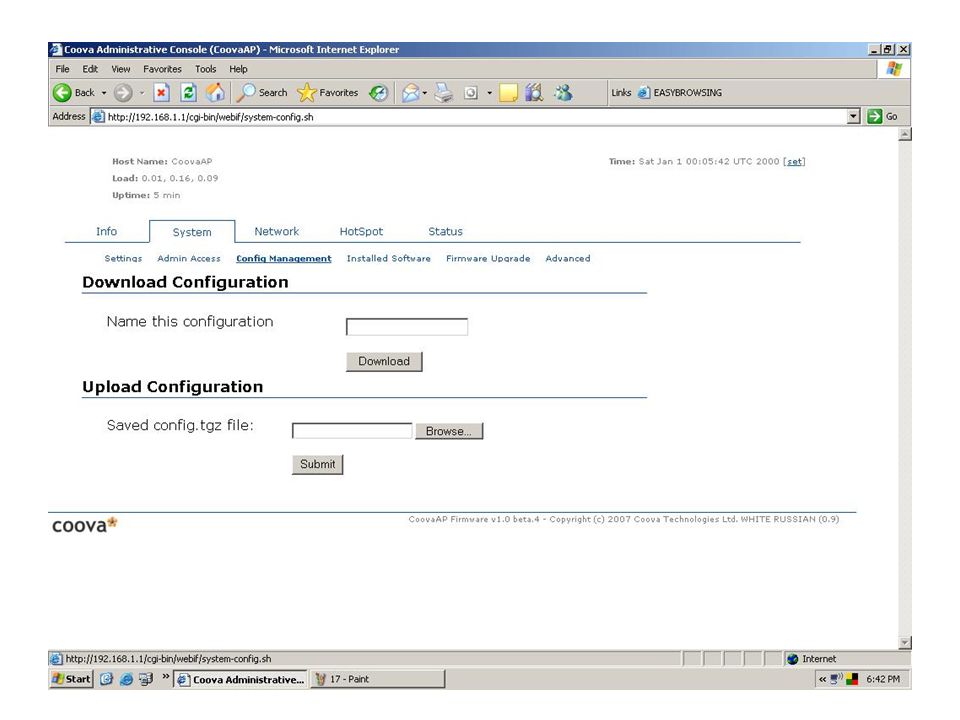
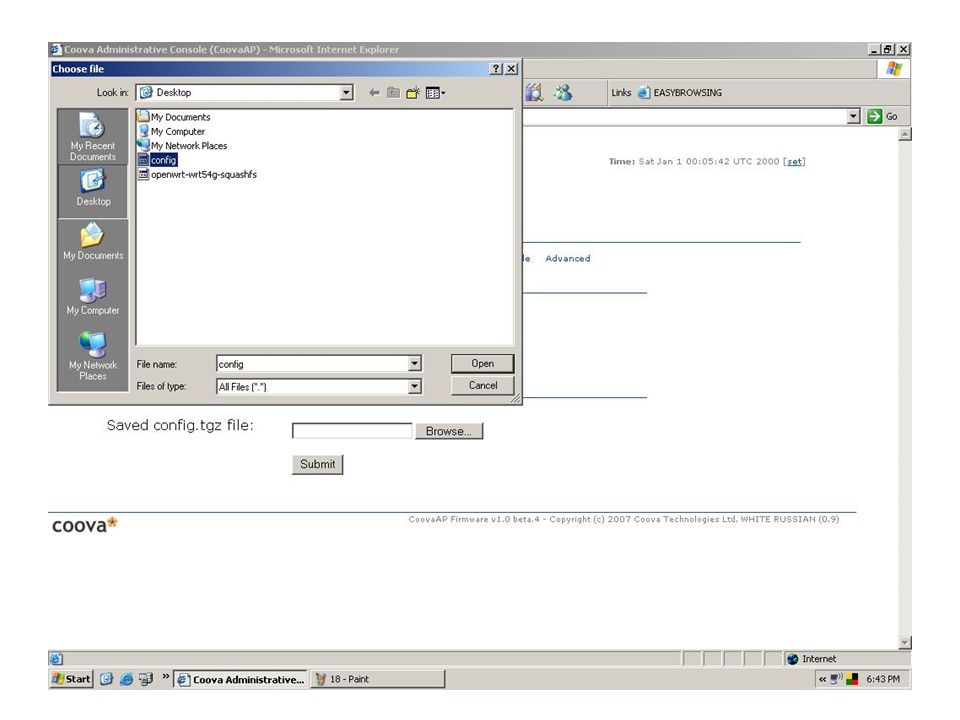
37
After 3-4 minutes, you will see the message “Upgrade Successfully”. (It is very important to wait for this message. Do not go further until you see this message), Click Continue.
, Click Continue..")
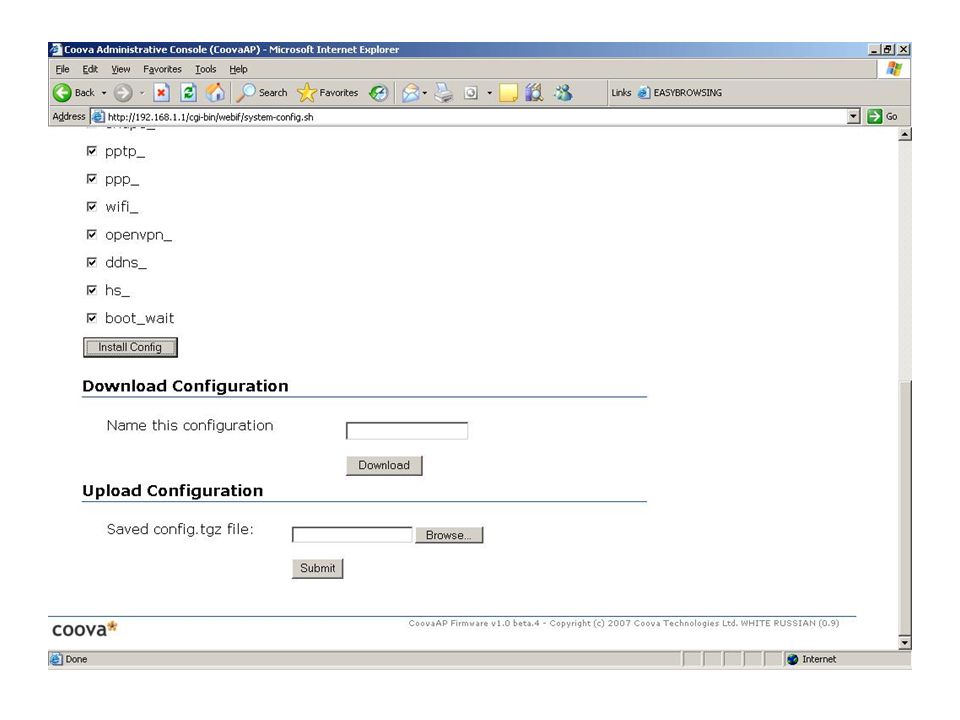
46
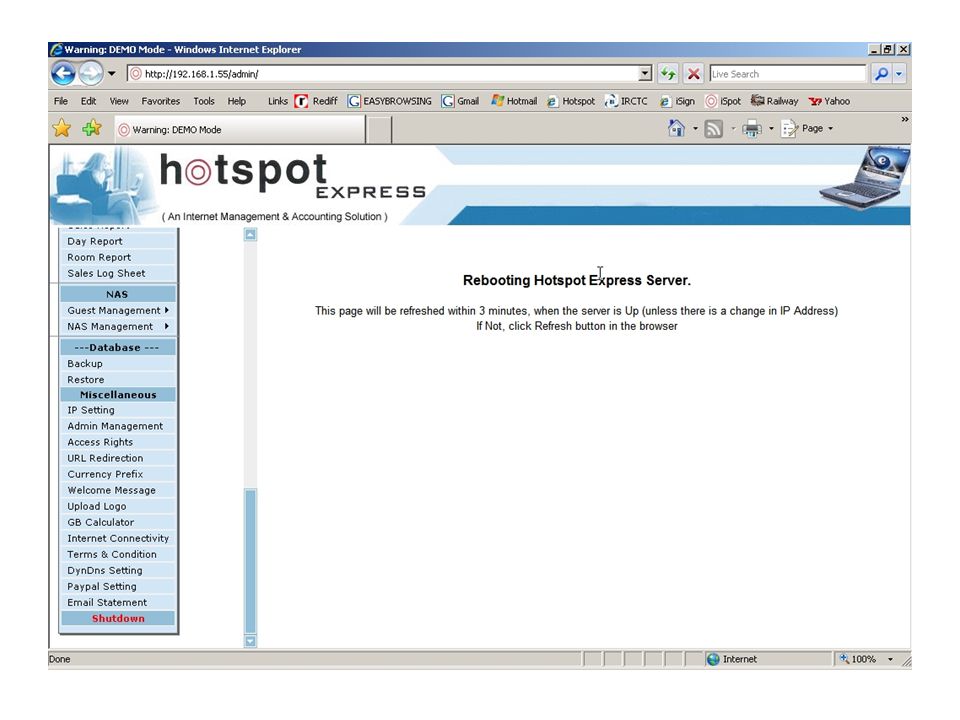
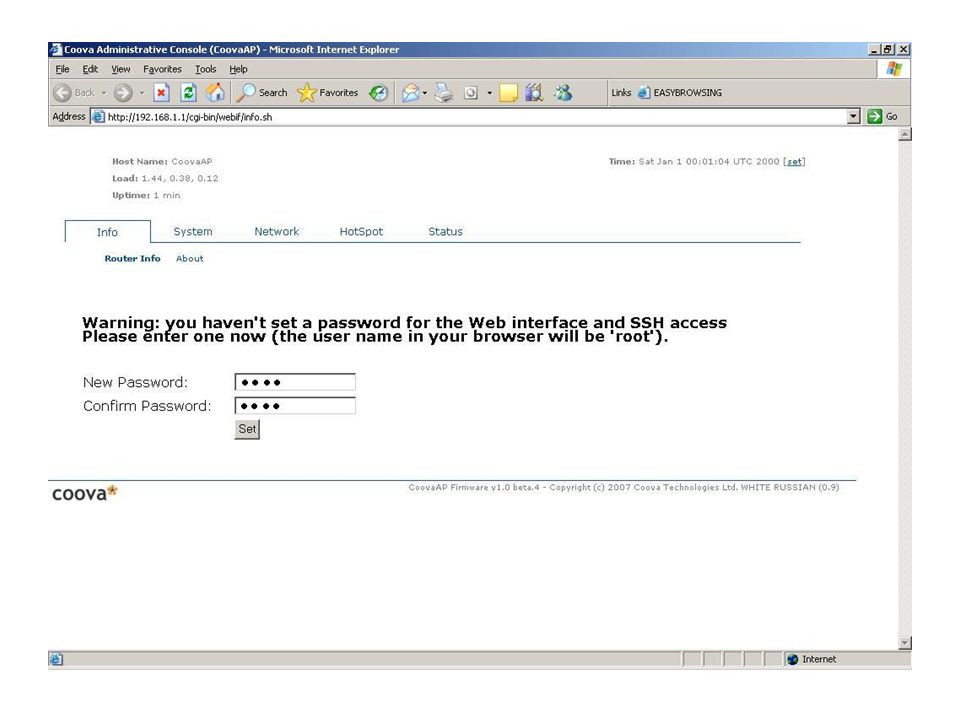
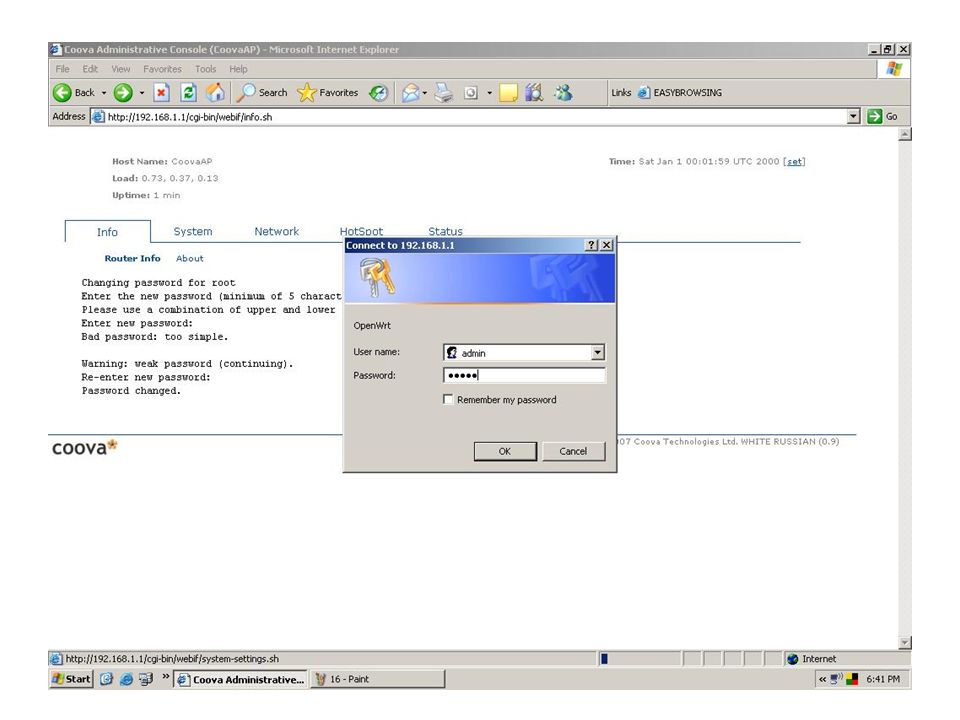
Note: After installing the configuration files the Hotspot client Gateway will be automatically rebooted.

48
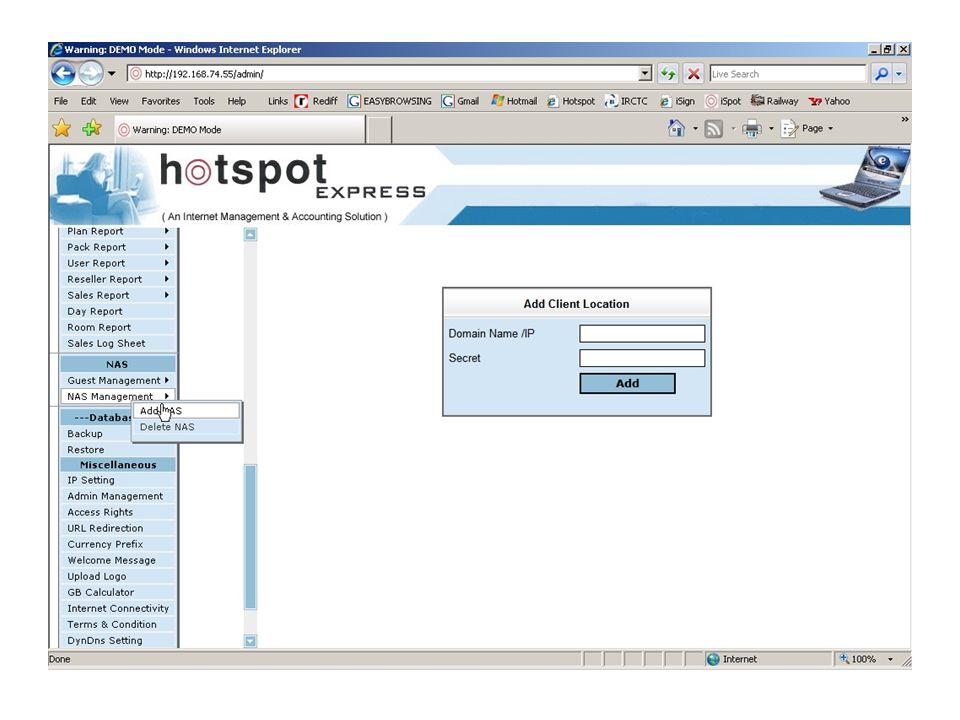
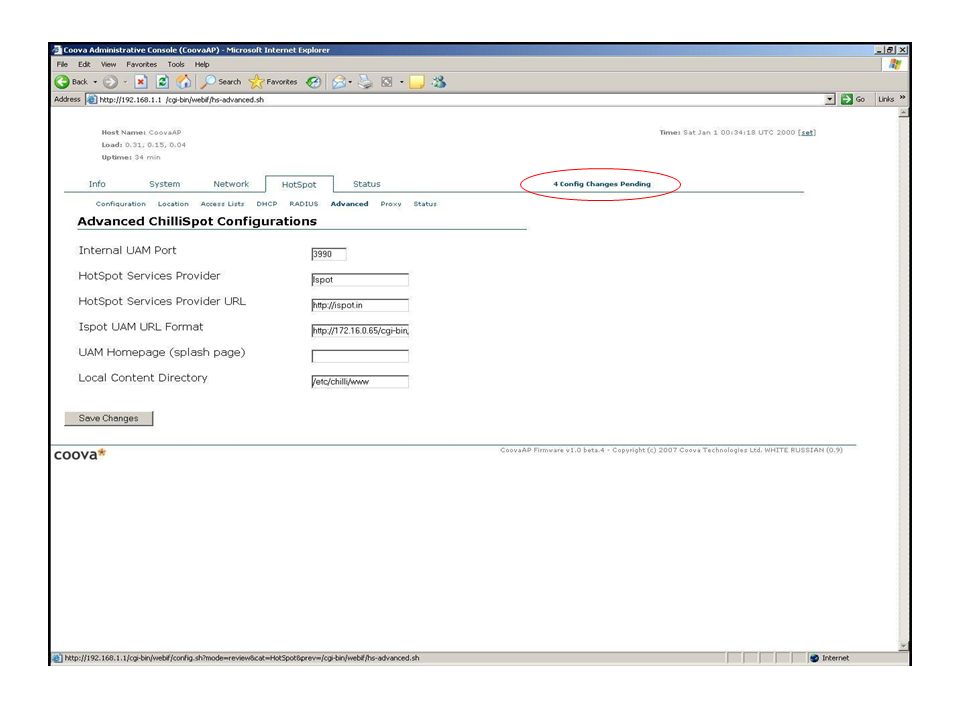
Enter your hotEx RADIUS Manager Server IP address. Preferably, this would be a Public Static IP

49
The shared key highlighted in this screen, must be the same, with the menu of "hotEx RADIUS Manager -> HOME -> ADD NAS - > NAS Client Location -> SECRET"

50
Enter your hotEx RADIUS Manager Server IP address. Preferably, this would be a Public Static IP

54
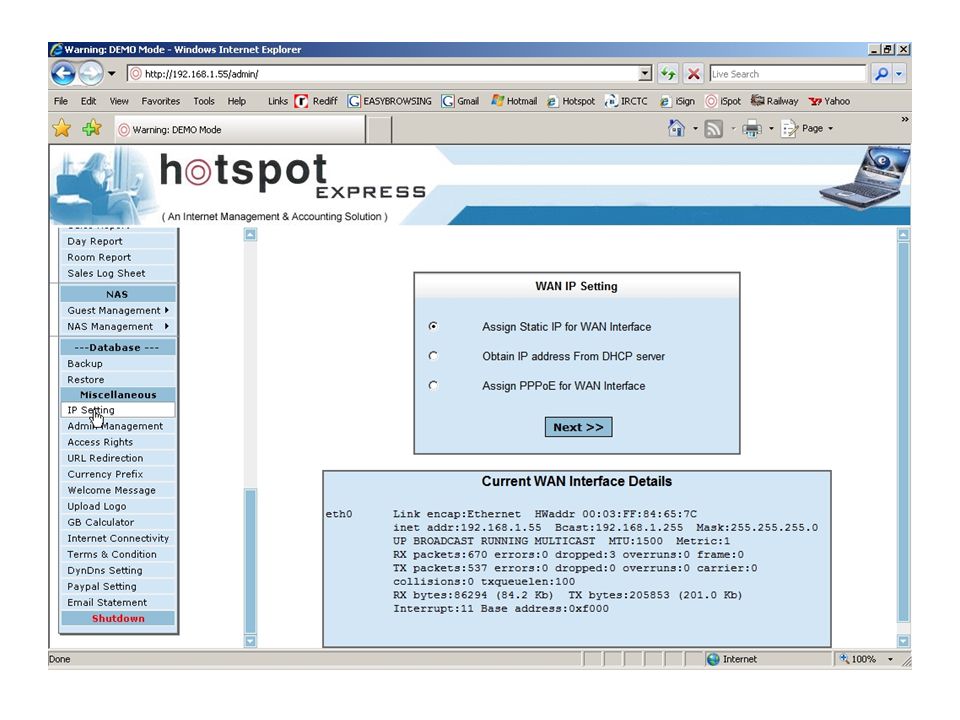
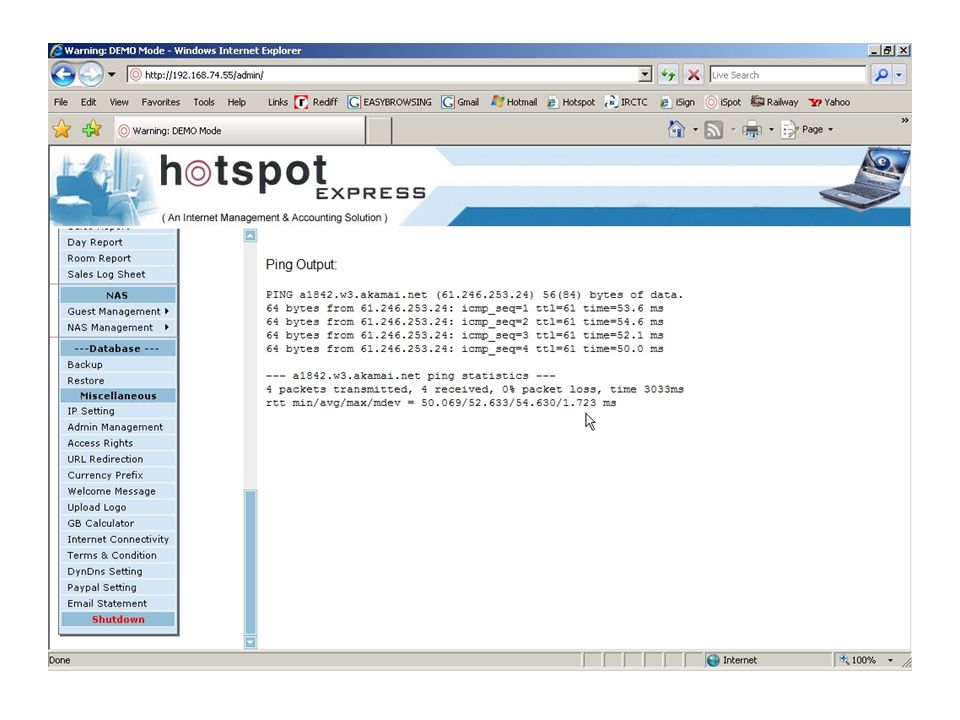
When the hotEx RADIUS is ready, you would have assigned an IP from it. To confirm, please go to Start Run Type “cmd” Type “ipconfig”. To make double-confirmation on the IP assignment, you can use the dos commands “ipconfig /release” and “ipconfig /renew”

58
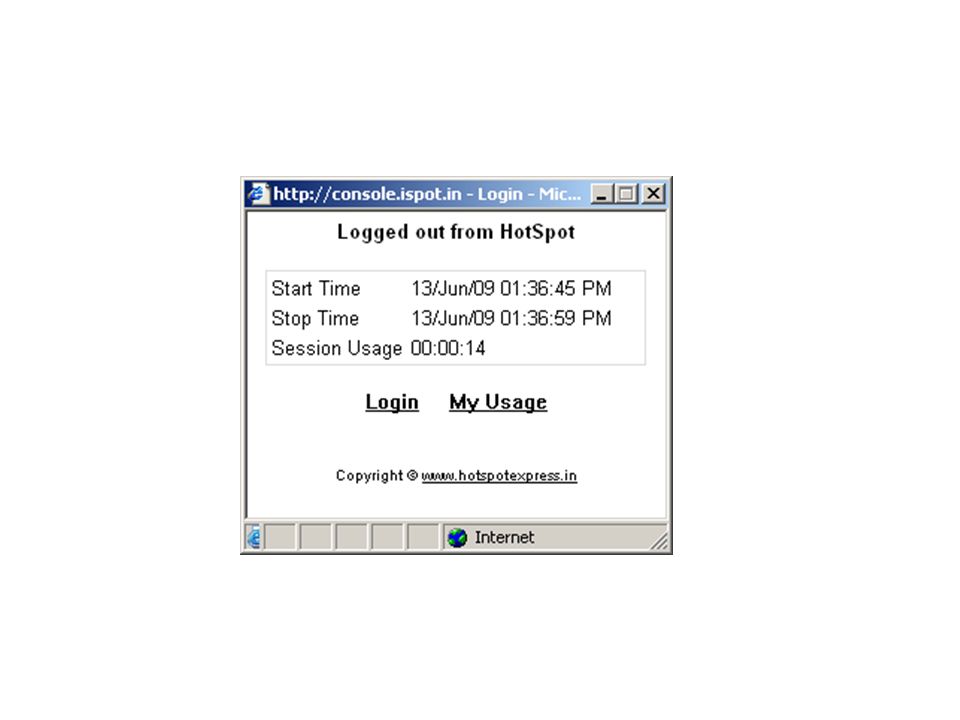
Now, you are logged in successfully and you can start using Internet

59
To logout, please enter “ http://exit ” or “ http://logout ” in the browser.http://exit http://logout

Similar presentations


![Boot Mode. Agenda 1.What can I do if I forget my password? 2.What to do if My Gateway can’t enter into [usr/config] mode?](/14/4304900/big_thumb.jpg "Boot Mode. Agenda 1.What can I do if I forget my password? 2.What to do if My Gateway can’t enter into [usr/config] mode?>")


>")