Download presentation
Presentation is loading. Please wait.

1
Technical Division – February 2009

2
From within I-DEAS drafting, switch to the Tools icon panel and select the STD NOTE GRPS icon. Select the note group that you need.

3
The standard, non-edited, note group is added to your drawing.

4
Double-click on the text to put the note into the I-DEAS text editor. (or use the single click and modify icon.) Edit the text as needed. Remove or add notes as needed.
 Edit the text as needed. Remove or add notes as needed..")
5
Click DONE when you are finished editing.

6
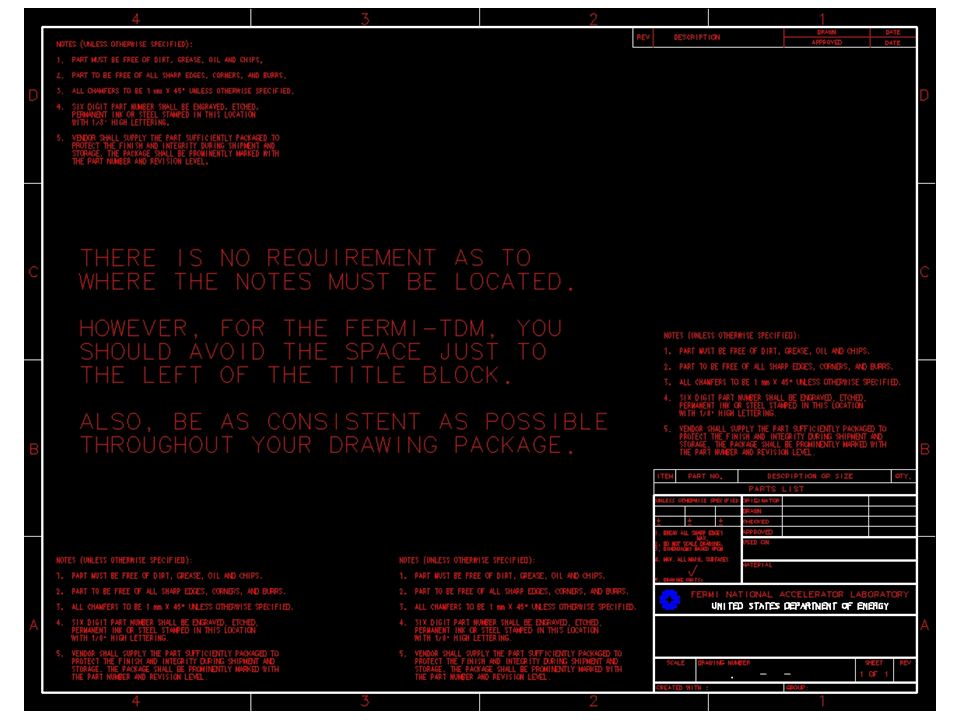
Position the note on your drawing. Take a little time to position the note group on your drawing. It doesn’t have to be perfect, but use the paper space wisely to get a nice, professional look.

8
STEP 1: Put multiple notes into your drawing.

9
STEP 2: Select both notes in the order that you want them to be listed.

10
STEP 3: Click on the edit notes ICON. STEP 4: Click on the CB-Combine ICON.

11
STEP 5: Edit the text as needed. Don’t be afraid to re-order the items so that there is a logical order to each line.

12
That’s all there is to it. Now our Group and Division can benefit from consistent and efficient standardized notes.

Similar presentations


 already written in ___________. n However, users.>")
 Key and Time Signature Final Settings.>")


