Download presentation
Presentation is loading. Please wait.

1
BETTER PHOTOS How to shoot like the pros

2
C.T. Henry Photographer + Instructor

5
NAME Where you’re from 3 things that water your roots INTRODUCTIONS

6
SURVEY

7
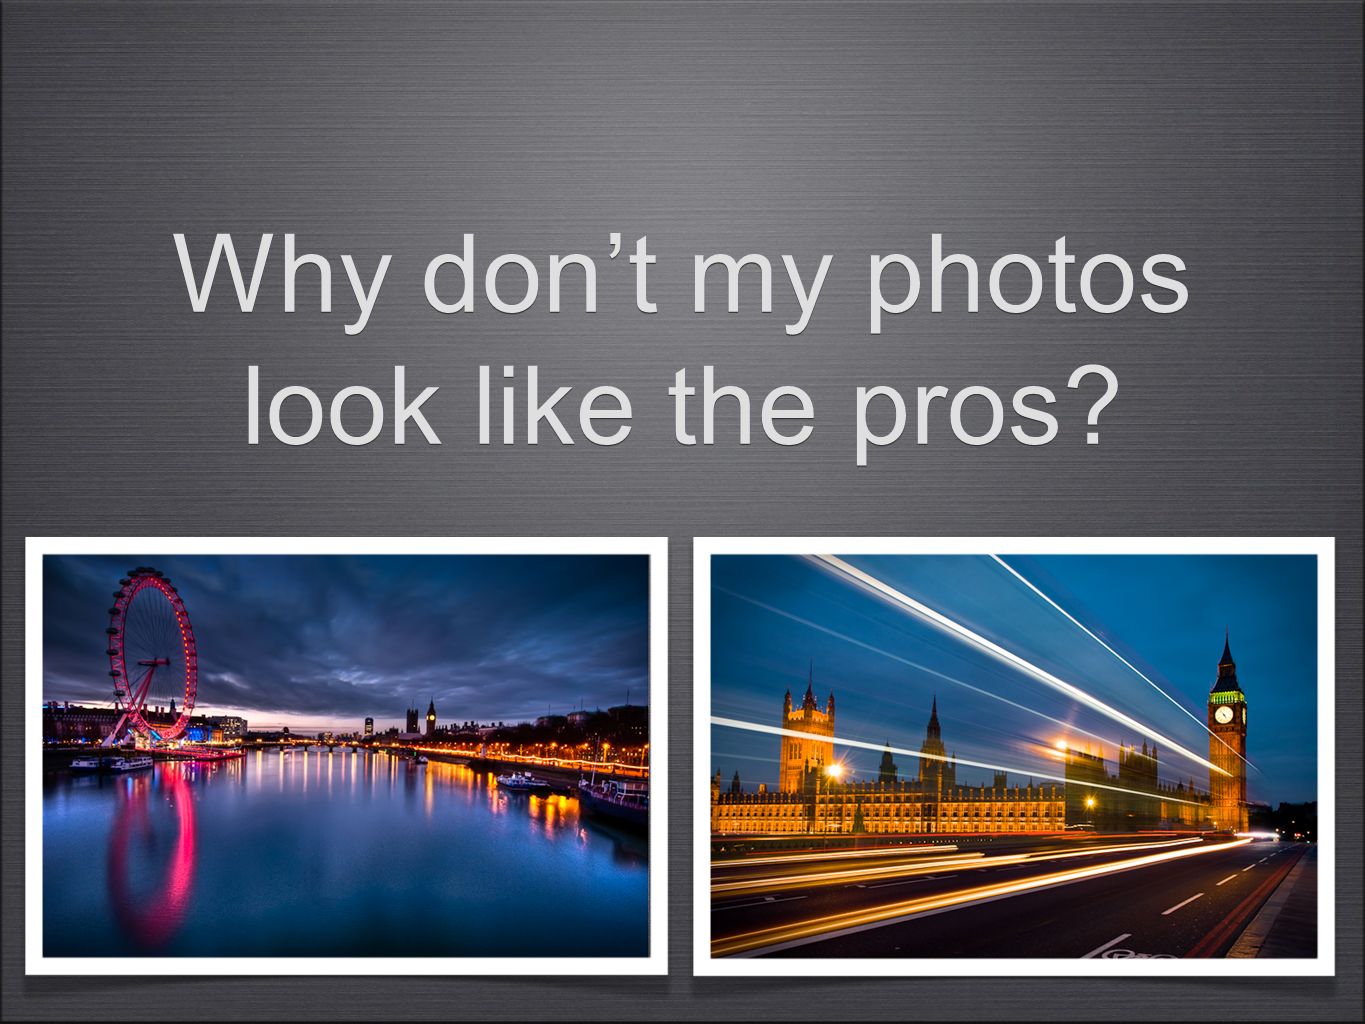
Why don’t my photos look like the pros?

9
Getting it right in the camera

10
Course Outline How to Shoot like the Pros Lesson 1: Taking Control of Your Camera Lesson 2: Seeing the light - Exposure Lesson 3: Capturing Color & Gesture Lesson 4: Taking Tack Sharp images Lesson 5: Composing the frame Lesson 6: Understanding Aperture Lesson 7: Understanding Shutter Speed Lesson 8: Shooting Manual & Photo Recipes Lesson 1: Taking Control of Your Camera Lesson 2: Seeing the light - Exposure Lesson 3: Capturing Color & Gesture Lesson 4: Taking Tack Sharp images Lesson 5: Composing the frame Lesson 6: Understanding Aperture Lesson 7: Understanding Shutter Speed Lesson 8: Shooting Manual & Photo Recipes

11
LESSON 1: 1. How to shoot like the pros 2. Sage Advice from the masters 3. How to Draw the Eye 4. Taking Control of the camera

12
#1 It’s a Process

13
The Power of Post-Processing

15
#2 Shoot what you love! 1) Don’t shoot it, if you’ve seen it before. 2) Don’t shoot it, if it doesn’t excite you 1) Don’t shoot it, if you’ve seen it before. 2) Don’t shoot it, if it doesn’t excite you
 Don’t shoot it, if it doesn’t excite you 1) Don’t shoot it, if you’ve seen it before. 2) Don’t shoot it, if it doesn’t excite you.")
16
How do pros create images that captivate the eye, the mind, and the heart of others? #3 VISION

17
All great images start in the photographers mind. “Make Pictures, Don’t just take Pictures” “Make Pictures, Don’t just take Pictures”

18
Get a Photo Notebook

19
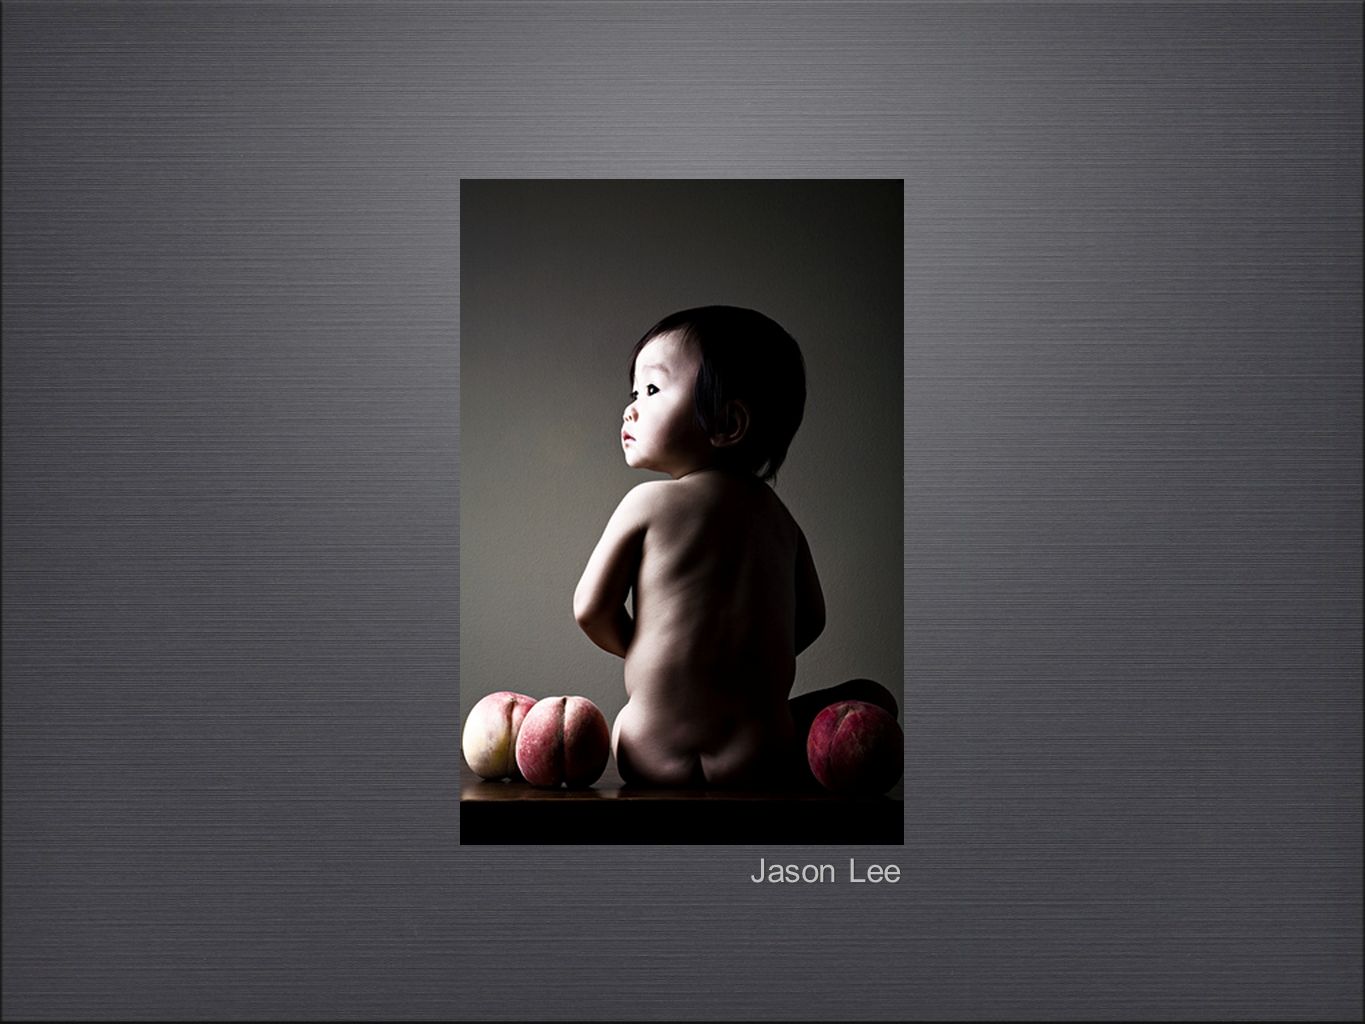
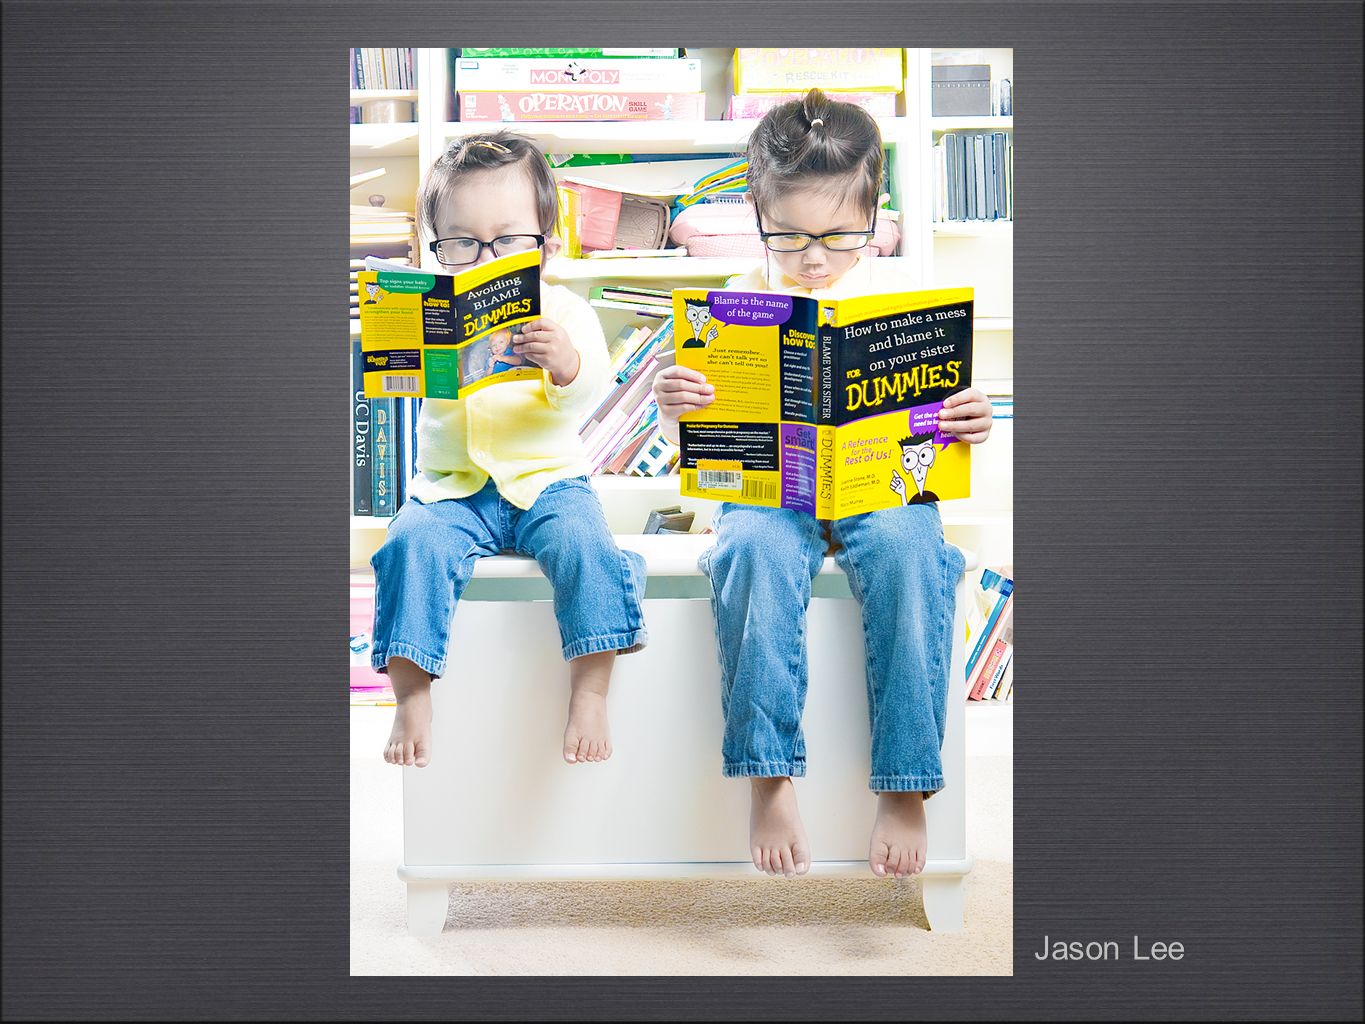
Jason Lee

22
Make a Shot list

23
PART 2: What do Pros know that we don’t? Sage Advice from the masters

24
PART 3: What do Pros know that we don’t? How to draw the eye

25
How to Draw the Eye Understanding what draws the eye is the key to creating compelling images. It allows us to more intentionally direct the eye. It affects what the viewer looks at and in what order. It affects how an image looks and how it feels. Our goal is to capture images that look and feel the way we want them to.

26
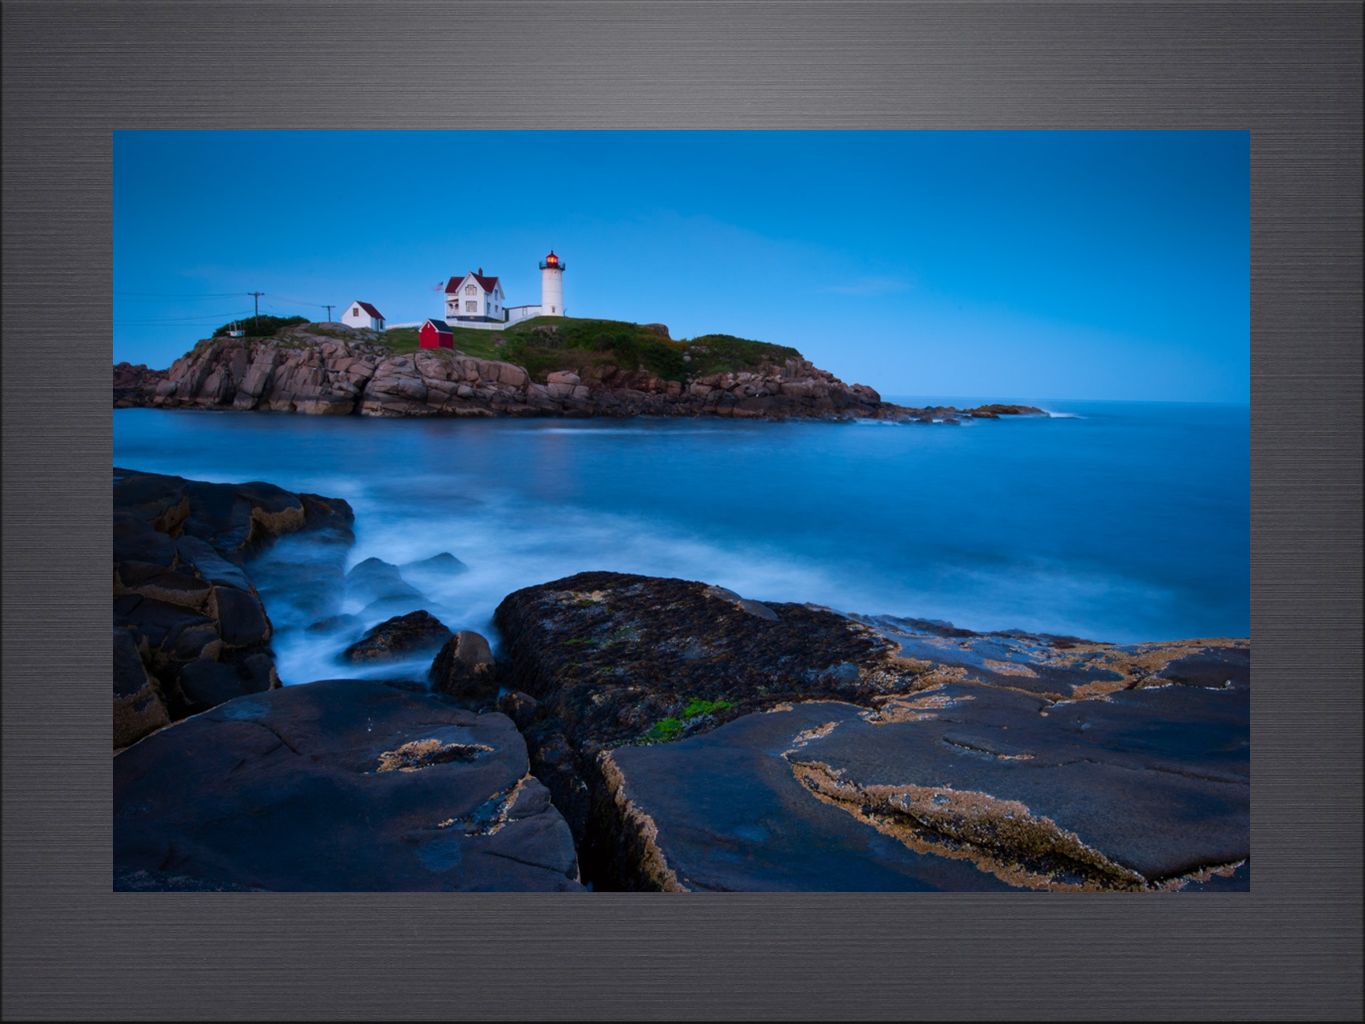
How to Draw the Eye 1) Objects that are bright before objects that are dark. The human eyes looks at the brightest part of an image first.

27
How to Draw the Eye 1) Objects that are bright before objects that are dark. The human eyes looks at the brightest part of an image first.

28
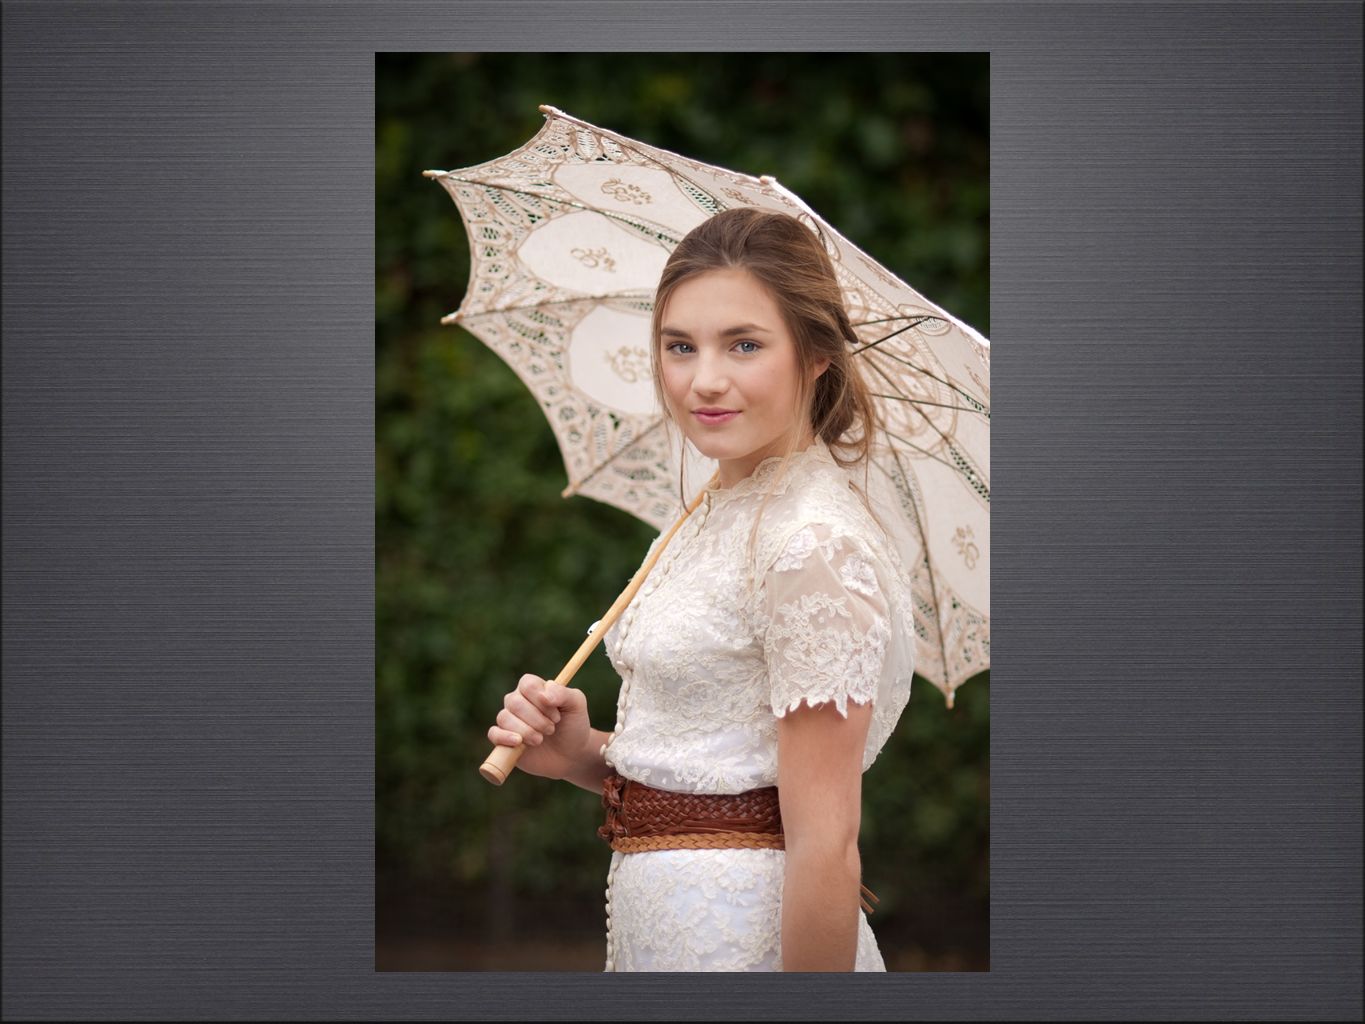
How to Draw the Eye 2) We’re drawn to the human figure more than anything else. We’re drawn to faces more than any other part of the figure, and the eyes more than any other part of the face.

29
How to Draw the Eye 2) We’re drawn to the human figure more than anything else. We’re drawn to faces more than any other part of the figure, and the eyes more than any other part of the face.

30
How to Draw the Eye 2) We’re drawn to the human figure more than anything else. We’re drawn to faces more than any other part of the figure, and the eyes more than any other part of the face.

31
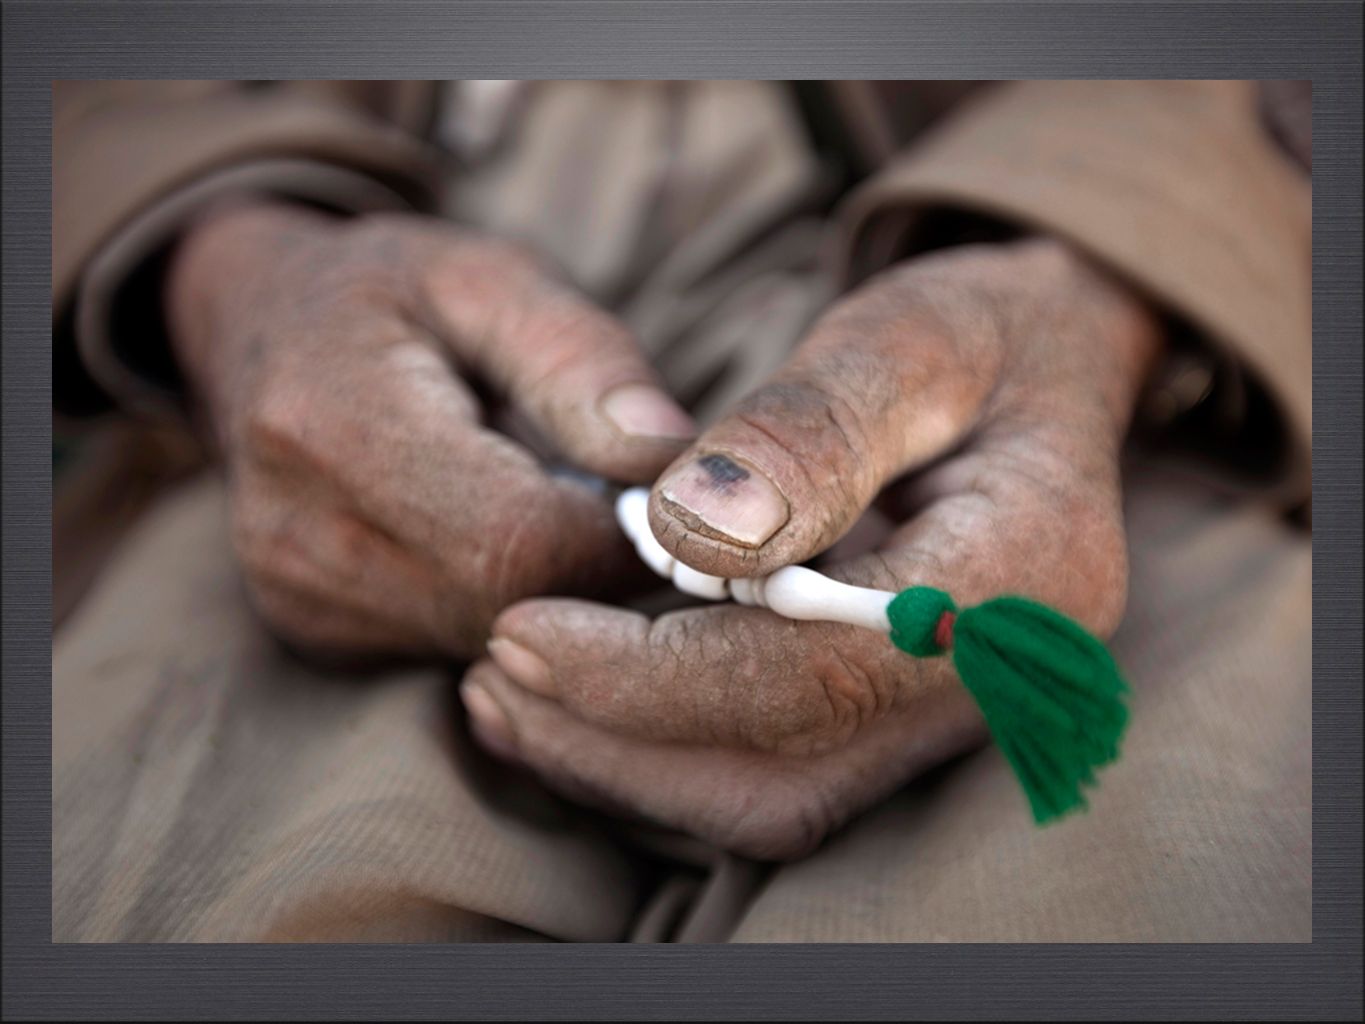
How to Draw the Eye 3) Objects that are in focus before elements that are out of focus.
 Objects that are in focus before elements that are out of focus.")
32
How to Draw the Eye 4) Objects that are warm and vibrant than objects that are cool.
 Objects that are warm and vibrant than objects that are cool.")
33
How to Draw the Eye 4) Objects that are warm and vibrant than objects that are cool.
 Objects that are warm and vibrant than objects that are cool.")
34
How to Draw the Eye 5) We are drawn to text before other parts of the photo.
 We are drawn to text before other parts of the photo.")
35
How to Draw the Eye 6) Objects that are large before objects that are small.
 Objects that are large before objects that are small.")
38
PART 4: Taking Control of your camera

39
Taking control of your camera is the first step in creating visually interesting images.

40
Taking control of your camera 1. Shoot in Program mode 2. Shoot in the largest file size & finest quality 3. Evaluative or Matrix metering mode 4. AF-S = One Shot, AF-C = AI Servo 5. Keep your ISO as low as possible 6. Set your White Balance for accurate color 7. Shoot in RAW 8. Reformat your memory card 1. Shoot in Program mode 2. Shoot in the largest file size & finest quality 3. Evaluative or Matrix metering mode 4. AF-S = One Shot, AF-C = AI Servo 5. Keep your ISO as low as possible 6. Set your White Balance for accurate color 7. Shoot in RAW 8. Reformat your memory card

41
Shoot in program mode Even though it’s a point-and-shoot mode, Program mode allows you to get the shot quickly. Plus, you can control some of the cameras features, like white balance, ISO, etc.

42
Shoot in the Largest size and the Finest quality SIZE: Small - 1600x1200 (2M) Medium - 2816x2112 (6M) Large - 3456x2592 (9M) QUALITY: Normal Fine Superfine
 Medium x2112 (6M) Large x2592 (9M) QUALITY: Normal Fine Superfine")
43
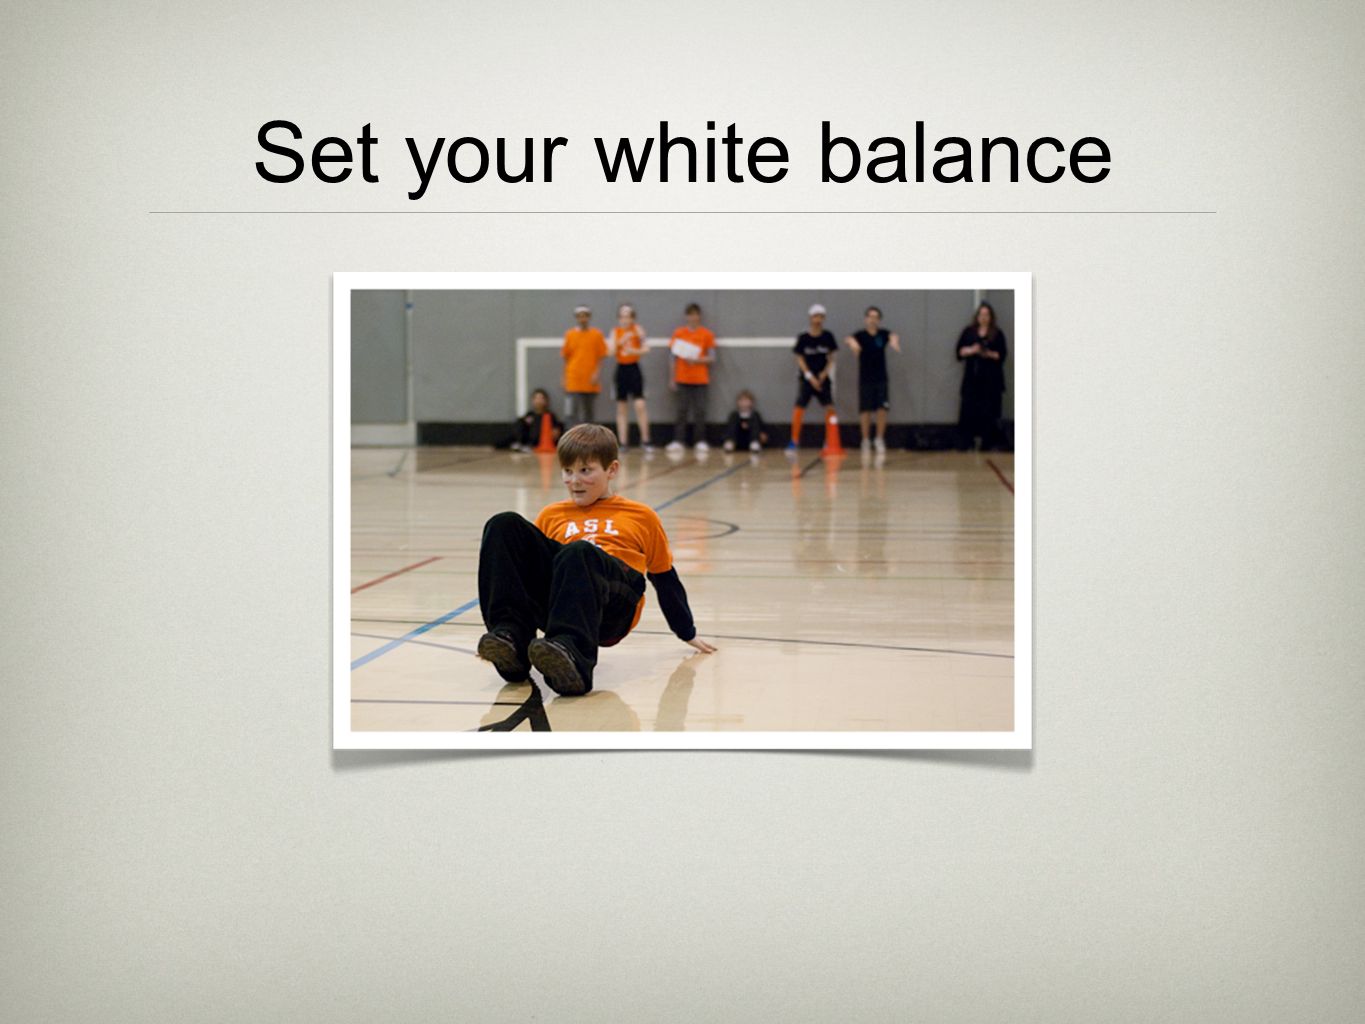
Set your white balance

45
Depending on the light source, set your camera to see accurate colors Tungsten Fluorescent Auto DaylightCloudy

46
Set your white balance WarmCool

47
Shoot in RAW ADVANTAGES 1. RAW provides the highest possible image quality (no compression) 2. No in-camera processing is done to RAW files. Pros have a great deal of control when they process the photos using RAW processing software, like Photoshop. 3. The RAW digital negative is never damaged. Even after processing the RAW image, you can always revert to the original at any time. 4. JPEGs degrade over time. Every time you open and edit JPEG files, you lose information. DISADVANTAGES 1. RAW files are larger in size, so you’ll fit about 1/3 fewer photos on your memory cards. 2. Also, since RAW files are larger than JPEGs, they take up more space on your computer or hard drive. 3. It takes longer to edit them in Photoshop, since the photographer must choose the brightness, contrast, sharpness, color correction, etc.

48
Reformatting the memory card Don’t fill up your memory card Only erase photos from your card when you have at least two copies Don’t erase, reformat the card

49
HOMEWORK: 1. Read “How many Megapixels do you need?” by Scott Kelby from The Digital Photography Book 2. Practice shooting in Program mode using your knowledge of how to draw the eye. 3. Upload THREE of your best photos, keeping in mind how to draw the eye and using Program mode. Flickr Group Pool: http://www.flickr.com/groups/cambridgecenter/ http://www.flickr.com/groups/cambridgecenter/ 1. Read “How many Megapixels do you need?” by Scott Kelby from The Digital Photography Book 2. Practice shooting in Program mode using your knowledge of how to draw the eye. 3. Upload THREE of your best photos, keeping in mind how to draw the eye and using Program mode. Flickr Group Pool: http://www.flickr.com/groups/cambridgecenter/ http://www.flickr.com/groups/cambridgecenter/

50
LESSON 2: How the Camera sees... Seeing the Light Please Bring: 1. Camera 2. The Manual for the Camera 3. Small Notebook Please Bring: 1. Camera 2. The Manual for the Camera 3. Small Notebook

51
Course Outline How to Shoot like the Pros Lesson 1: Taking Control of Your Camera Lesson 2: Seeing the light - Exposure Lesson 3: Capturing Color & Gesture Lesson 4: Taking Tack Sharp images Lesson 5: Composing the frame Lesson 6: Understanding Aperture Lesson 7: Understanding Shutter Speed Lesson 8: Shooting Manual & Photo Recipes Lesson 1: Taking Control of Your Camera Lesson 2: Seeing the light - Exposure Lesson 3: Capturing Color & Gesture Lesson 4: Taking Tack Sharp images Lesson 5: Composing the frame Lesson 6: Understanding Aperture Lesson 7: Understanding Shutter Speed Lesson 8: Shooting Manual & Photo Recipes

52
Getting Tack Sharp Photos Hold camera properly Lock focus with shutter button Lock focus and then repositioning Move the point of focus Roll your finger over the shutter to reduce vibrations Zoom in to check your focus

Similar presentations


>")


.>")

. Before we get started… - These are only very simple explanations - I could be wrong! - Mainly aimed at digital users.>")


