Download presentation
Presentation is loading. Please wait.

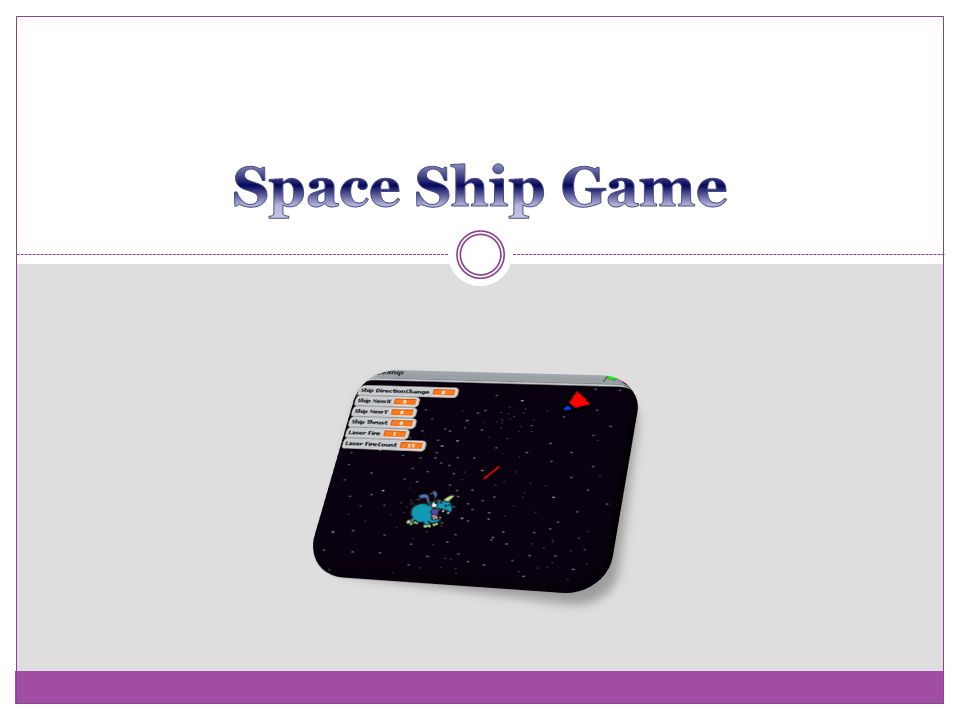
2
We will be creating a spaceship that simulates real movements in space. The spaceship will fire a laser beam that can destroy targets. The spaceship will be able to pass through the edges of the screen Controls: Up arrow will provide forward thrust Right and left arrows will turn the ship

3
Since we are going to be creating a spaceship, set the stage background to be stars. It can be found in the Nature folder.

4
Draw a Spaceship sprite. Make sure you point the ship to the right. Make two costumes, one with flames and one without.

5
Variables Create the following Variables: (For this sprite only) DirectionChange NewX NewY Thrust
 DirectionChange NewX NewY Thrust")
6
We need to create three event scripts: Up Arrow Right Arrow Left Arrow We will begin with the Up Arrow script. when Space Key pressed Drag a when Space Key pressed block to the Ship sprite script area and change it to up arrow. repeat until when up arrow key pressed Connect a repeat until block to the when up arrow key pressed block.

7
not repeat until Under Operators, drag an not operator block into the repeat until block.

8
key up arrow pressed? not Go to Sensing and put a key up arrow pressed? block into the not block.

9
next costume repeat until Put a next costume block in the repeat until block.

10
change DirectionChange by repeat until Put three change DirectionChange by blocks into the repeat until block. Change the variables to Thrust, NewX, and NewY

11
change Thrustby Put a value of 0.1 in the change Thrust by block.

12
multiplication Drag two multiplication operator blocks into the script area.

13
Thrust multiplication Put the Thrust variable block into the left side of both multiplication operator blocks.

14
sqrt of 10 multiplication Put a sqrt of 10 block on the right side of each multiplication block.

15
sqrt of 10sin of 10 Change one of the sqrt of 10 blocks to sin of 10

16
sqrt of 10cos of 10 Change the other sqrt of 10 block to cos of 10

17
Thrust * sin of 10change NewX by Put the Thrust * sin of 10 block into the change NewX by block.

18
Thrust * cos by 10change NewY Put the Thrust * cos by 10 block into the change NewY block

19
direction sin ofcos of Go to motion and put a direction block into the sin of and cos of blocks.

20
switch to costume NoFlames repeat until not key up arrow pressed? Put a switch to costume NoFlames block underneath the repeat until not key up arrow pressed? block.

21
set Thrust to 0 switch to costume NoFlames Put a set Thrust to 0 block under the switch to costume NoFlames block.

22
Now that we have finished the Up Arrow scripts, we need to do the Right Arrow script and Left Arrow script. when right arrow key pressed Create a when right arrow key pressed block and connect the blocks as shown in the image to it.

23
when right arrow key pressed when right arrow key pressed Create a duplicate of the when right arrow key pressed blocks by right clicking the when right arrow key pressed block and clicking duplicate. Alter this newly duplicated block so it matches the image to the right.

24
Up, Right, and Left represent the user controls for the ship. However, the ship will not move until we put the Action code for the computer to take the commands and translate them to movement. when Green Flag clicked Create a when Green Flag clicked block and connect the specified blocks as shown in the image to the right.

25
when Green Flag clicked Create another when Green Flag clicked block and connect the blocks as shown in the image to the right. This will reset the variables and allow the ship to pass through the edges of the screen.

26
Click the Green flag and test your ship!

27
We want a laser beam to travel to a target and then stop traveling when it hits a target. We also want the laser beam to go back to the ship and hide when not being fired. Click Paint New Sprite and draw a laser beam.

28
Create the variables as shown in the image to the right for the Laser sprite.

29
when Green Flag clicked Create a new when Green Flag clicked block and connect the blocks as shown in the image to the right to it. This allows the laser beam to travel a set distance and check its status (fire or not fired)
.")
30
when space key pressed Create a new when space key pressed block and connect the blocks as shown in the image to the right to it. This makes it so when the laser is fired, it’s fired in the same direction the ship is facing.

31
Test your laser beam!

32
Our final step is to create targets for our space ship to shoot at. Create a new Sprite. For this newly created sprite, create a new when Green Flag clicked block and connect the blocks as shown in the image to the right. This will glide the target sprite around in random directions.

33
Complete the when Green Flag clicked block by connecting the additional blocks as shown in the image to the right. This will now cause the sprite to disappear and re-appear if it is hit by the laser beam.

34
Congratulations! You’ve finished creating your own space ship game. See the next slide for challenges.

35
Play a sound every time the laser beam is fired and whenever the laser successfully hits a target. Add a score feature that increments when the laser beam hits the target and decrements when the target hits the space ship. Add more targets Implement your own creative features!

Similar presentations


 Commands Available to use Script Area where you type your code Sprite Stage All sprites in this project.>")


 Available Blocks Script Area Sprite Stage All sprites in this project.>")


