Download presentation
Presentation is loading. Please wait.

1
Using images with XHTML Please use speaker notes for additional information!

2
This is CIS! This is the image of CIS I created using Word! <!DOCTYPE html PUBLIC "-//W3C//DTD XHTML 1.0 Transitional//EN" "http://www.w3.org/TR/xhtml1/DTD/xhtml1-transitional.dtd"> Working with images etc... This shows the alt.

3
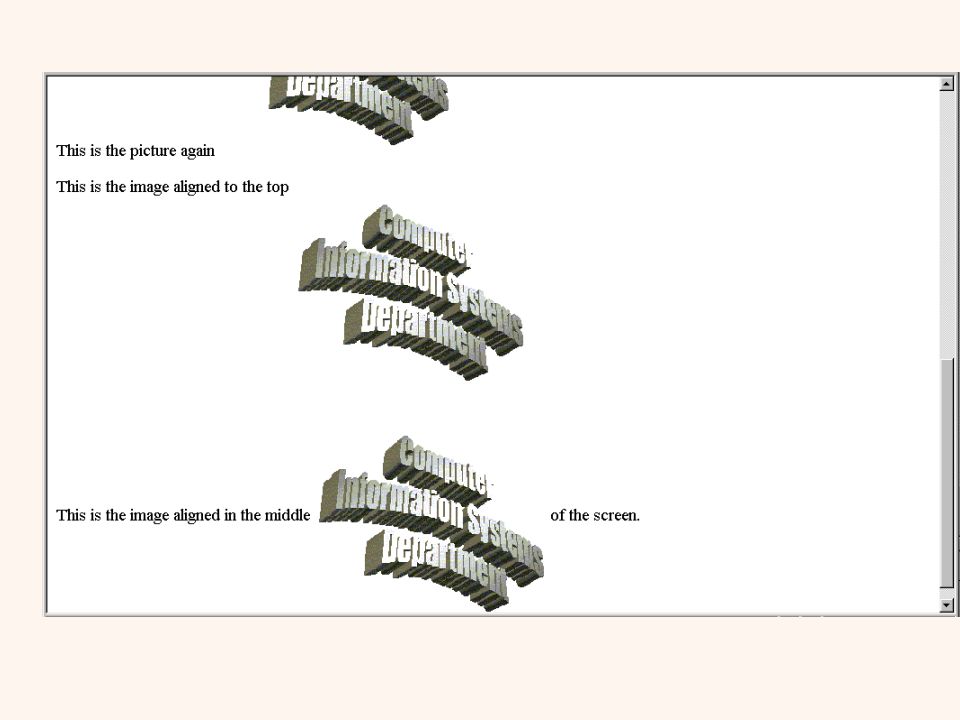
This is the picture again This is the image aligned to the top <img align="top" src= "CISa.gif" width="257" height="237" alt="CISa image" /> Here I am showing text and then the image. Here I am showing the text before the image and the text is aligned to the top of the image rather than the bottom.

4
This is the image aligned in the middle <img align="middle" src= "CISa.gif" width="257" height="237" alt="CISa image" /> of the screen. This is illustrating wrap, so I need to type lots of text and since I have nothing to say, I am going to just keep typing, and typing, and typing, and typing, and typing, and typing, and typing and typing until hopefully I have typed enough to illustrate how it will wrap around the image. Use align=“middle to align the text with the middle of the image. When the code is enough to fill all of the area beside the image, it will wrap when it reaches the bottom.

5
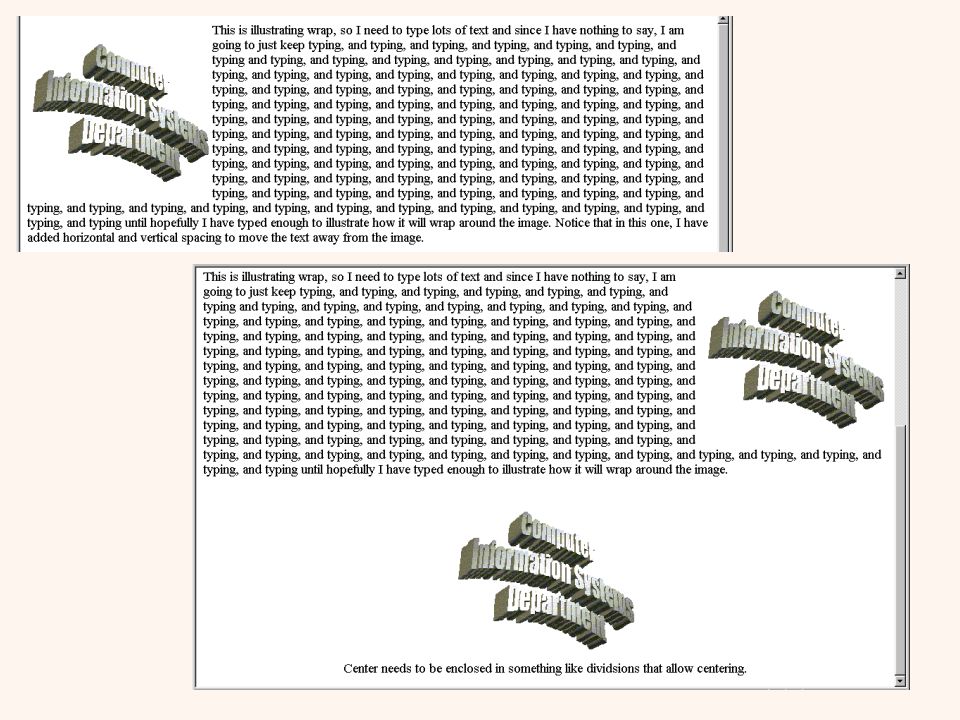
<img hspace= "15" vspace = "15" align="left" src= "CISa.gif" width="257" height="237" alt="CISa image" /> This is illustrating wrap, so I need to type lots of text and since I have nothing to say, I am going to just keep typing, and typing, and typing, and typing, and typing, and typing, and typing and typing, and typing, and typing, and typing, and typing, and typing, and typing, and typing, and typing, and typing, and typing, and typing, and typing, and typing, and typing, and typing, and typing, and typing, and typing, and typing, and typing, and typing, and typing, and typing, and typing, and typing, and typing, and typing, and typing, and typing, and typing, and typing, and typing, and typing, and typing, and typing, and typing, and typing, and typing, and typing, and typing, and typing, and typing, and typing, and typing, and typing, and typing, and typing, and typing, and typing, and typing, and typing, and typing until hopefully I have typed enough to illustrate how it will wrap around the image. Notice that in this one, I have added horizontal and vertical spacing to move the text away from the image.

6
This is illustrating wrap, so I need to type lots of text and since I have nothing to say, I am going to just keep typing, and typing, and typing, and typing, and typing, and typing, and typing, and typing until hopefully I have typed enough to illustrate how it will wrap around the image. Center needs to be enclosed in something like headers that allow centering.

7
I don't remember the size of this original image, so I am just going to play. In fact, to make an image smaller or larger, you should keep the height and width the same proportions that they were originally.

8
Now I am going to warp the height which seems to work well with the same height and width for this image.

9
Now let's use this image as a means of navigating - I will obviously use a small image for this... Remember, as I learned, top is a default that does not have to be established with NAME in regular HTML is some browsers. Remember also that in XHTML, name is replaced with id. To get rid of the border around the image, I can do the following: The problem with this is that it only works well when using an arrow or something that makes it clear that this is for the user to press. Usually after the a href tag and before the close a tag, I insert text. The user click on the text to follow the link. In this example, I am using an image in this spot so the user will click on the image.

11
<!DOCTYPE html PUBLIC "-//W3C//DTD XHTML 1.0 Strict//EN" "http://www.w3.org/TR/xhtml1/DTD/xhtml1-strict.dtd"> Working with images etc... This is CIS! This is the image of CIS I created using Word! This is the picture again This is the image aligned to the top <img style="vertical-align: top;" src= "CISa.gif" width="257" height="237" alt="CISa image" /> This is the image aligned in the middle <img style="vertical-align: middle;" src= "CISa.gif" width="257" height="237" alt="CISa image" /> of the screen. This is introimagesX1.html

12
<!DOCTYPE html PUBLIC "-//W3C//DTD XHTML 1.0 Strict//EN" "http://www.w3.org/TR/xhtml1/DTD/xhtml1-strict.dtd"> Working with images etc... <img style="float: left;" src= "CISa.gif" width="257" height="237" alt="CISa image" /> This is illustrating wrap, so I need to type lots of text and since I have nothing to say, I am going to just keep typing, and typing, and typing, and typing, and typing, and typing, and typing and typing, and typing, and typing, and typing, and typing, and typing, and typing, and typing, and typing, and typing, and typing, and typing, and typing, and typing, and typing, and typing, and typing, and typing, and typing, and typing, and typing, and typing, and typing, and typing, and typing, and typing, and typing, and typing, and typing, and typing, and typing, and typing, and typing, and typing, and typing, and typing, and typing, and typing, and typing, and typing, and typing, and typing, and typing, and typing, and typing, and typing, and typing, and typing, and typing, and typing, and typing, and typing, and typing, and typing, and typing, and typing, and typing, and typing, and typing, and typing, and typing, and typing, and typing, and typing, and typing, and typing until hopefully I have typed enough to illustrate how it will wrap around the image. Notice that in this one, I have added horizontal and vertical spacing to move the text away from the image. This is illustrating wrap, so I need to type lots of text and since I have nothing to say, I am going to just keep typing, and typing, and typing, and typing, and typing, and typing, and typing and typing until hopefully I have typed enough to illustrate how it will wrap around the image. <img src= "CISa.gif" width="257" height="237" alt="CISa image" /> Center needs to be enclosed in something like dividsions that allow centering.

14
<!DOCTYPE html PUBLIC "-//W3C//DTD XHTML 1.0 Strict//EN" "http://www.w3.org/TR/xhtml1/DTD/xhtml1-strict.dtd"> Working with images etc... I don't remember the size of this original image, so I am just going to play. In fact, to make an image smaller or larger, you should keep the height and width the same proportions that they were originally. Now I am going to warp the height which seems to work well with the same height and width for this image. This is introimagesX3.html

15
<!DOCTYPE html PUBLIC "-//W3C//DTD XHTML 1.0 Strict//EN" "http://www.w3.org/TR/xhtml1/DTD/xhtml1-strict.dtd"> Working with images etc... Now let's use this image as a means of navigating - I will obviously use a small image for this... Remember, as I learned, top is a default that does not have to be established with NAME in regular HTML is some browsers. Remember also that in XHTML, name is replaced with id. To get rid of the border around the image, I can do the following: <img style="border:none;" width="75" height="75" src= "CISa.gif" alt="CISa image" /> The problem with this is that it only works well when using an arrow or something that makes it clear that this is for the user to press. This is introimagesX4.html

16
<!DOCTYPE html PUBLIC "-//W3C//DTD XHTML 1.0 Transitional//EN" "http://www.w3.org/TR/xhtml1/DTD/xhtml1-transitional.dtd"> Working with images etc... Click on this image to see image enlarged. This is a horrible back ground image. Text and images are difficult to read. A background image should truly be in the background.

17
<!DOCTYPE html PUBLIC "-//W3C//DTD XHTML 1.0 Transitional//EN" "http://www.w3.org/TR/xhtml1/DTD/xhtml1-transitional.dtd"> Big image This is the large version of the image. <img border="0" width="50" height="50" src="CISa.gif" alt="CIS logo" /> Click on this image to return to previous page. The icon at the bottom is a link back to the original page. This is bigim.html

18
<!DOCTYPE html PUBLIC "-//W3C//DTD XHTML 1.0 Strict//EN" "http://www.w3.org/TR/xhtml1/DTD/xhtml1-strict.dtd"> Working with images etc... body { background-image: url(myback.gif); } <img style="border: none" width="50" height="50" src="CISa.gif" alt="CISa" /> Click on this image to see image enlarged. <!DOCTYPE html PUBLIC "-//W3C//DTD XHTML 1.0 Strict//EN" "http://www.w3.org/TR/xhtml1/DTD/xhtml1-strict.dtd"> Big image This is the large version of the image. <img style="border: none;" width="50" height="50" src="CISa.gif" alt="CIS logo" /> Click on this image to return to previous page. moreimX.html bigimX.html
; } <img style= border: none width= 50 height= 50 src= CISa.gif alt= CISa /> Click on this image to see image enlarged. <!DOCTYPE html PUBLIC -//W3C//DTD XHTML 1.0 Strict//EN > Big image This is the large version of the image. <img style= border: none; width= 50 height= 50 src= CISa.gif alt= CIS logo /> Click on this image to return to previous page. moreimX.html bigimX.html.")
20
<!DOCTYPE html PUBLIC "-//W3C//DTD XHTML 1.0 Transitional//EN" "http://www.w3.org/TR/xhtml/DTD/xhtmll-transitional.dtd"> Picture from a snow storm The snow of 1996! NOTE: This image is a picture that I took and had developed onto a disk. If it is not saved as a gif or jpeg image, it needs to be taken into an application package that deals with graphics and converted. Microsoft Photo Editor is a good possibility. I then put the image out on my site as snow.gif. Remember images are separate files. For this page, I have two things stored: snow.html and snow.gif. They are both in the same directory so I do not need to use any path to find the image. I strongly recommend storing you page and your images in the same directory! <!DOCTYPE html PUBLIC "-//W3C//DTD XHTML 1.0 Strict//EN" "http://www.w3.org/TR/xhtml/DTD/xhtmll-strict.dtd"> Picture from a snow storm The snow of 1996! NOTE: This image is a picture that I took and had developed onto a disk. If it is not saved as a gif or jpeg image, it needs to be taken into an application package that deals with graphics and converted. Microsoft Photo Editor is a good possibility. I then put the image out on my site as snow.gif. Remember images are separate files. For this page, I have two things stored: snow.html and snow.gif. They are both in the same directory so I do not need to use any path to find the image. I strongly recommend storing you page and your images in the same directory!

Similar presentations


, 1, 2, etc. cols: indicates the number of columns.>")


 and “href” add-on Add a text link.>")


