Download presentation
Presentation is loading. Please wait.

1
Microsoft Excel Spreadsheet Blue Section Project 2

2
Entering Formulas Order of Operations -#, %, ^, *, /, +, - Order of Operations in Excel is (PEMDAS) Parentheses, Exponents, Multiplication, Division, Addition, and Subtraction
 Parentheses, Exponents, Multiplication, Division, Addition, and Subtraction")
3
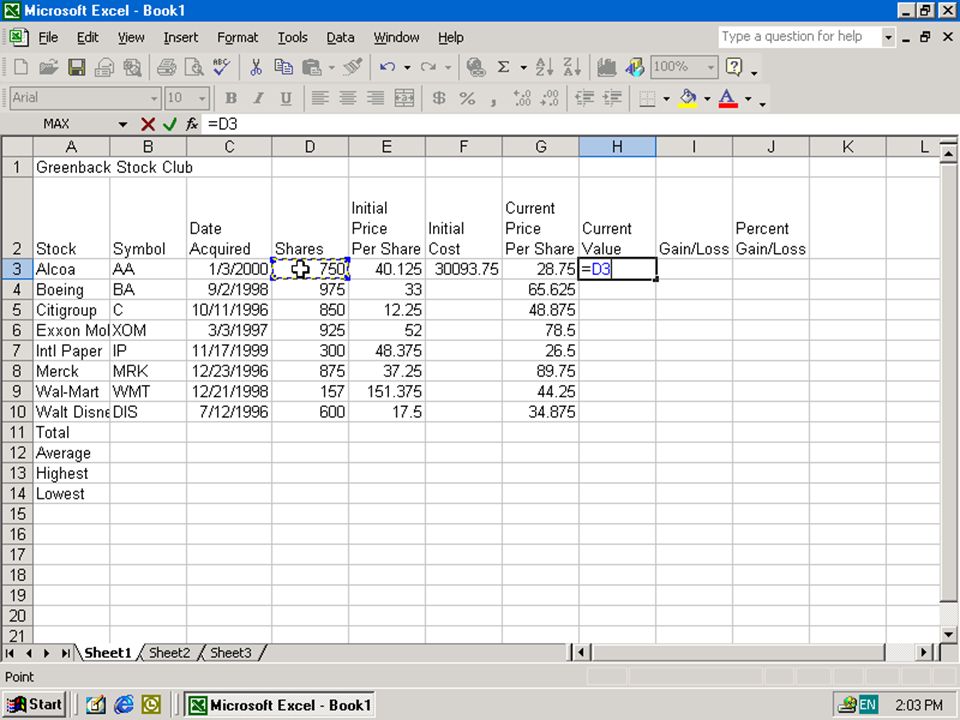
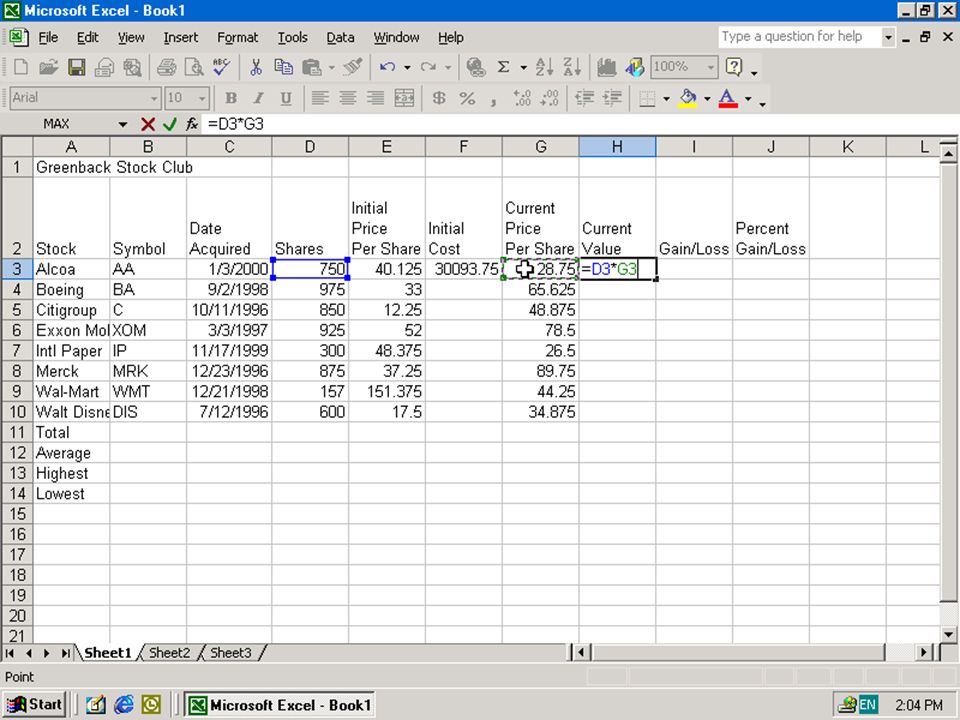
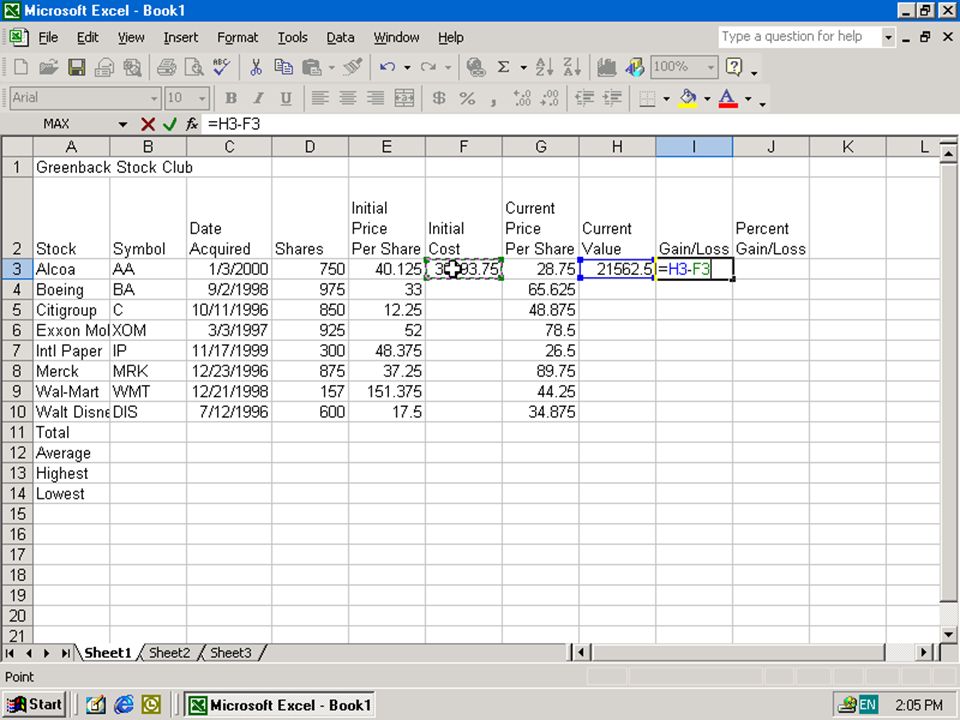
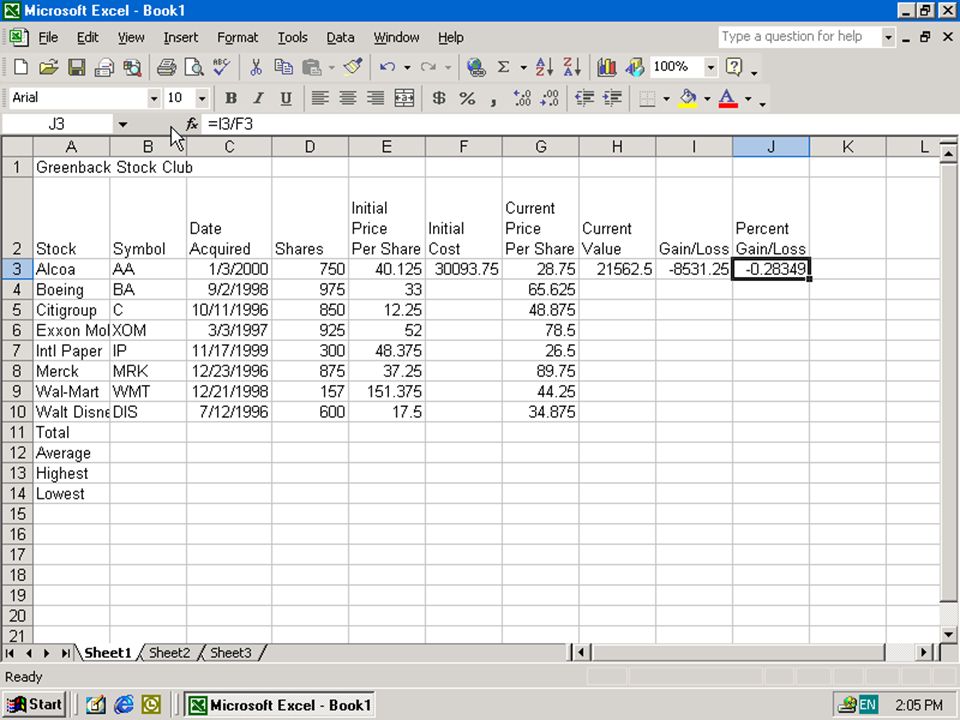
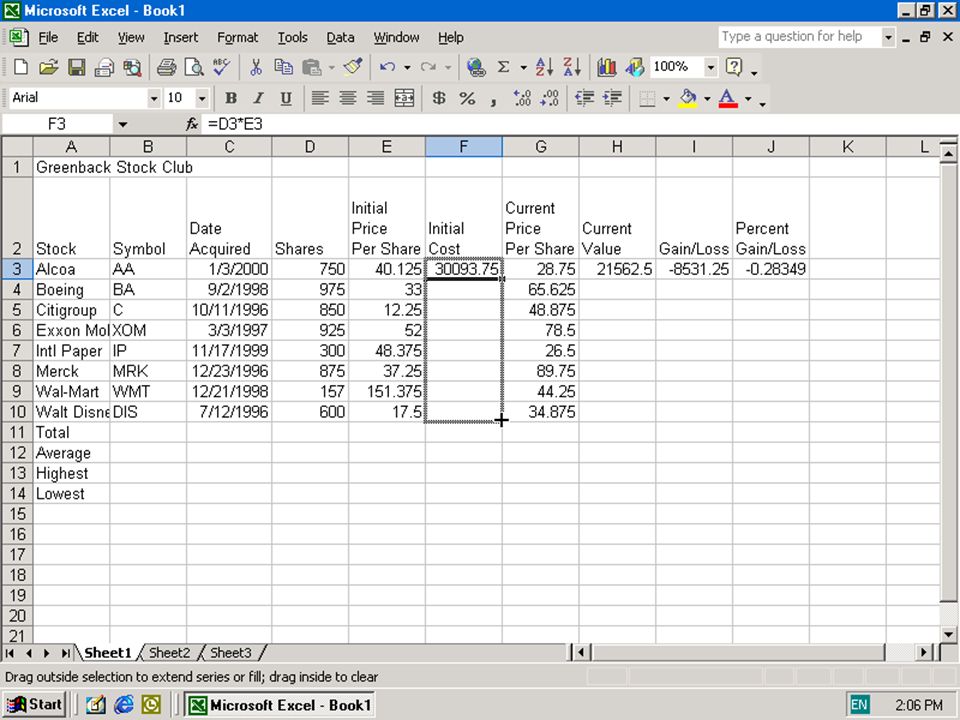
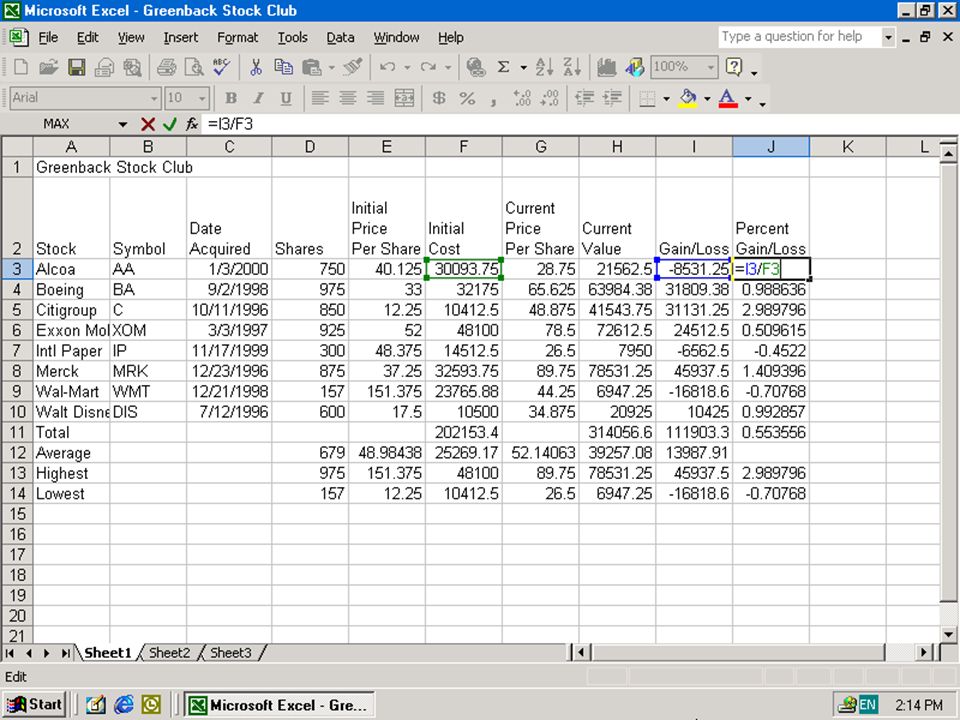
Entering Formulas Entering Formulas Using Point Mode Going to select the cell, and type a “=“ to start Separate each selection by an operation symbol When finished press Enter

8
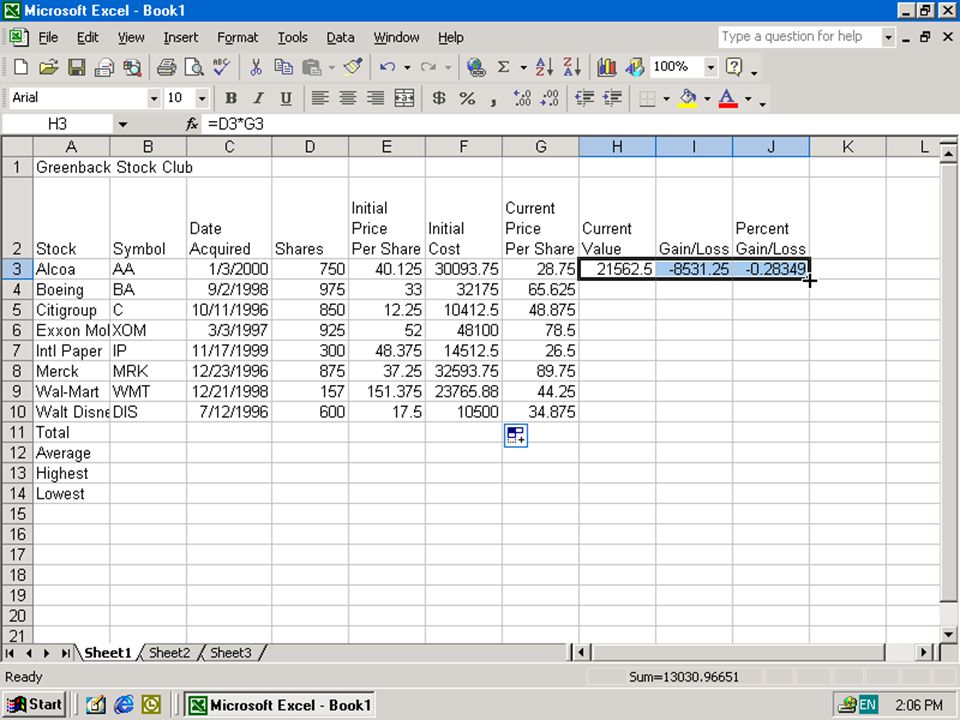
Entering Formulas Enter Formulas Using Formula Toolbar The formula toolbar is located above the worksheet Start the function with the “=“ Add each cell in the calculation separated by its operation symbol Press Enter when finished

9
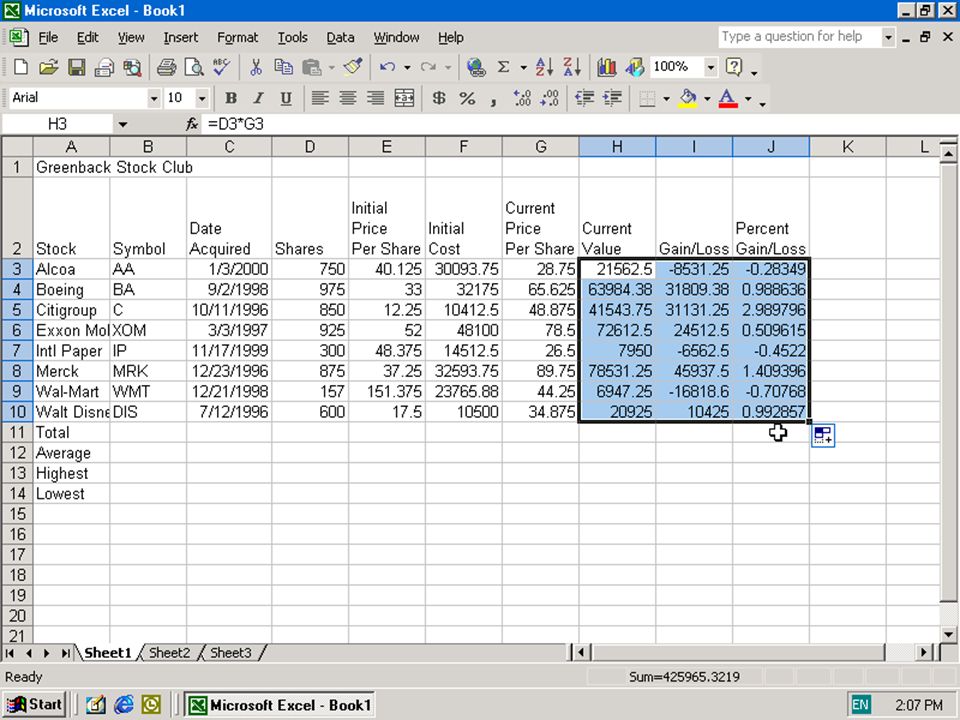
Entering Formulas Copying the Formulas Using the Fill Handle Select your first source cell Move your mouse pointer to the lower right hand corner of the active cell, until it becomes a black cross Drag the formula through the destination cells ex

13
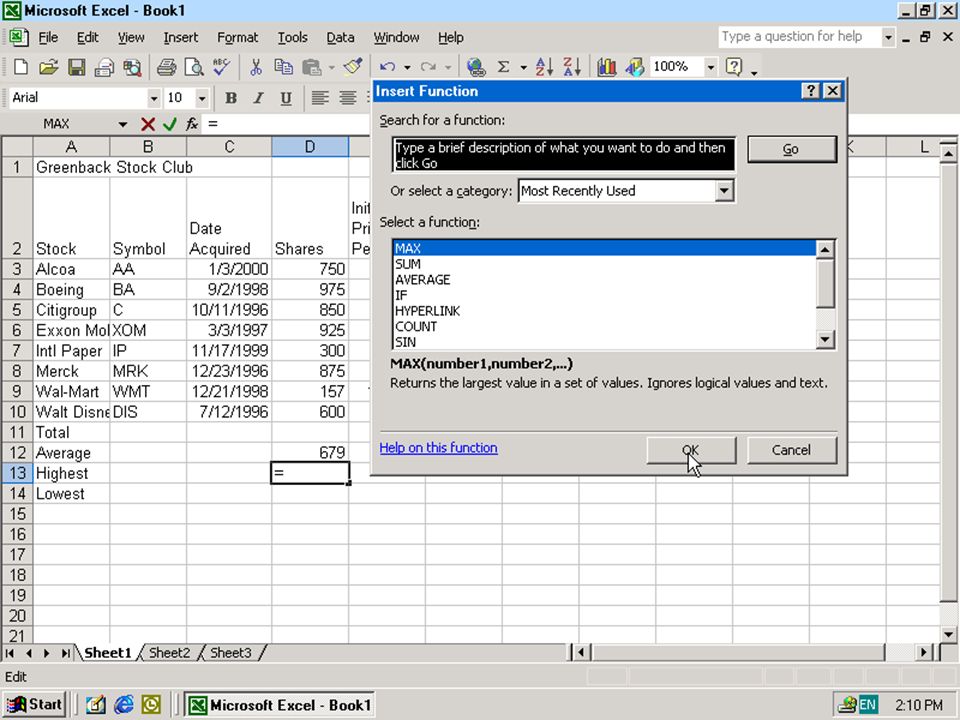
Functions Tools within Excel designed to help the user complete simple or complex calculations Access the functions by pressing the function key You will have a choice of menus, from simple to complex calculations Every function will include data source labels and a description window ex

14
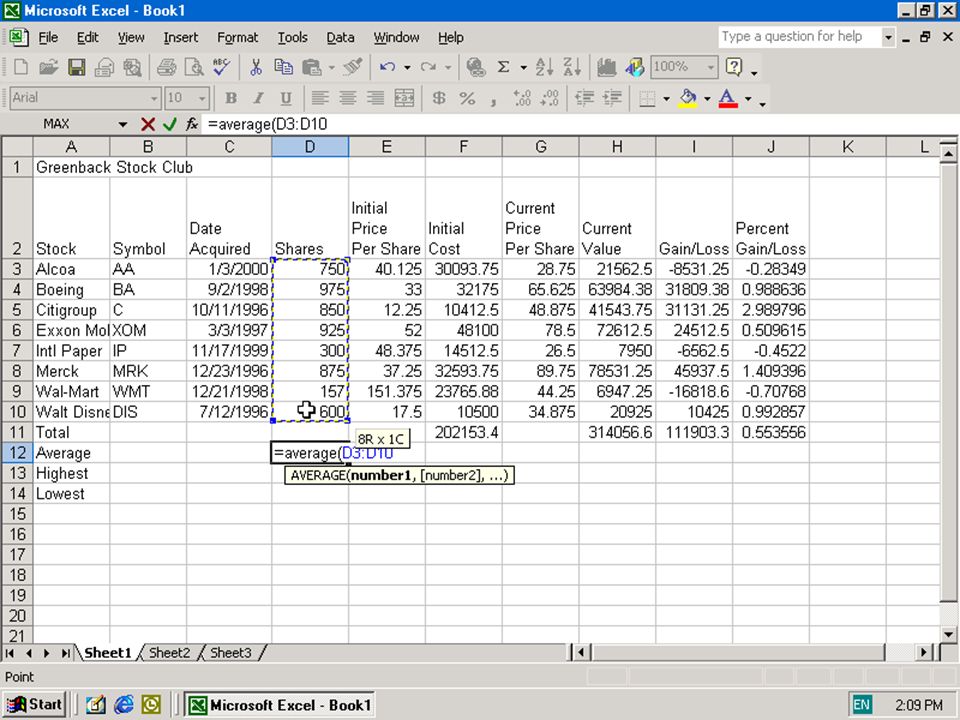
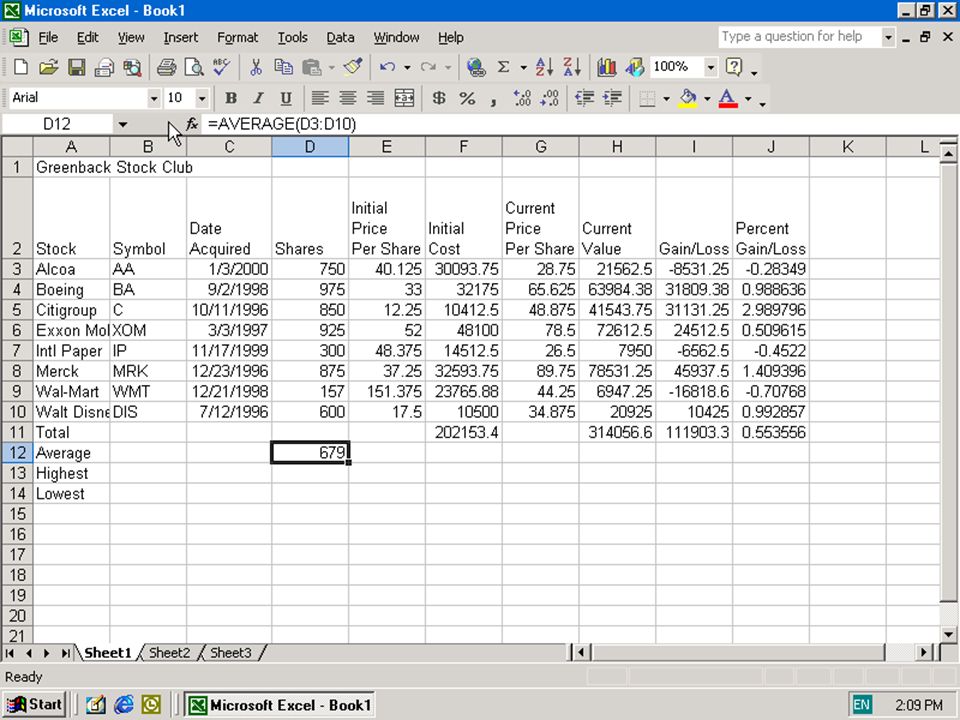
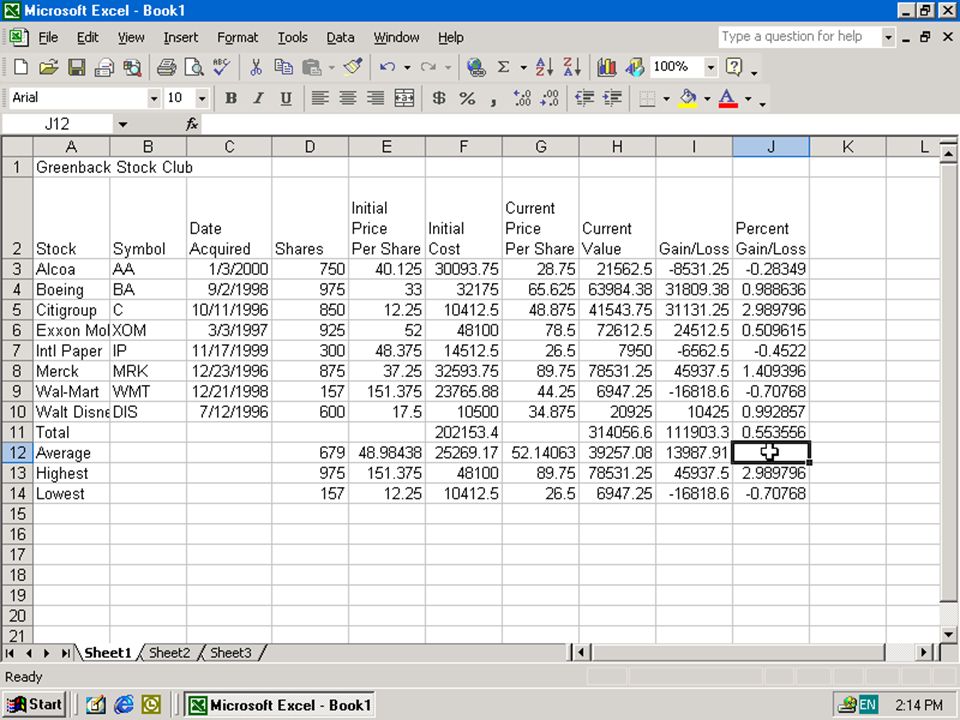
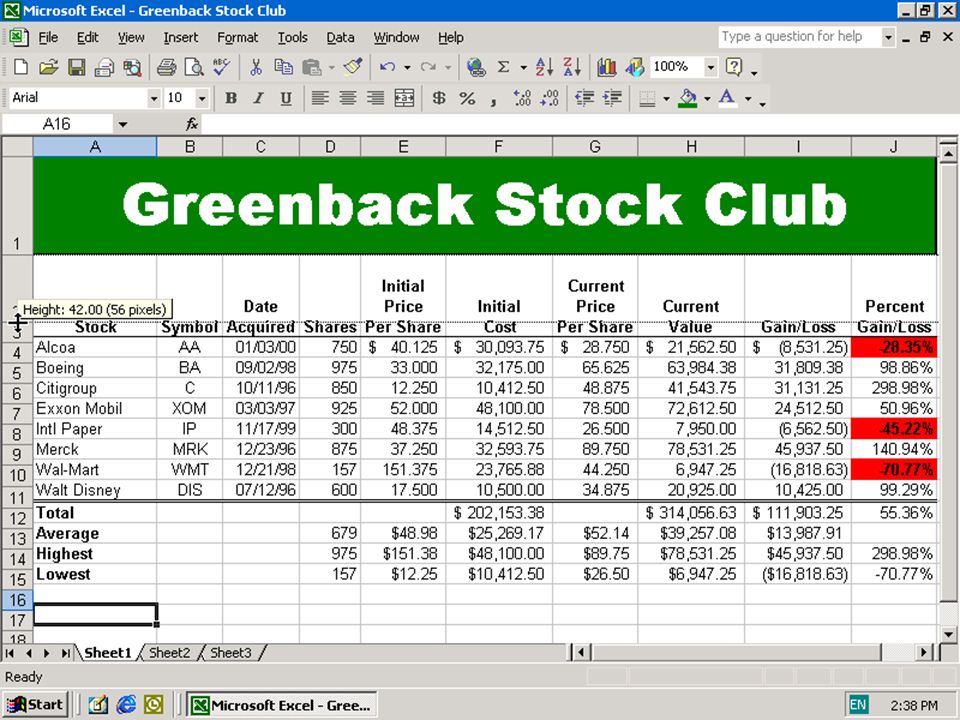
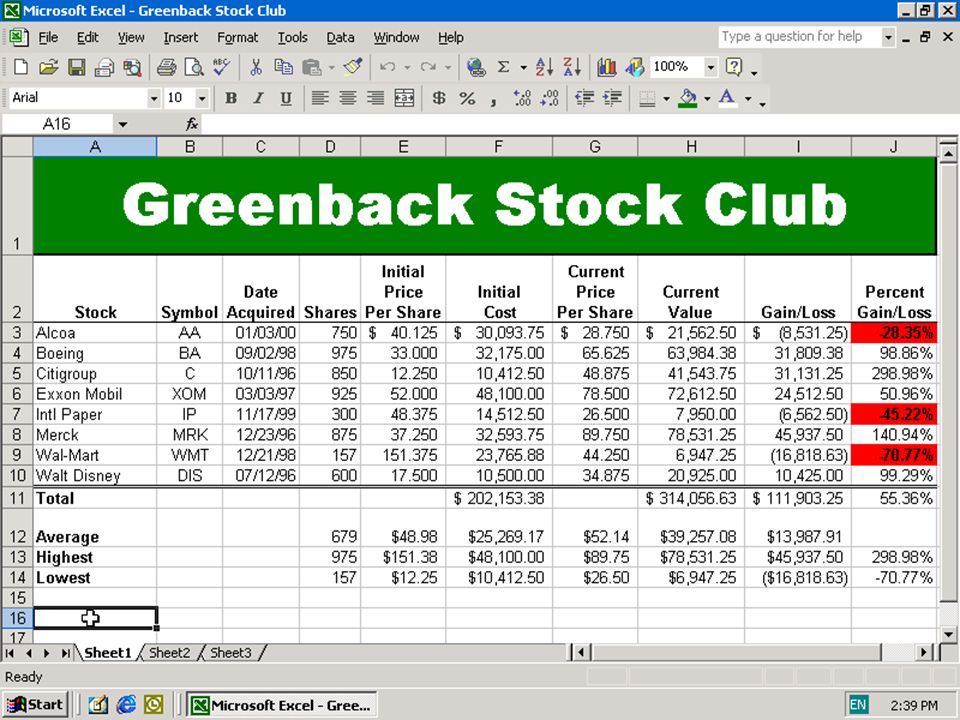
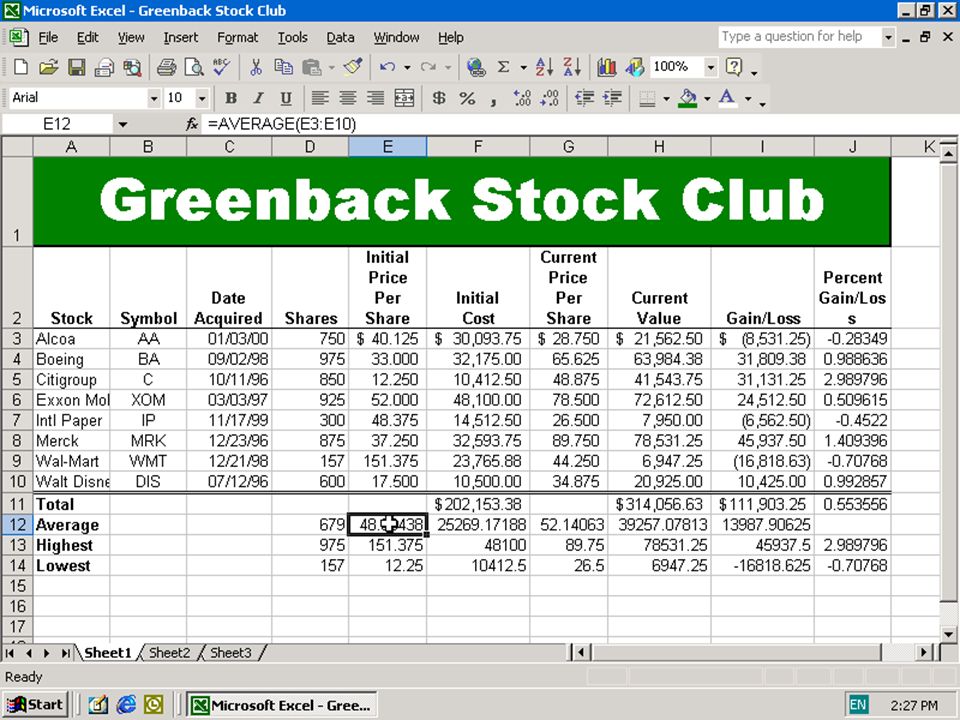
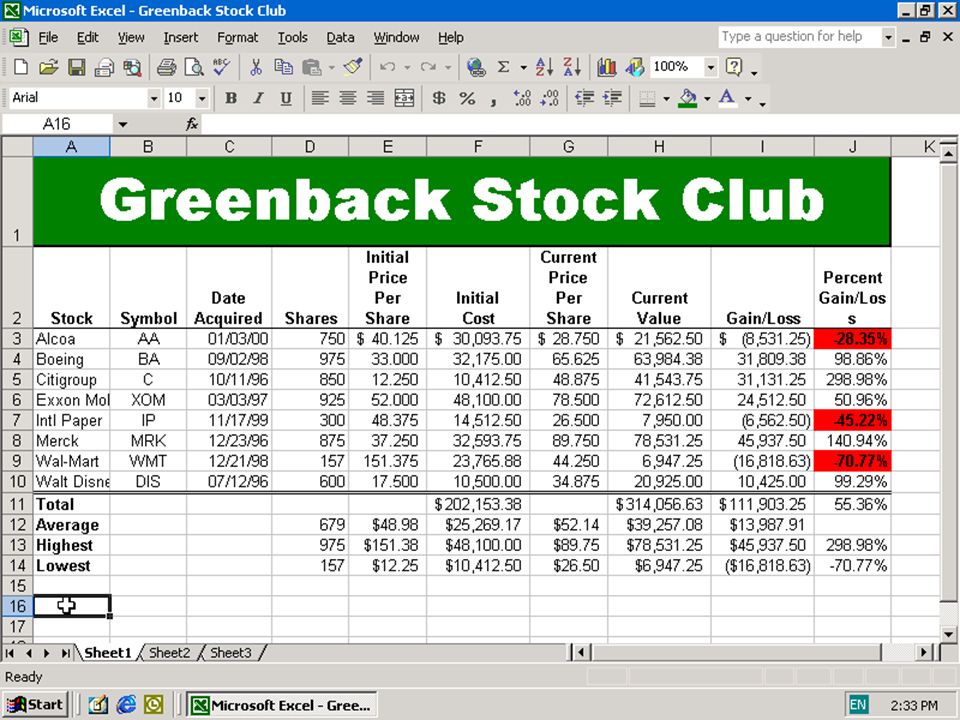
Using the AVERAGE, MAX, and MIN function The three of the most commonly used functions Determining the Average of a Range of Numbers Select the source cells and press the function key Choose Average from the All menu choice Verify the selections in the data source windows Press Enter finished

15
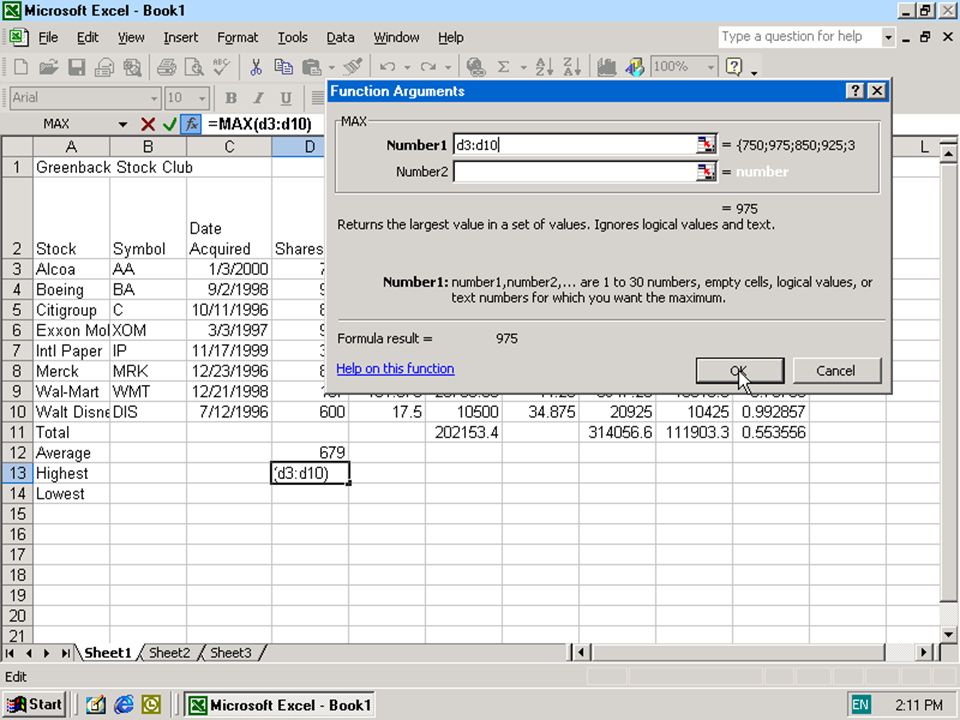
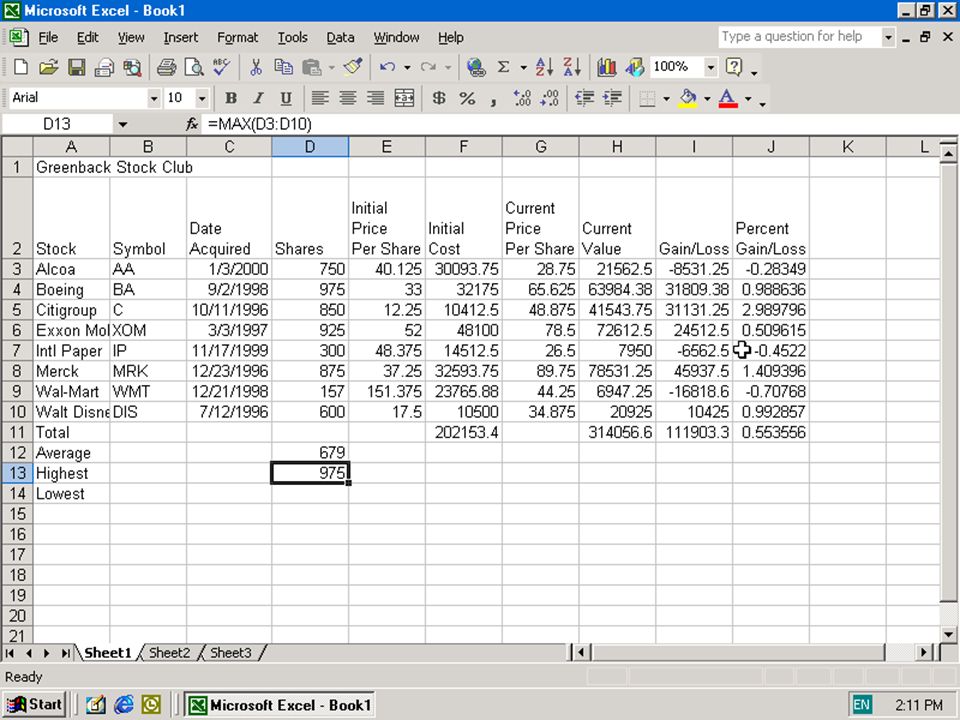
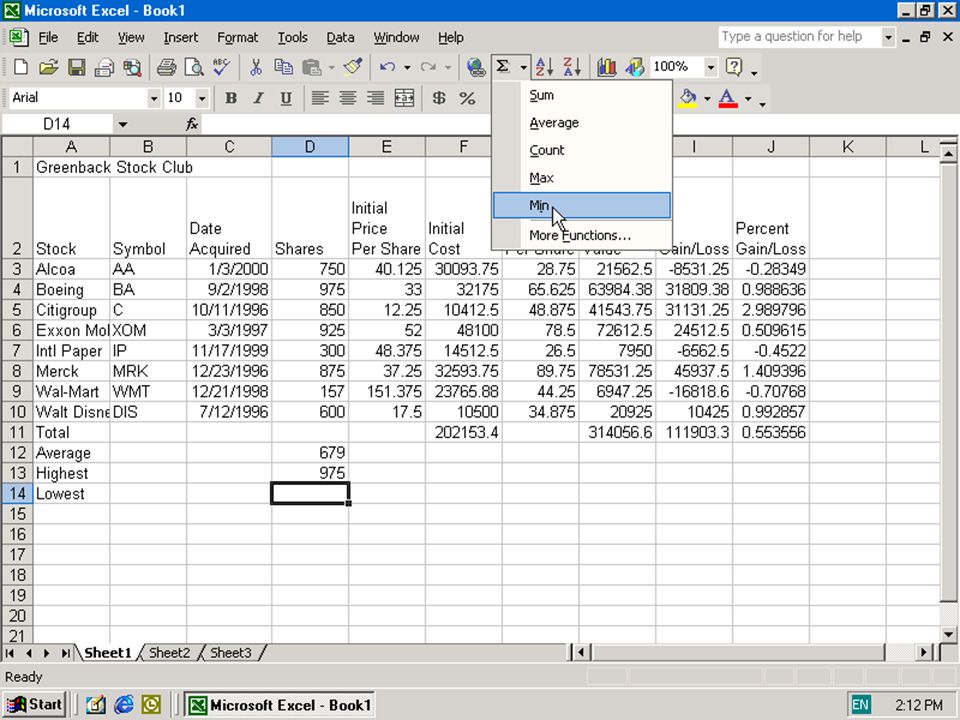
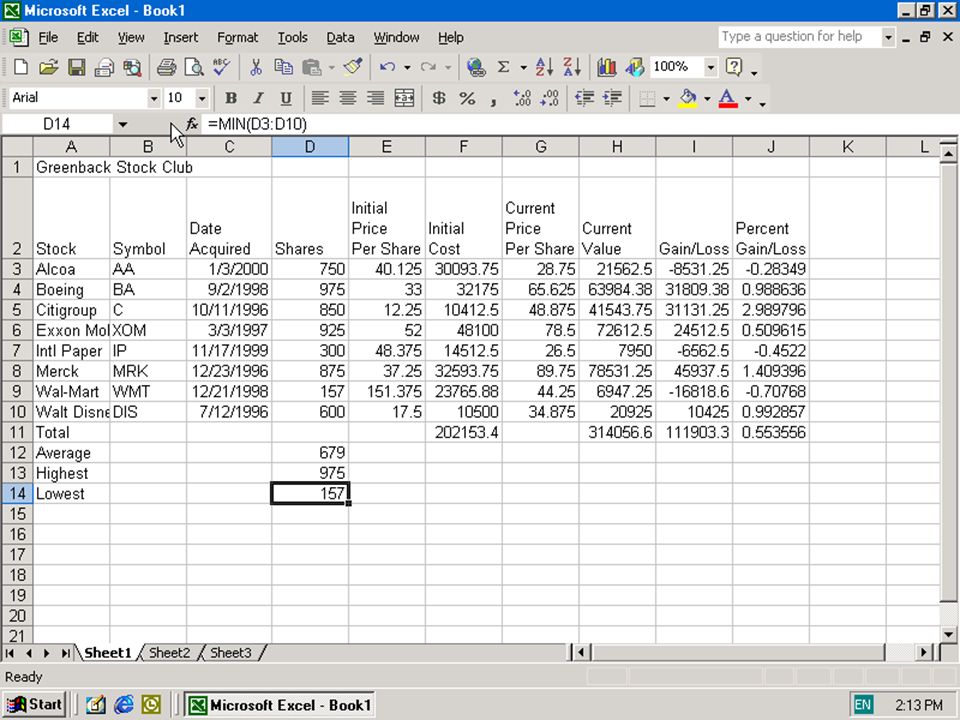
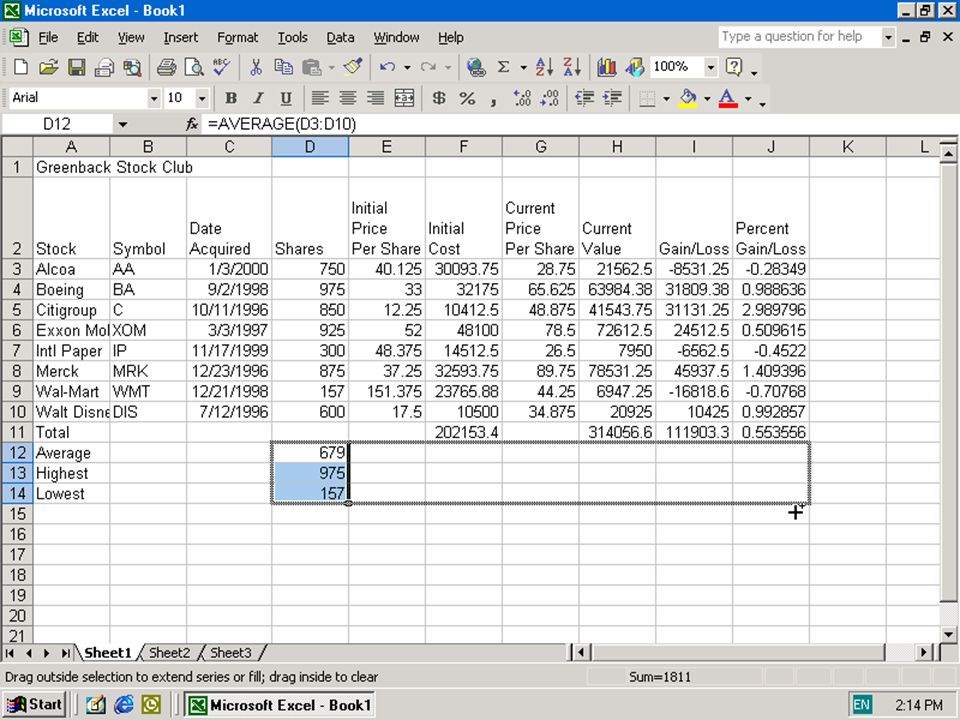
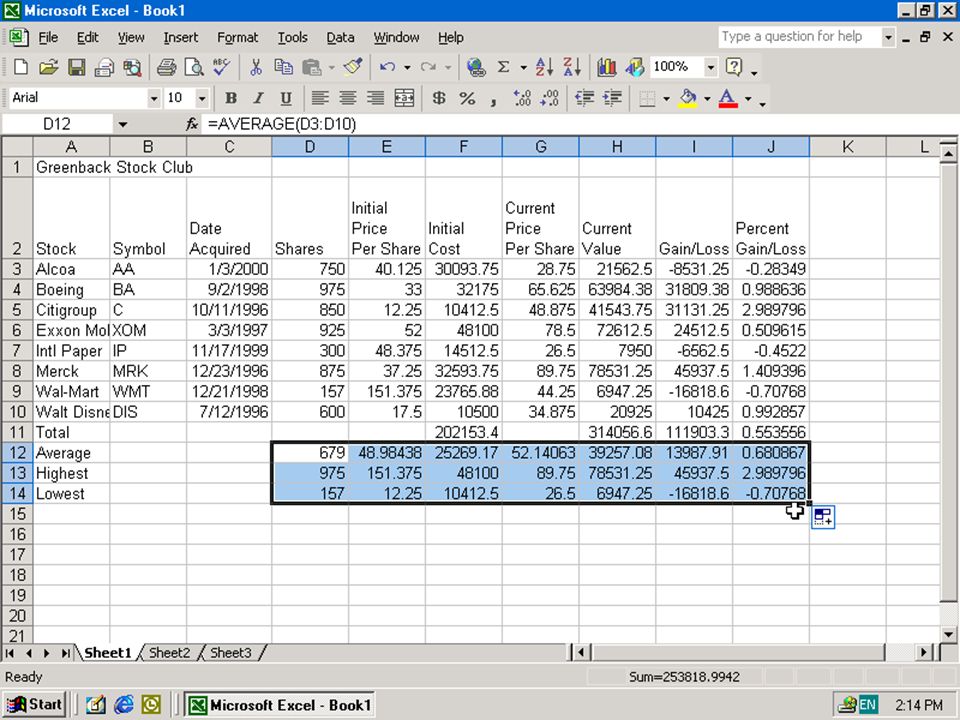
Using the AVERAGE, MAX, and MIN function Determining the Highest and Lowest Number in a Range of Numbers Do the same as the Average function, except instead of choosing Average choose either MAX or MIN Copying the AVERAGE, MAX, and MIN Functions To copy these functions select the source cells Use the fill handle Is Absolute or Relative Value needed? Ex

27
Using the AVERAGE, MAX, and MIN function Saving the Workbook Click the Save button on the Standard toolbar When the Save As dialog box displays, type Greenback Stock Club in the File name text box If necessary, click 3 ½ Floppy (A:) in the Save in list. Click the Save button in the Save As dialog box

28
Verifying Formulas Using Range Finder Double Click Excel shows cells involved in formula as highlighted Very beneficial when it comes to more complex calculations Easy way to troubleshoot a worksheet, without having to start over

30
Questions Entering Formulas (PMDAS) Copying Formulas Using Average, Max, and Min Range Finder
 Copying Formulas Using Average, Max, and Min Range Finder")
31
Formatting the Worksheet

32
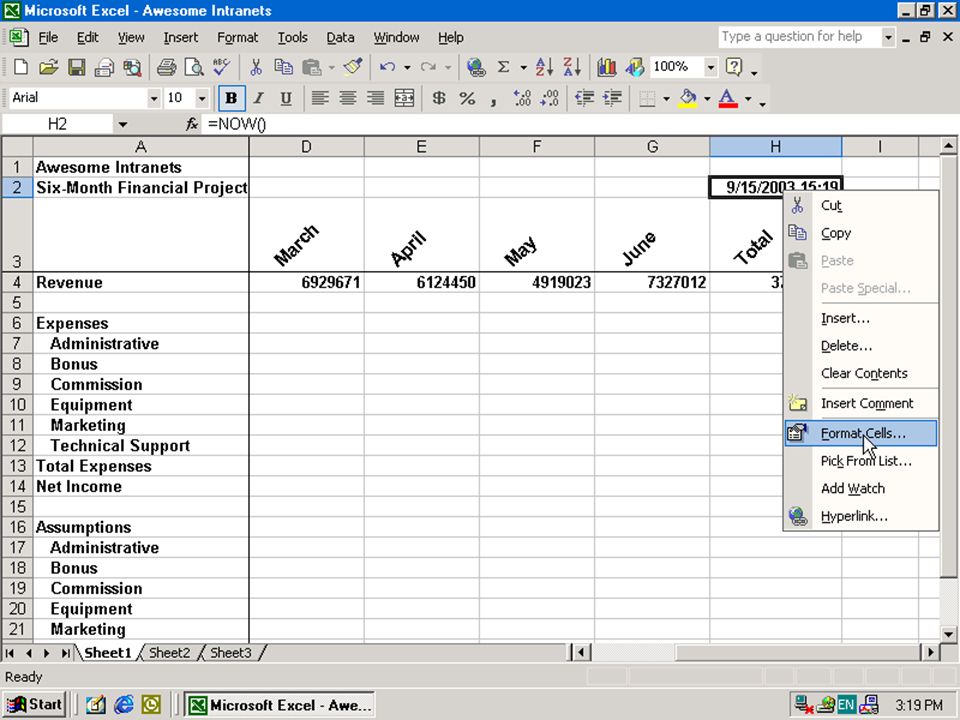
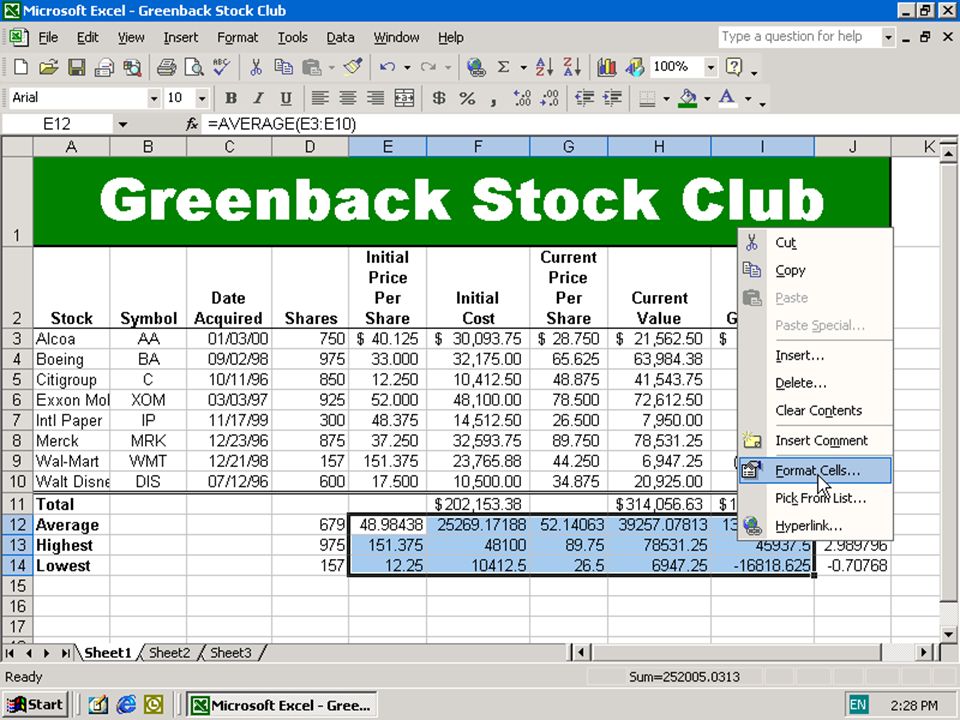
Format Cells Dialog Box To access it, right-click on the highlighted cells and choose Format Cells from the shortcut menu Select Format | Cells from the menu bar

33
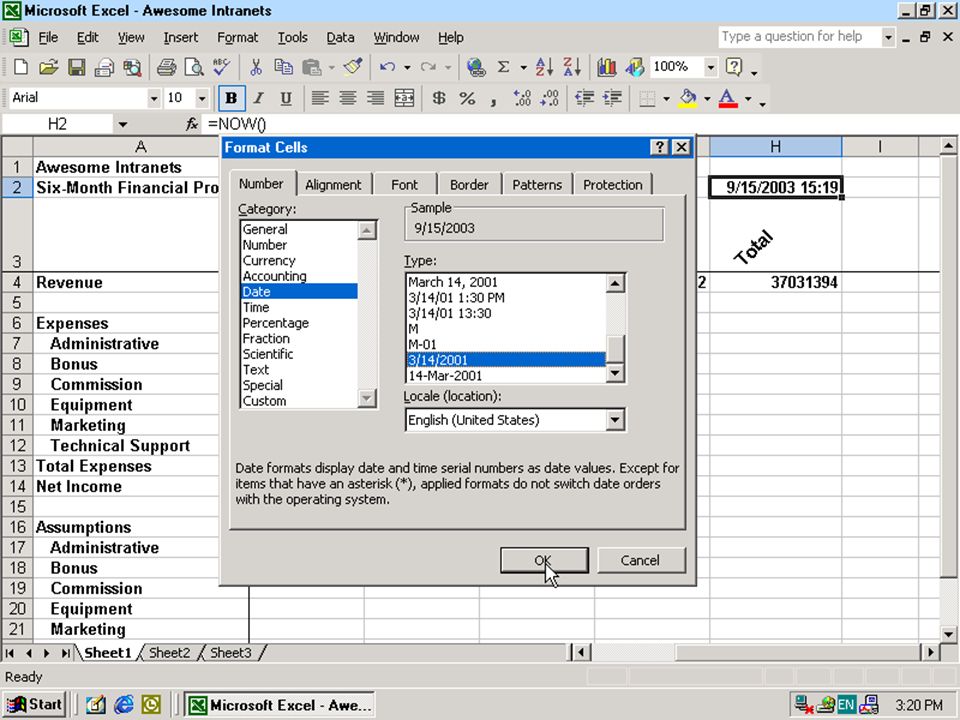
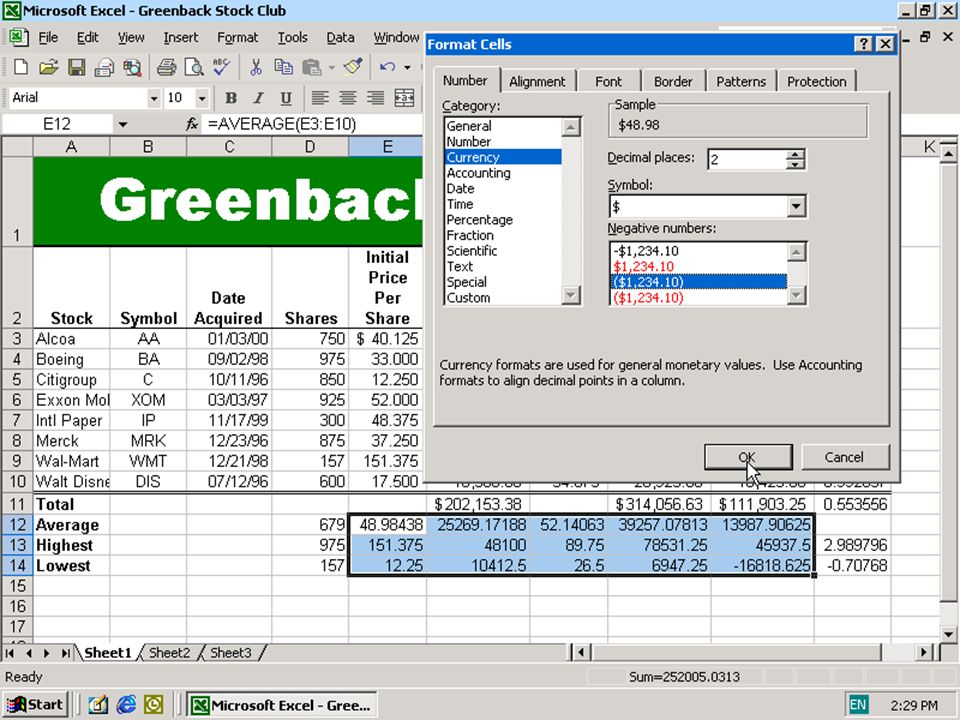
Formatting the Worksheet Formatting Cells Dialog Box Number tab - The data type can be selected from the options on this tab. Select General if the cell contains text and number, or another numerical category if the cell is a number that will be included in functions or formulas. Alignment tab - These options allow you to change the position and alignment of the data with the cell.

34
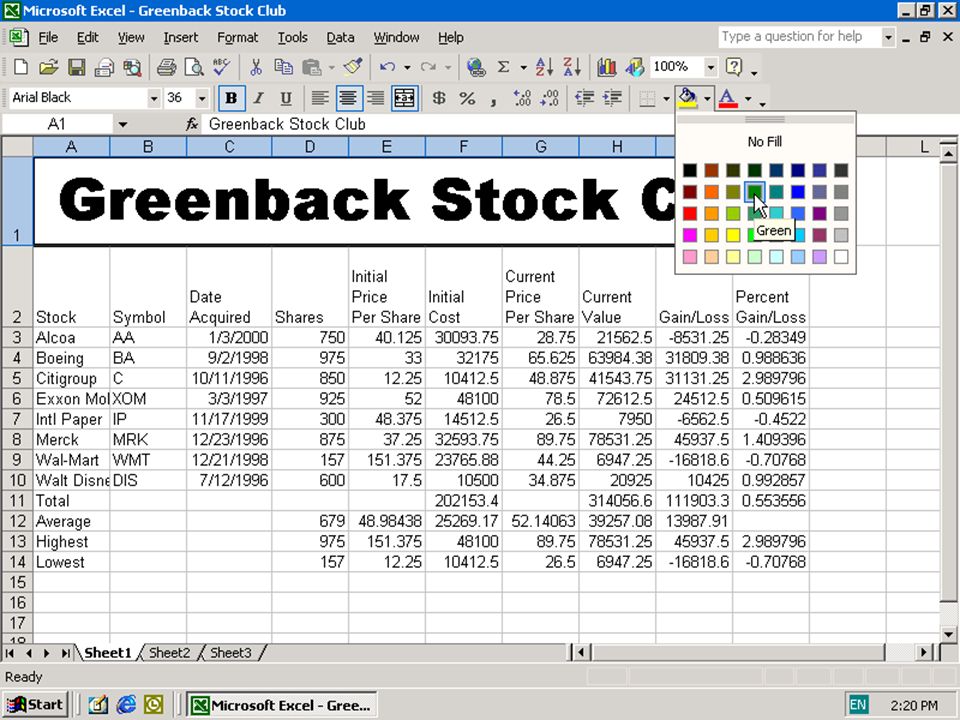
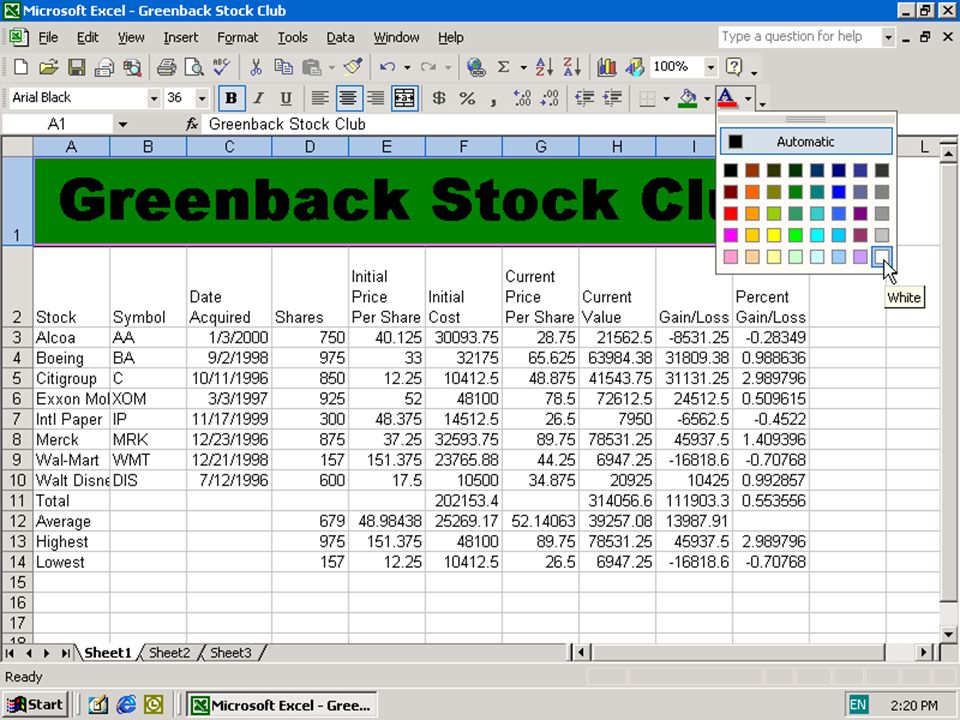
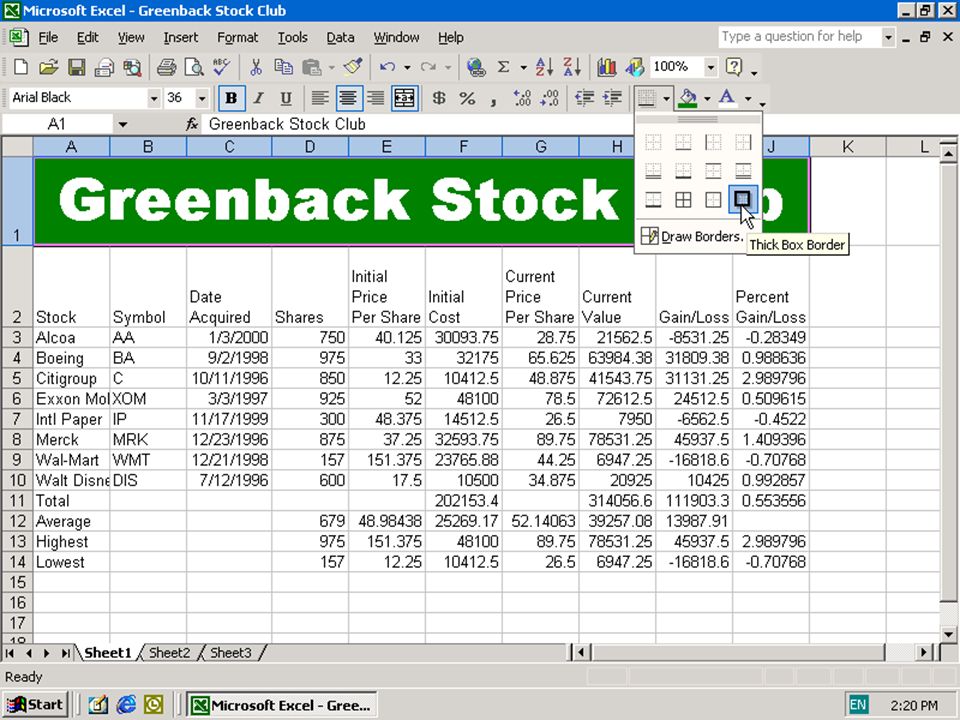
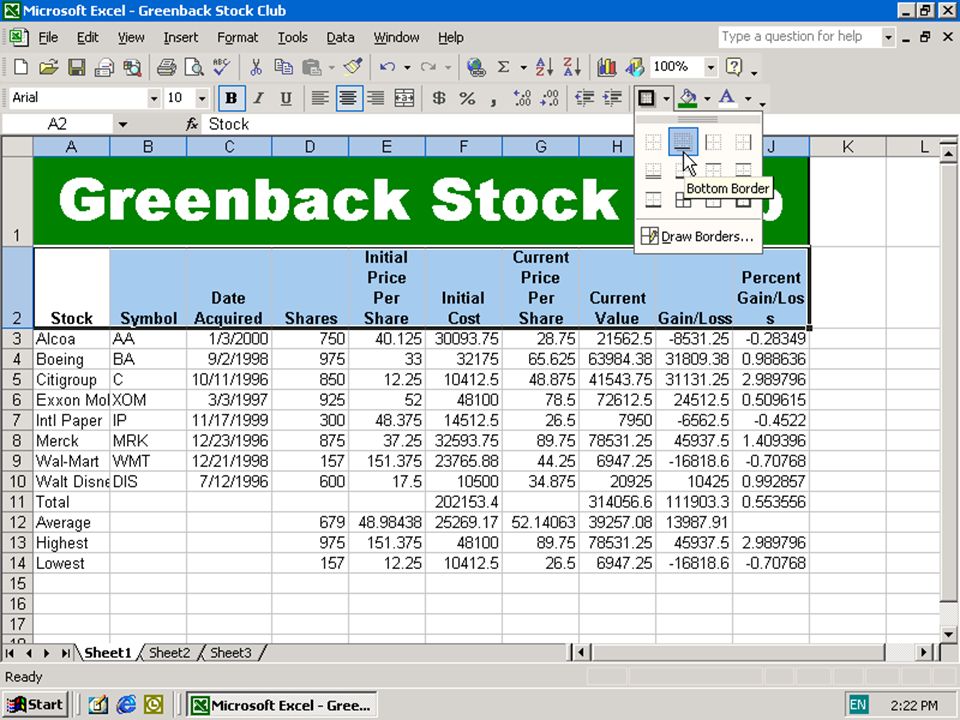
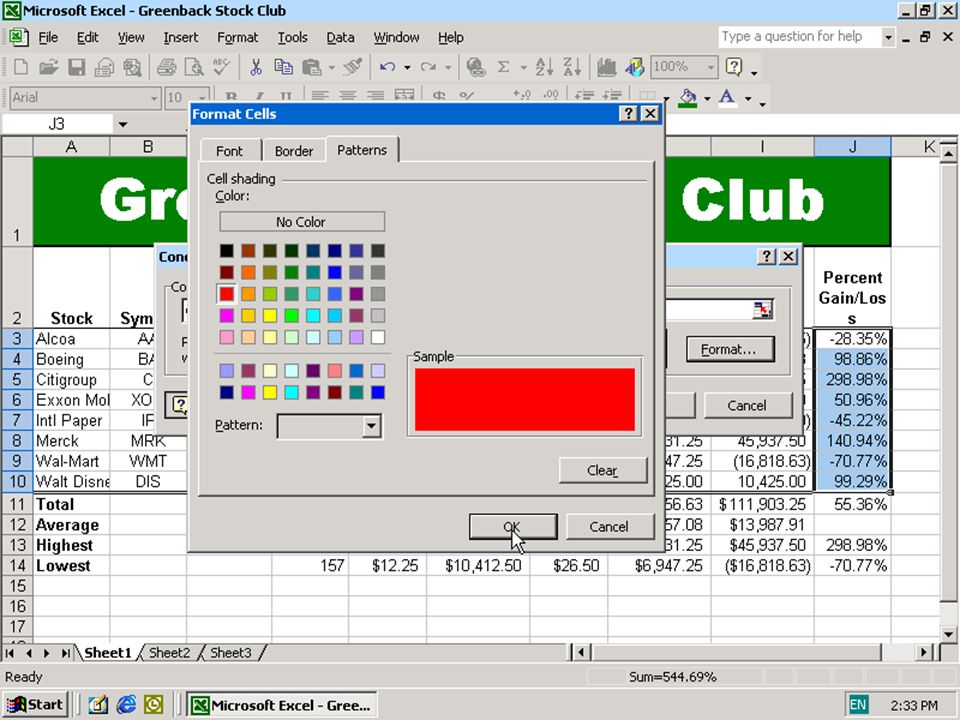
Formatting the Worksheet Formatting Cells Dialog Box Font tab - All of the font attributes are displayed in this tab including font face, size, style, and effects. Border and Pattern tabs - These tabs allow you to add borders, shading, and background colors to a cell. Protection tab - Lock cell formulas or not allow information to be changed

35
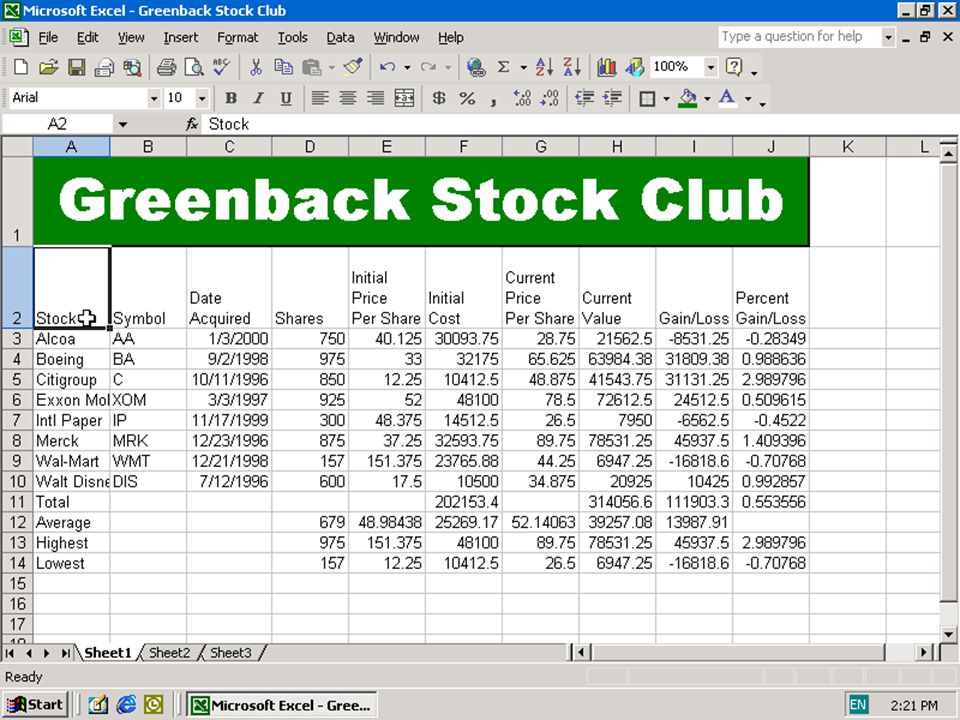
Formatting the Worksheet Changing the Worksheet Title Background and Font Colors and Applying an Outline Border Applying Formats to the Column Titles

41
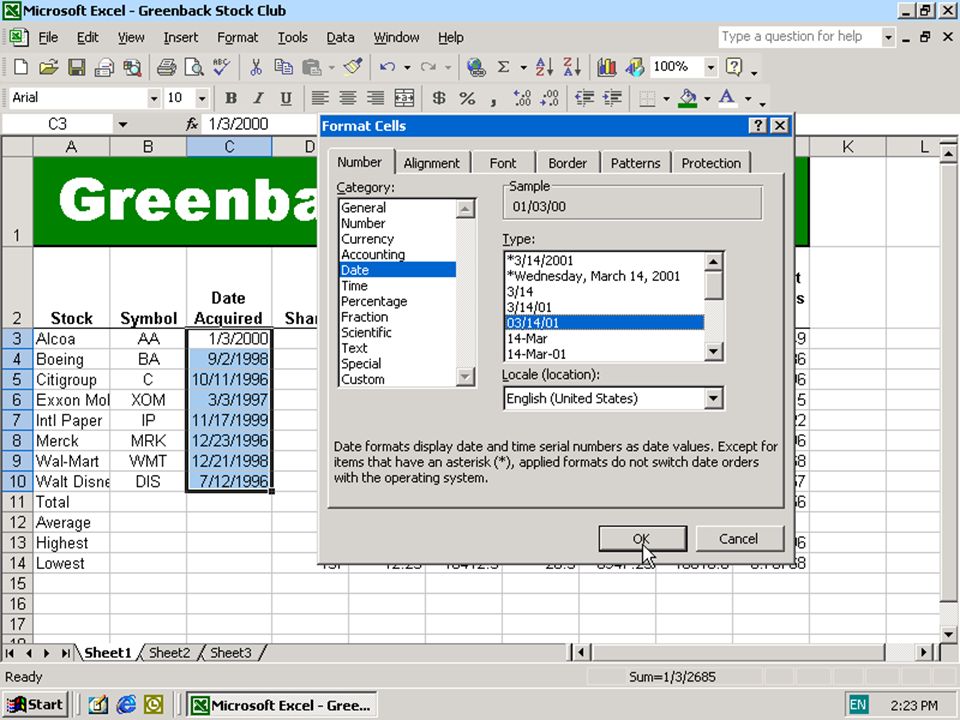
Formatting the Worksheet Dates and Times After entering the date in the cell, format it doing the following. Right-click the date cell, choose format cells Select Number Tab from the Format Cells window Select date from the category box, and select format from the type box

42
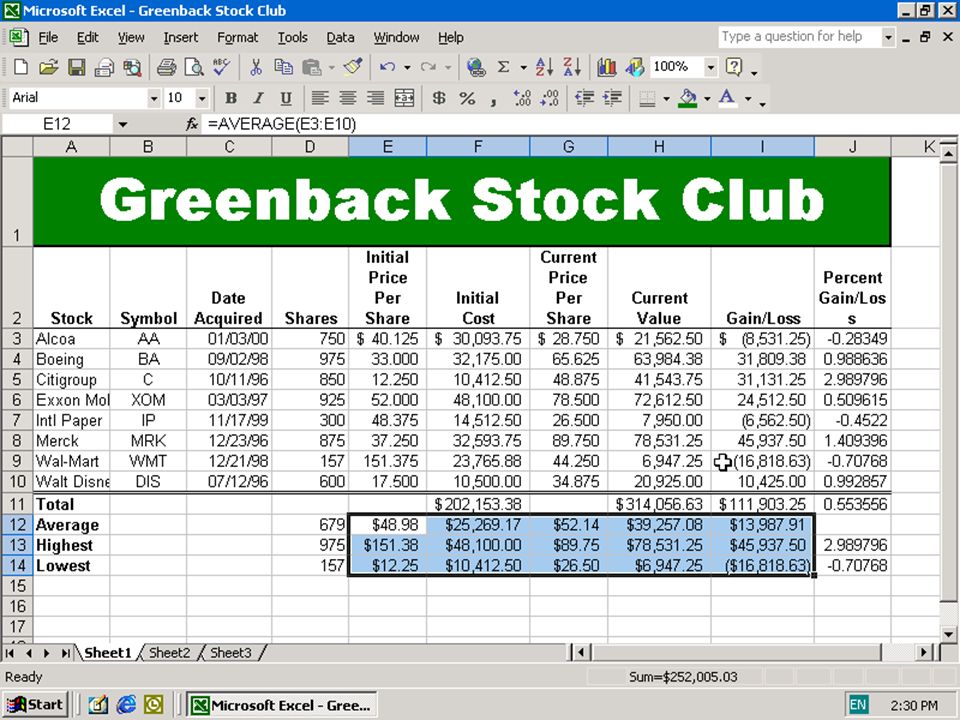
Formatting the Worksheet Centering and Formatting the Dates and Numbers in the Worksheet

44
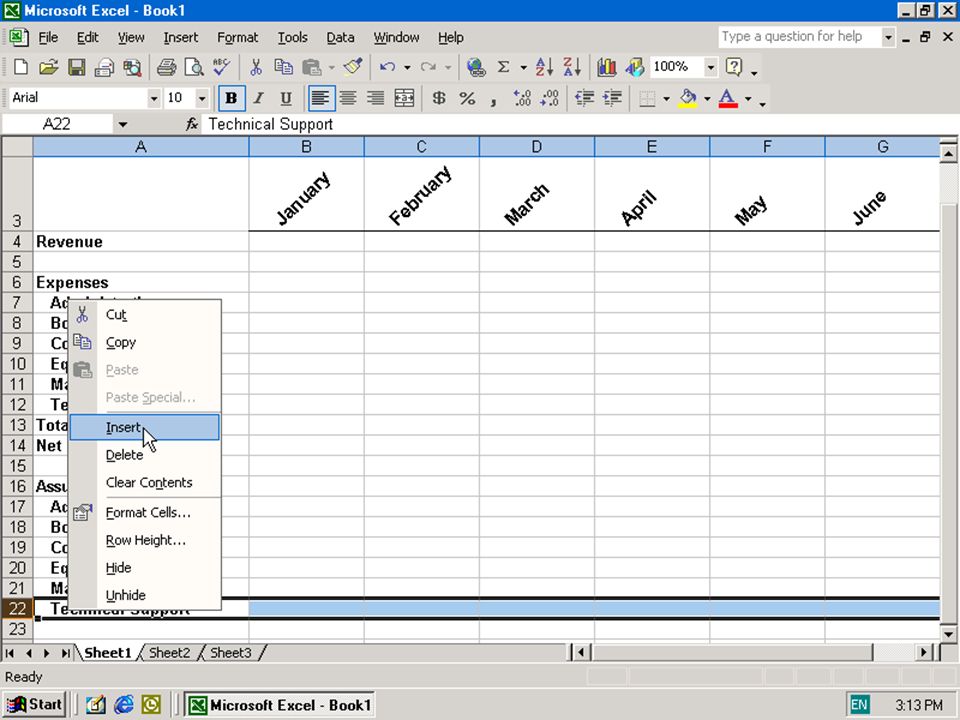
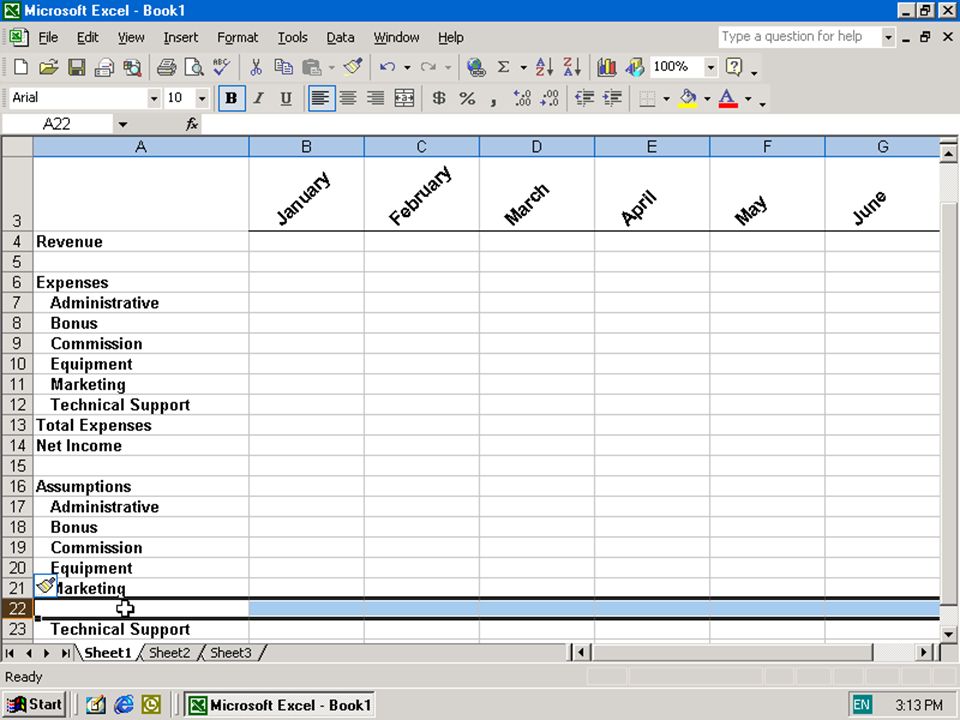
Formatting the Worksheet Adding Worksheets, Rows, and Columns Worksheets - Add a worksheet to a workbook by selecting Insert|Worksheet from the menu bar. Row - To add a row to a worksheet, select Insert|Rows from the menu bar, or highlight the row by clicking on the row label, right- click with the mouse, and choose Insert. Column - Add a column by selecting Insert|Columns from the menu bar, or highlight the column by click on the column label, right-click with the mouse, and choose Insert

45
Inserting and Deleting Cells in a Worksheet Inserting Rows and Columns Note: to insert a row/column, select the row/column below the destination

47
Inserting and Deleting Cells in a Worksheet Deleting Columns and Rows Right-click the whole row/column Select the Delete command Note: #REF! Might pop up if a formula is erased

48
Inserting and Deleting Cells in a Worksheet Inserting Individual Cells or a Range of Cells Cells command (Cut: CTRL-X) (Copy: CTRL-C) (Paste: CTRL-V)
 (Copy: CTRL-C) (Paste: CTRL-V)")
50
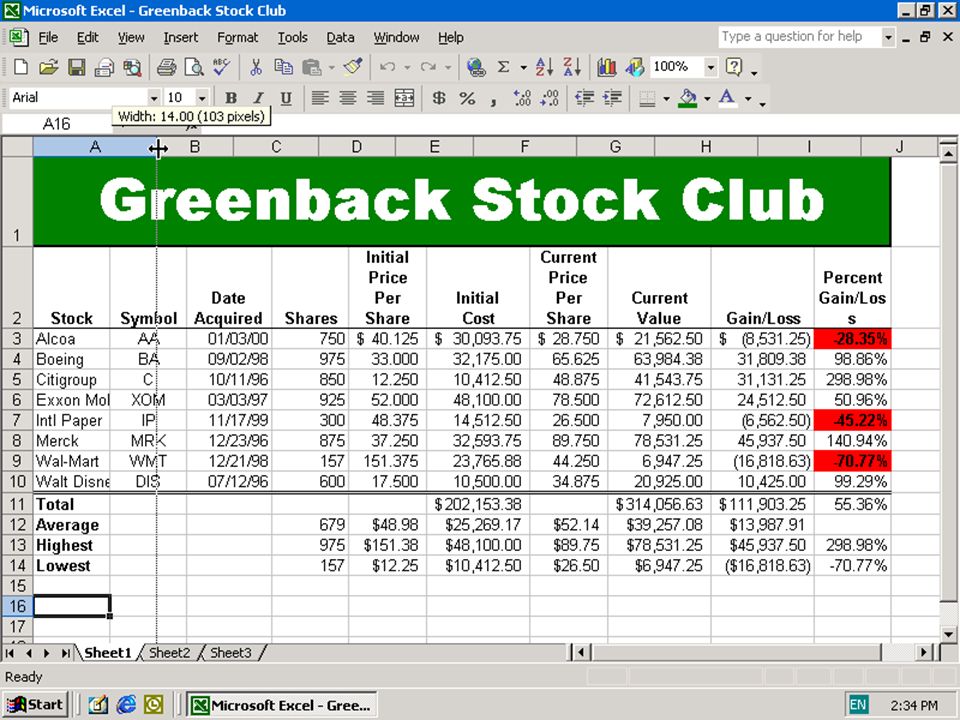
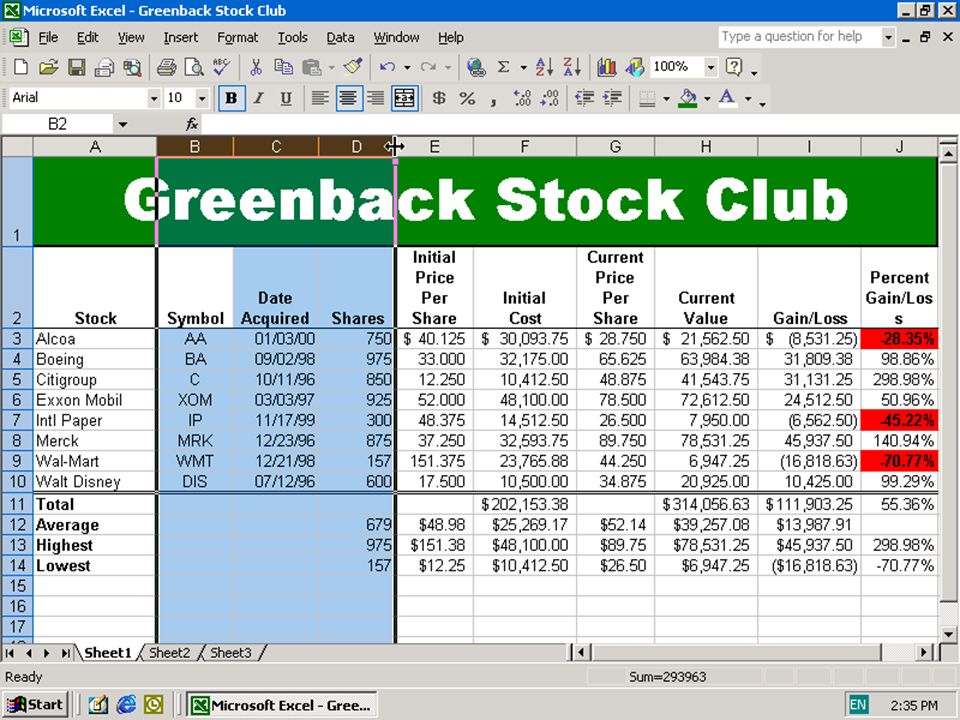
Formatting the Worksheet Resizing Rows and Columns There are two ways to resize rows and columns. 1. Resize a row by dragging the line below the label of the row you would like to resize. Resize a column in a similar manner by dragging the line to the right of the label corresponding to the column you want to resize. - OR - 2. Click the row or column label and select Format|Row|Height or Format|Column|Width from the menu bar to enter a numerical value for the height of the row or width of the column

51
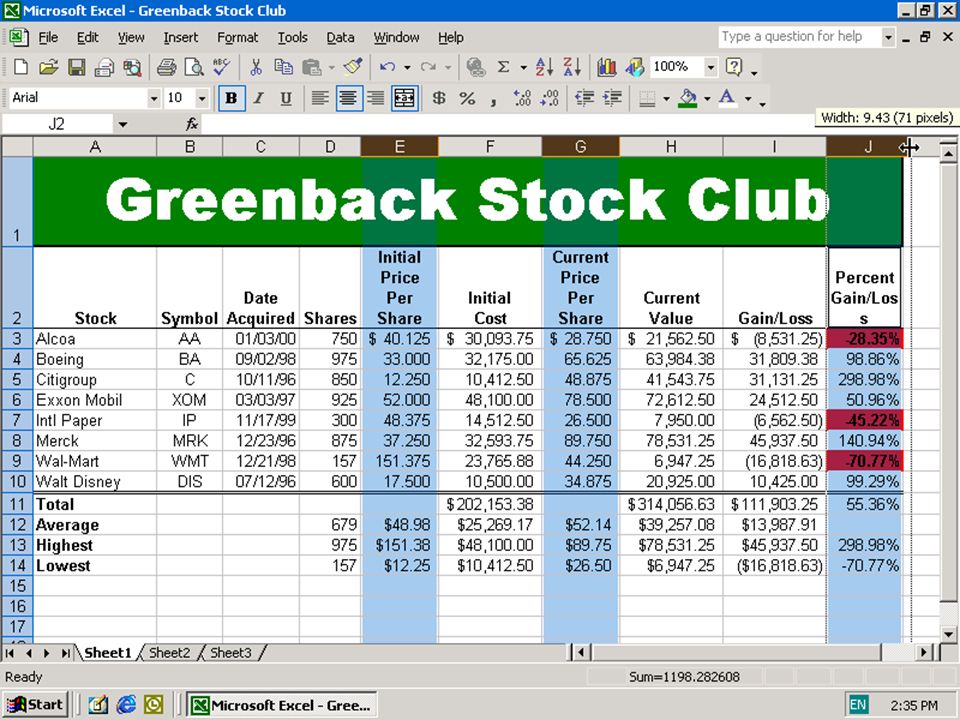
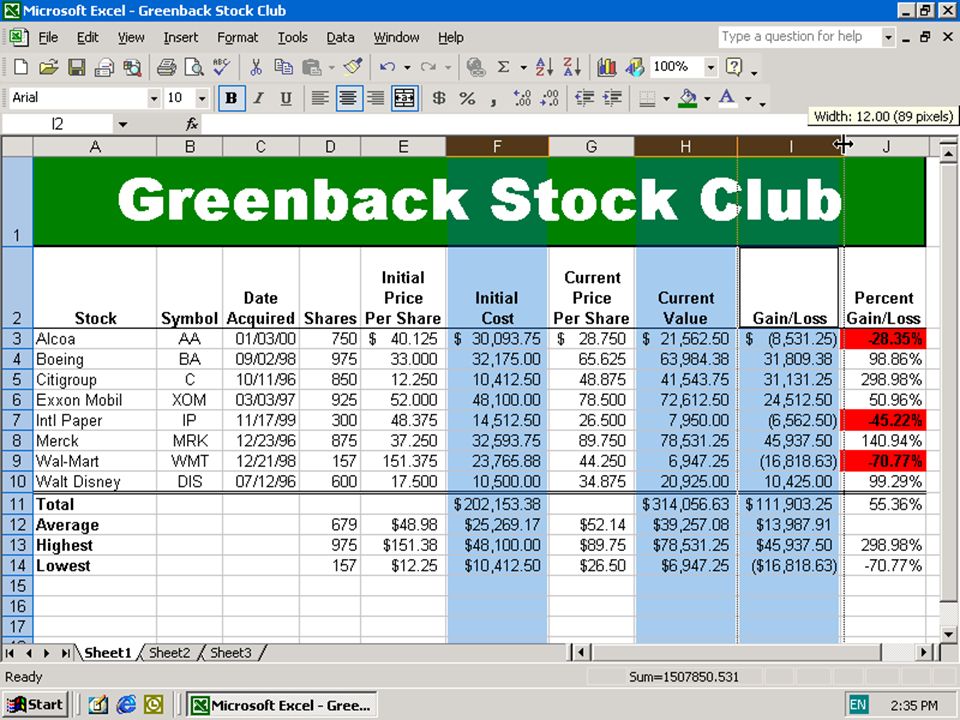
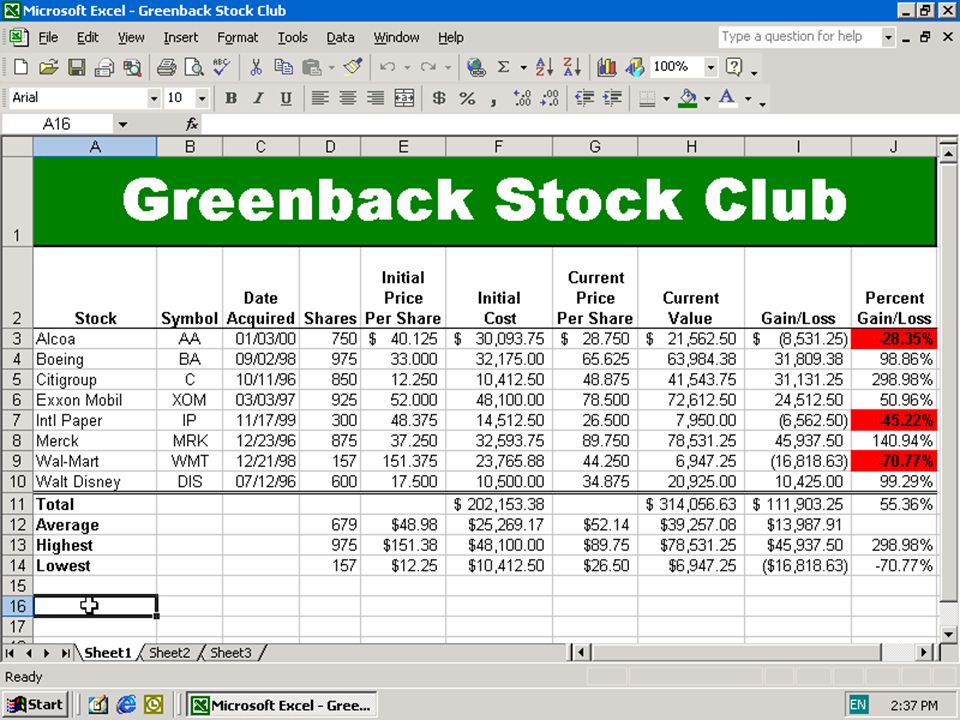
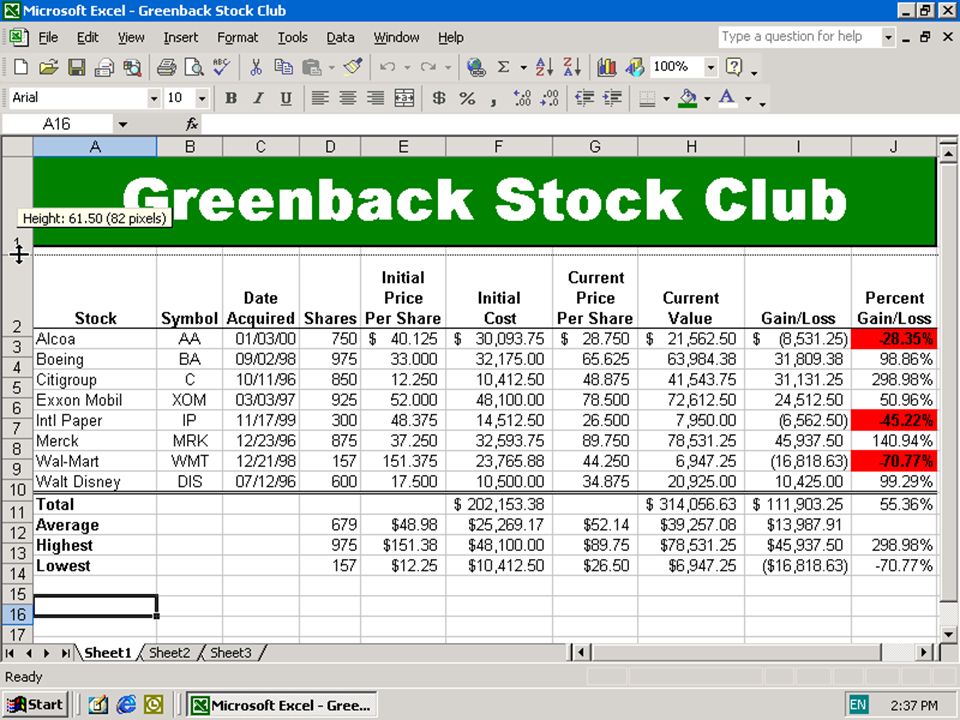
Formatting the Worksheet Changing the Widths of Columns and Heights of Rows Changing the Width of Columns Best Fit Changing the Height of Rows

61
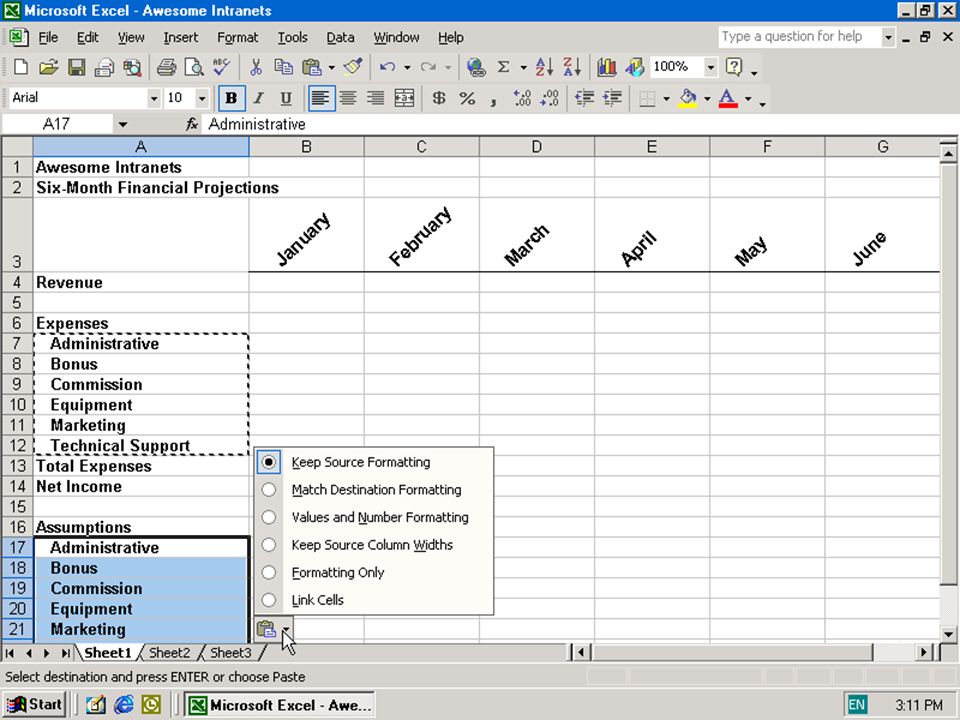
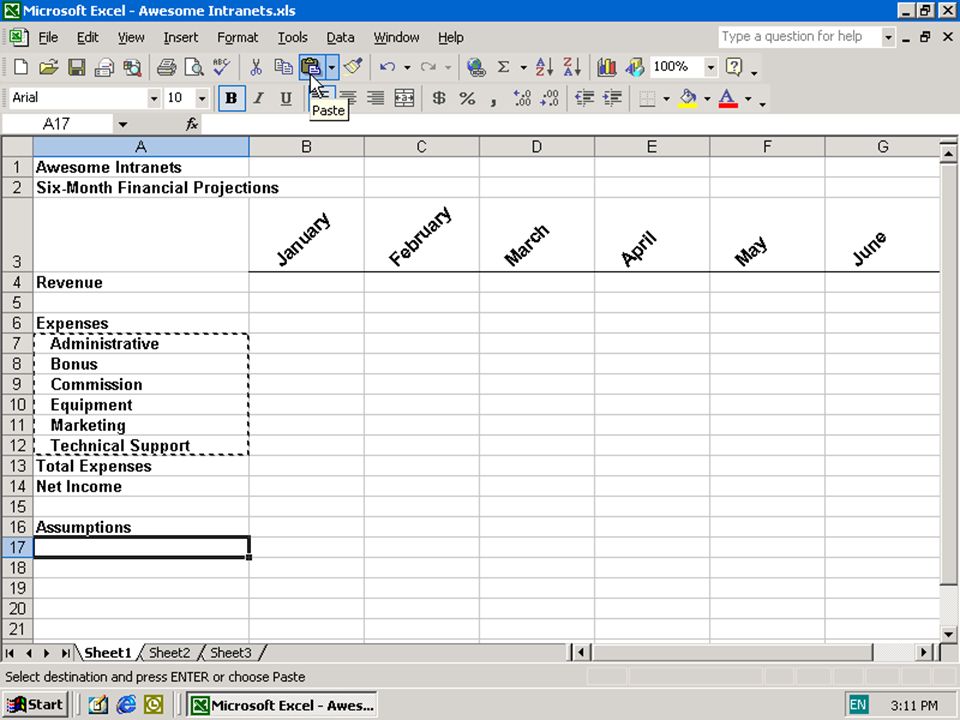
Formatting the Worksheet Moving and Copying Cells Moving Cells To cut cell contents that will be moved to another cell select Edit|Cut from the menu bar or click the Cut button on the standard toolbar. Copying Cells To copy the cell contents, select Edit|Copy from the menu bar or click the Copy button on the standard toolbar. Pasting Cut and Copied Cells Highlight the cell you want to paste the cut or copied content into and select Edit|Paste from the menu bar or click the Paste button on the standard toolbar.

62
Formatting the Worksheet Drag and Drop If you are moving the cell contents only a short distance, the drag-and- drop method may be easier. Simply drag the highlighted border of the selected cell to the destination cell with the mouse.

63
Copying a Range of Cells to a Nonadjacent Destination Area Using Drag and Drop to Move or Copy Cells

65
Displaying the System Date Predefined Functions Date Formatting

70
Formatting the Worksheet Styles Styles allows the user to quickly format their worksheet, provide fluid consistency, and create a professional look Select the Styles drop-down box from the formatting toolbar

71
Formatting the Worksheet Styles Comma - Adds commas to the number and two digits beyond a decimal point. Comma [0] - Comma style that rounds to a whole number. Currency - Formats the number as currency with a dollar sign, commas, and two digits beyond the decimal point. Currency [0] - Currency style that rounds to a whole number. Normal - Reverts any changes to general number format. Percent - Changes the number to a percent and adds a percent sign.

72
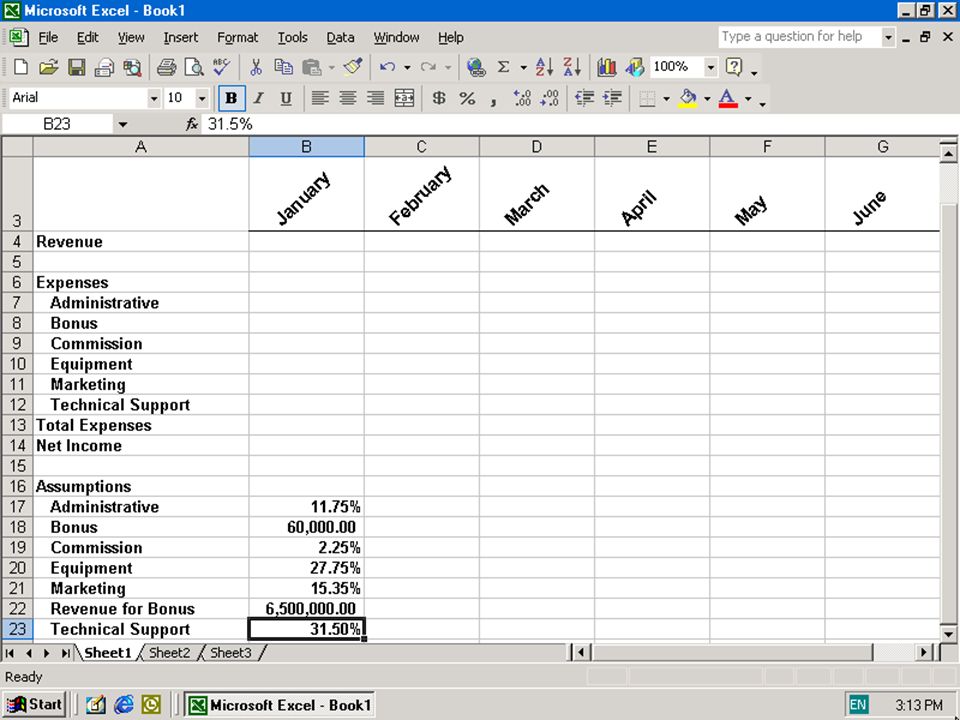
Entering Numbers with a Format Symbol

74
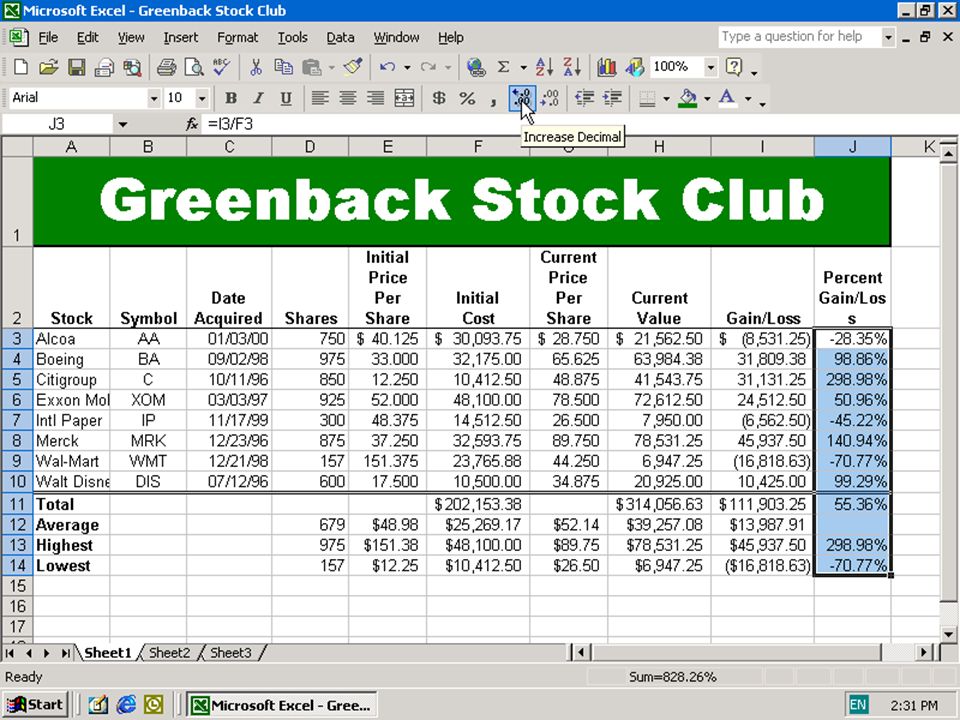
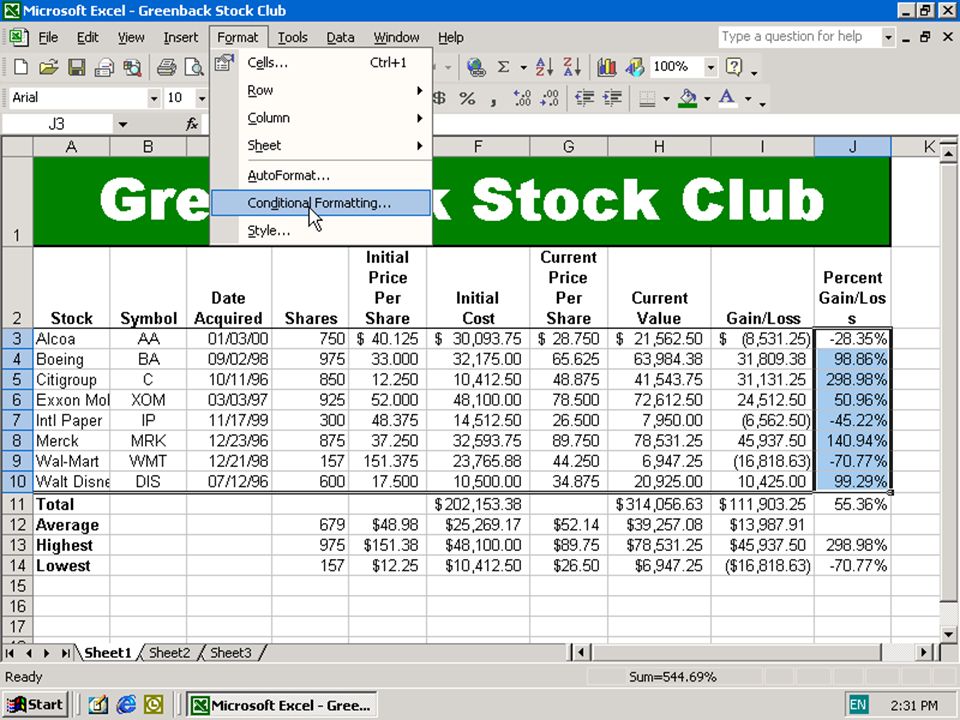
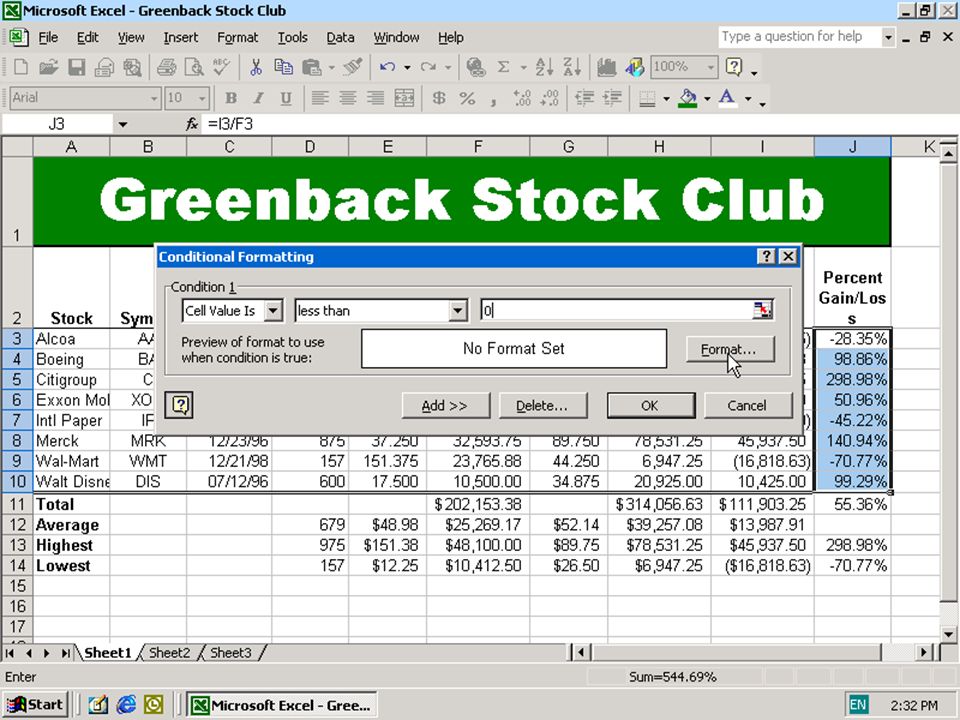
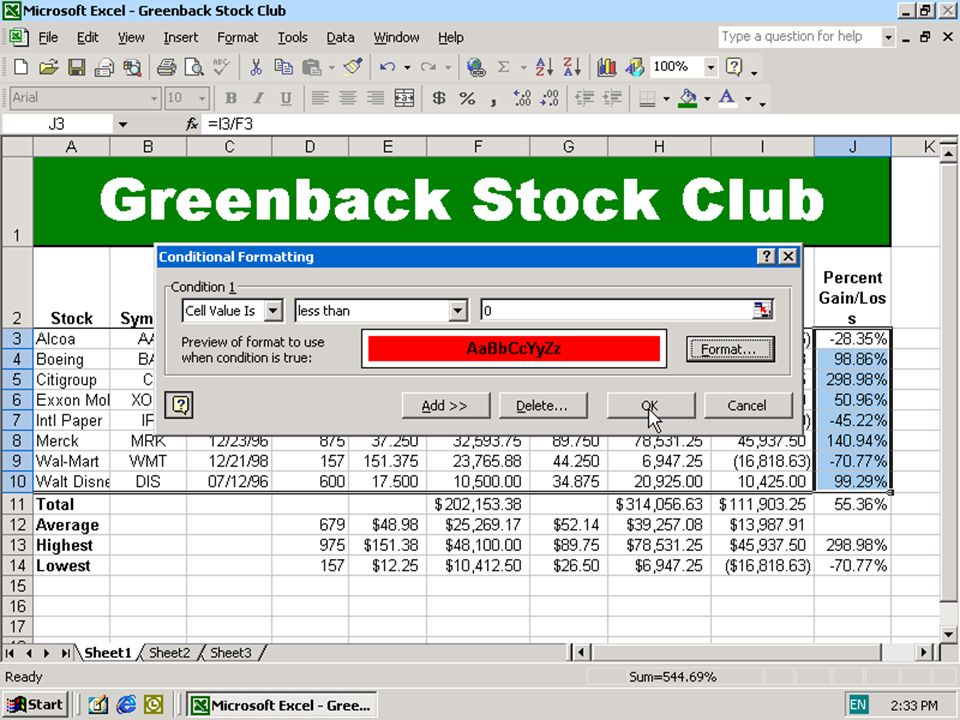
Formatting the Worksheet Formatting Numbers Using the Format Cells Command on the Shortcut Menu Formatting Numbers Using the Percent Style Button and Increase Decimal Button Conditional Formatting – allows the user to setup a preset format of the selected cells if a specific action occurs Format | Conditional Formatting

85
Formatting the Worksheet Page Breaks To set page breaks within the worksheet, select the row you want to appear just below the page break by clicking the row's label. Then choose Insert|Page Break from the menu bar.

86
Formatting the Worksheet Page Setup Select File|Page Setup from the menu bar to format the page, set margins, and add headers and footers

87
Formatting the Worksheet Page Select the Orientation under the Page tab in the Page Setup window to make the page Landscape or Portrait. The size of the worksheet on the page can also be formatted under Scaling. To force a worksheet to print only one page wide so all the columns appear on the same page, select Fit to 1 page(s) wide.
 wide..")
88
Formatting the Worksheet Margins Change the top, bottom, left, and right margins under the Margins tab. Enter values in the header and footer fields to indicate how far from the edge of the page this text should appear. Check the boxes for centering horizontally or vertically on the page.

89
Formatting the Worksheet Header/Footer Add preset headers and footers to the page by clicking the drop-down menus under the Header/Footer tab

90
Formatting the Worksheet Sheet Check Gridlines if you want the gridlines dividing the cells to be printed on the page. If the worksheet is several pages long and only the first page includes titles for the columns, select Rows to repeat at top to choose a title row that will be printed at the top of each page

91
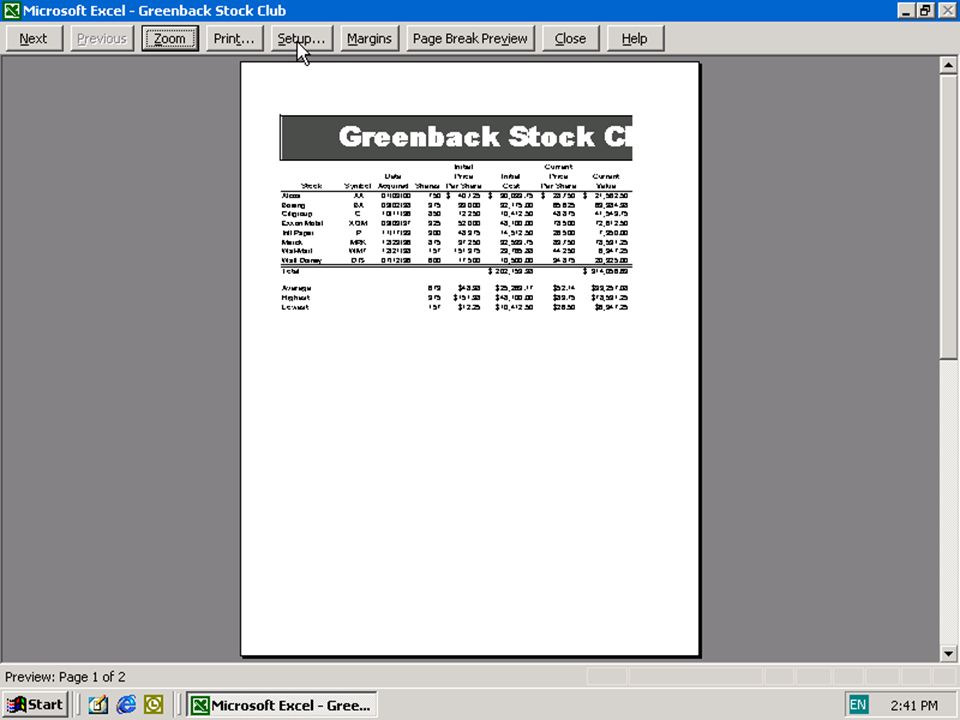
Formatting the Worksheet Print Preview Select File|Print Preview from the menu bar Click the Next and Previous buttons at the top of the window to display the pages Click the Zoom button to view the pages closer. Make page layout modifications needed by clicking the Page Setup button. Click Close to return to the worksheet or Print to continue printing.

96
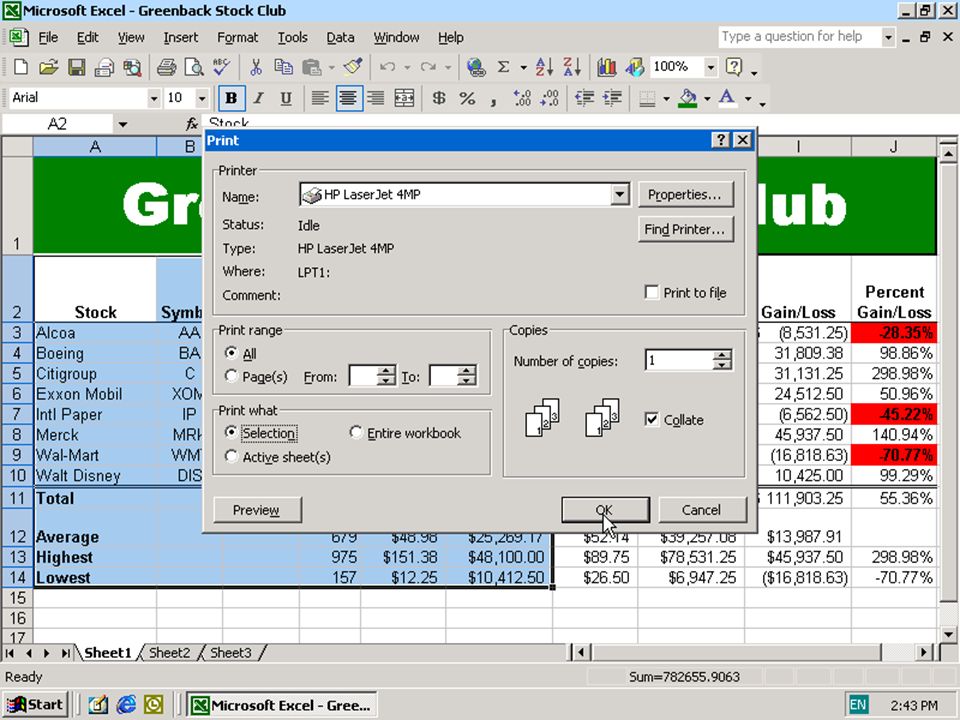
Formatting the Worksheet Print To print the worksheet, select File|Print from the menu bar Print Range - Select either all pages or a range of pages to print. Print What - Select selection of cells highlighted on the worksheet, the active worksheet, or all the worksheets in the entire workbook. Copies - Choose the number of copies that should be printed. Check the Collate box if the pages should remain in order.

99
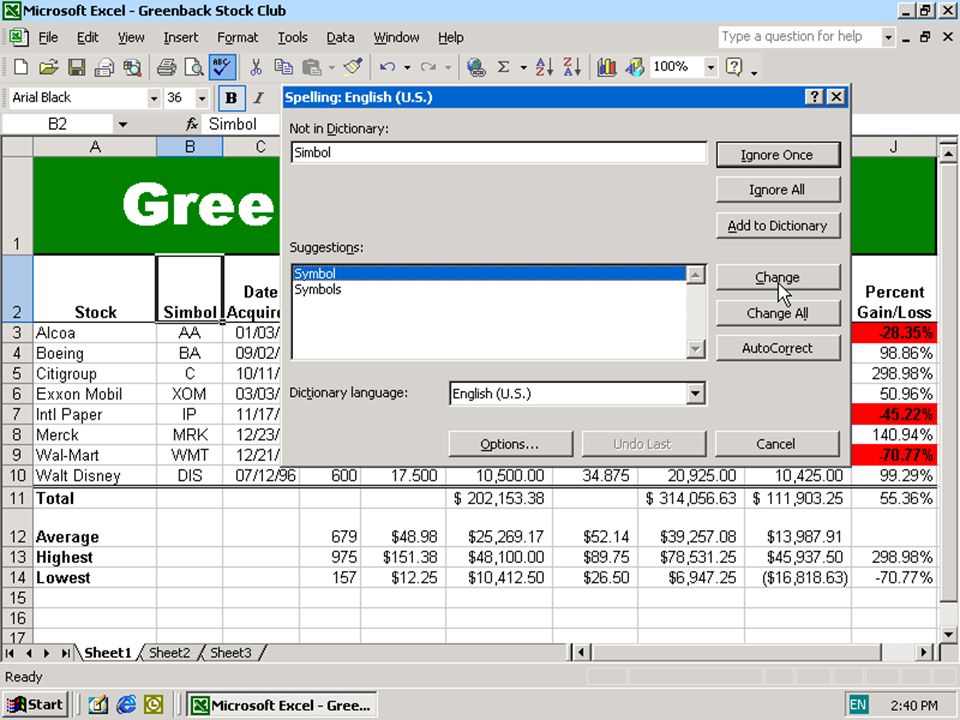
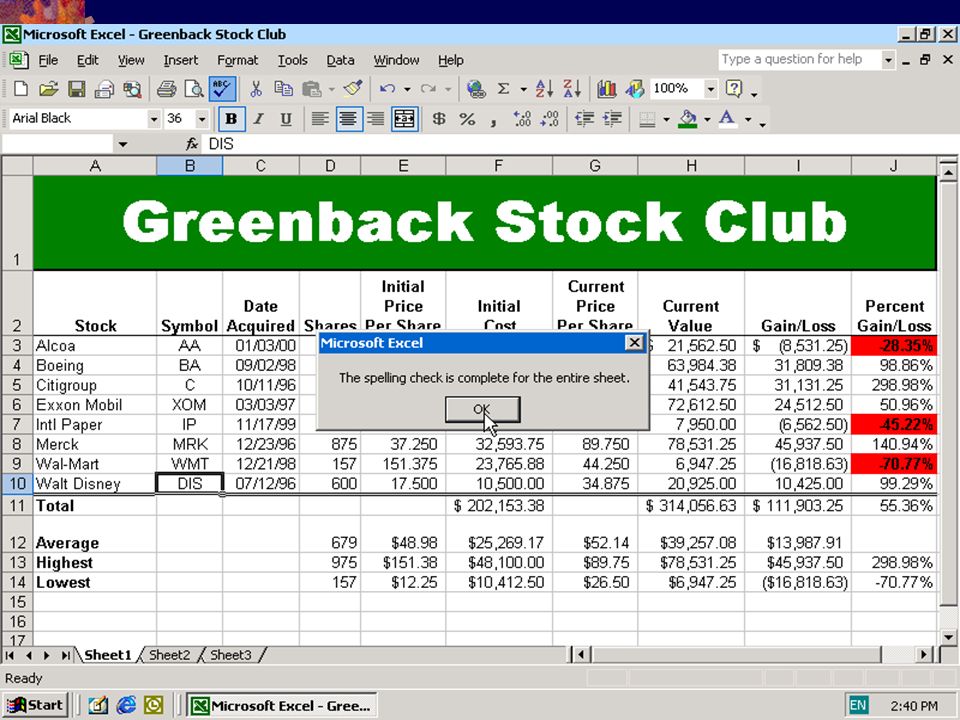
Checking the Spelling Change All Ignore Once Ignore All Add to Dictionary Auto Correct

102
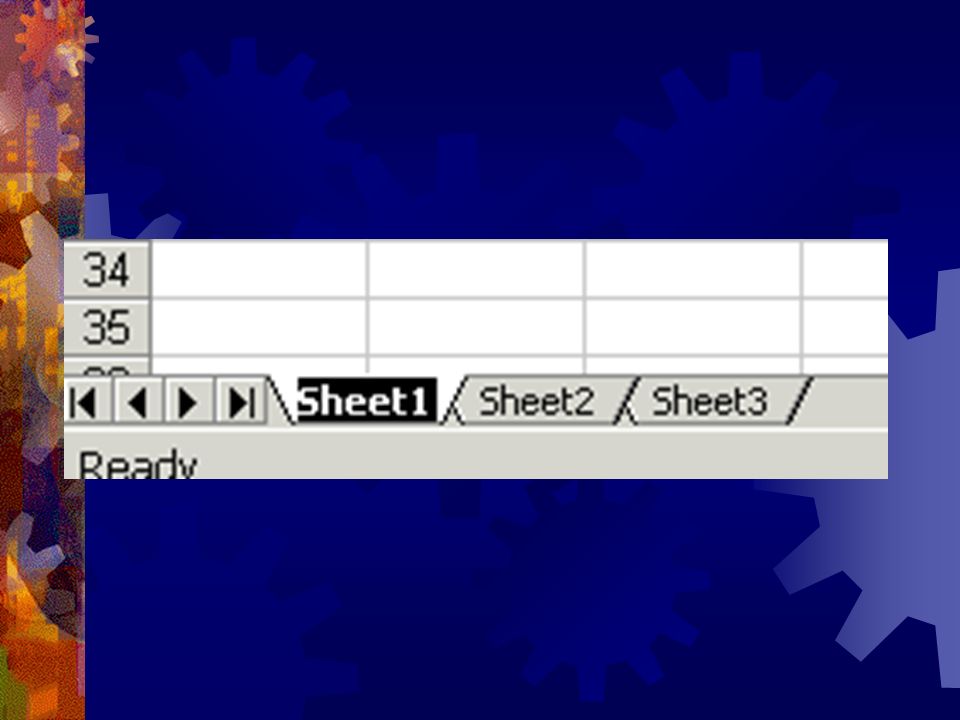
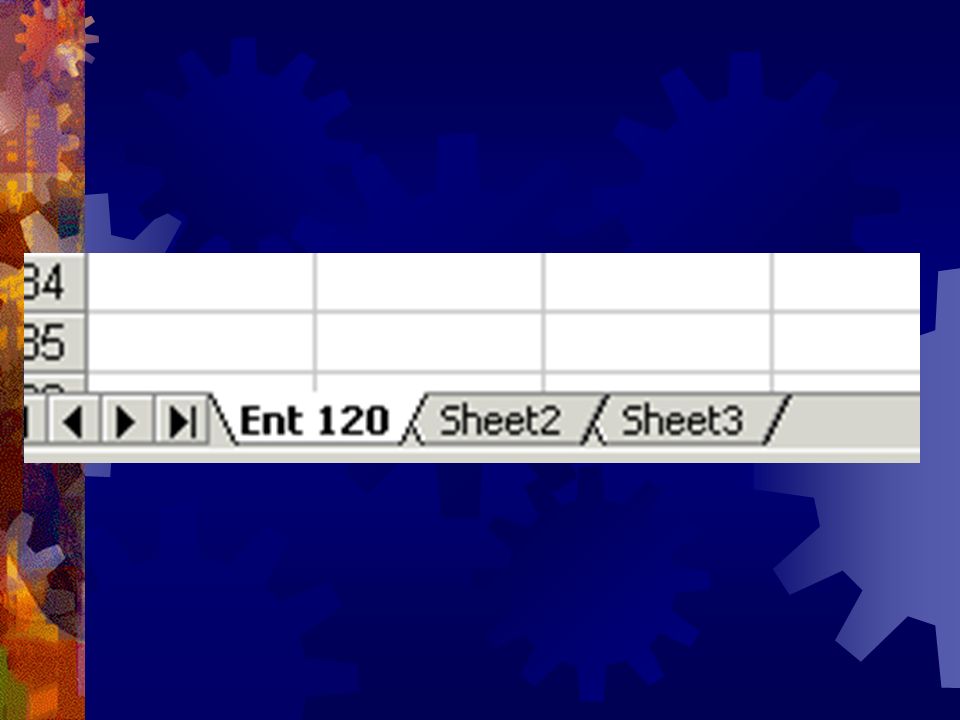
Changing the Sheet Names Click on Sheet Name, or right click the sheet name and select format Enter new name

105
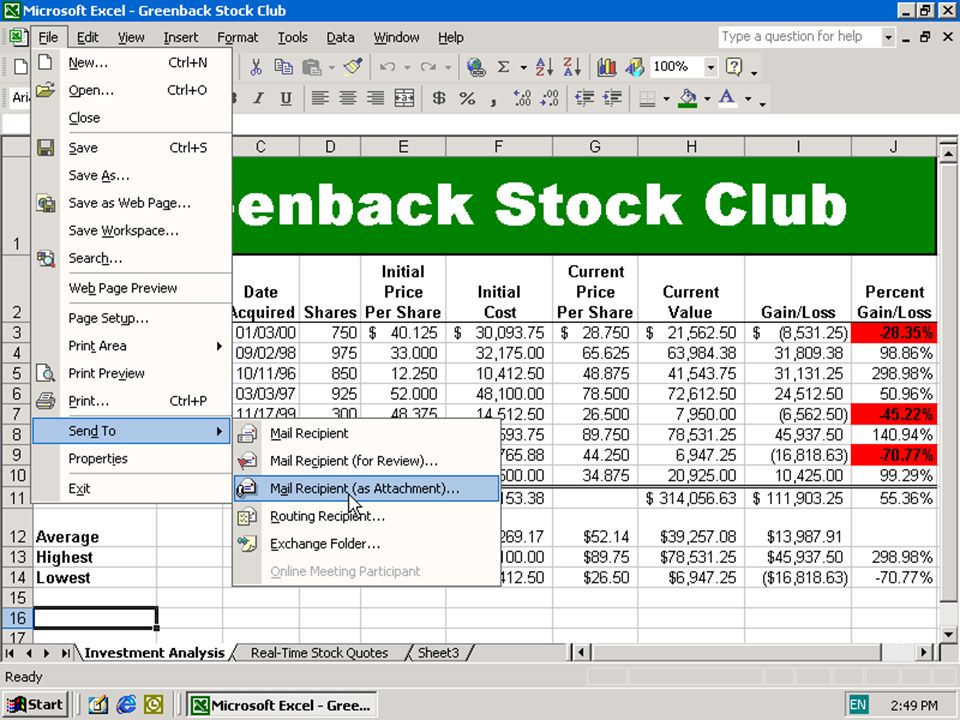
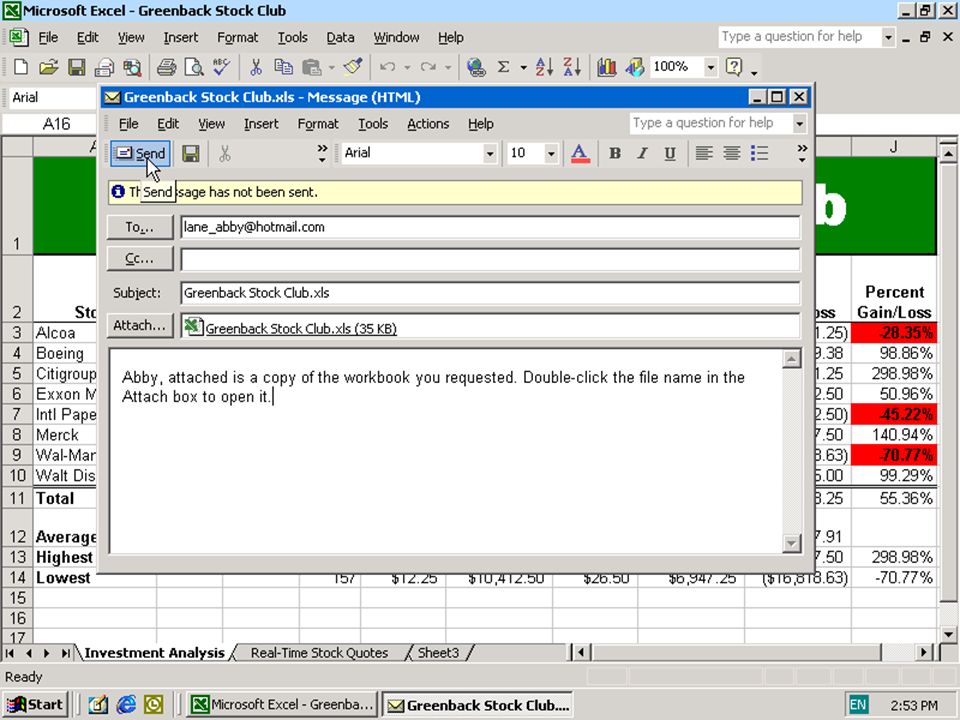
E-Mailing a Workbook from within Excel E-Mailing

108
Any Questions Formatting the Worksheet Font, background, row/column widths Spell Checking Naming your sheets Emailing a workbook

Similar presentations