Download presentation
Presentation is loading. Please wait.

1
Stihl MS 440/044 Chainsaw SECTION: Tools and Equipment
ISSUED: REVISED: ##-####

2
Objectives To provide an understanding of the following Specifications
Use Maintenance Safety

3
Specifications STIHL MS 440/044 20” Bar Chain 33 cutting teeth
Carbide tipped HD air filter with pre-filter 2 stroke engine 5.2 horse power 50:1 pre mix Spark plug Bosch WSR6 F or NGK BPMR 7A Idle RPM-2,500 Max RPM-13,500

4
Use Vertical ventilation Forcible entry Cutting timber and brush
Cutting lumber Shoring operations

5
Control Lever Positions
Stop Run Half choke Choke Interlock and throttle must be depressed to switch from run to half choke or choke

6
Parts Chain brake Decompression valve Manual and inertia operated
Allows for an easier and quicker start

7
Parts Chain catch Chain tensioner
Reduces risk of operator contact with chain should it break or derail Chain tensioner Allows for chain tension adjustment

8
Starting Procedures Ground starting method Place saw on ground
Disengage chain break Ensure control lever is in choke position Hold handle firmly with left hand

9
Starting Procedures Place foot firmly in handle Pull starter grip
Repeat until engine fires Adjust control lever to half choke Pull starter grip until saw starts and runs

10
Starting Procedures Quickly depress interlock and throttle
Places saw in run position Do not pull start rope to its full extension

11
Starting Procedures Drop starting method Ensure brake is disengaged
Ensure control lever is in choke Hold handle with left hand Hold starter grip with right hand

12
Starting Procedures Raise saw slightly above waist
Let saw drop in a controlled manner Pulling starter grip Repeat until saw fires Adjust master control valve to half choke

13
Starting Procedures Continue to drop and pull starter grip until saw fires and runs Quickly squeeze throttle and interlock Puts saw in run position Do not pull start rope to its full extension

14
Procedures Disengage brake Rest tip of the saw’s bar on ground or roof
With left hand, keep thumb on handle Pull back on the chain brake to disengage

15
Procedures Stopping the Chain
Release throttle to bring saw to idle Engage chain brake with back of left hand while holding handle Turn saw off by raising control lever to the stop (top) position Always place saw in ready to run position when placing back into service Brake disengaged, throttle trigger interlock depressed and the control lever in the choke position
 position. Always place saw in ready to run position when placing back into service. Brake disengaged, throttle trigger interlock depressed and the control lever in the choke position.")
16
Maintenance Basic Refuel after use
Refill chain bar oil whenever you refuel Adjust chain tension ensuring the chain can slide across the bar Approximately 1/16” gap between bar and chain Rotate guide bar when chain is removed to extend bar life Inspect chain for damage Replace when 3 consecutive teeth or 6 total teeth are missing or when a tie strap is broken Saw may need a complete tear down to ensure it is thoroughly cleaned of all dirt and debris Pay extra attention to the cooling fins. Over time they can accumulate “gunk” and cause the saw to overheat.

17
Maintenance Advanced Recommended tools Scrench
Stihl combination wrench Stihl flathead screwdriver Larger flathead screwdriver Stihl provided torques style wrench Cleaning solvent or WD-40

18
Air Filter System Set master control lever to full choke
Open the twist lock above and remove the carburetor box cover

19
Air Filter System Remove filters and check outer butterfly position
Ensure its closed Separate filter components Clean filters by using compressed air Blowing from the inside out In case of stubborn dirt, wash filters with warm soapy water Rinse from the inside out Let air dry Outer Butterfly Felt Prefilter HD Filter Standard Filter

20
Clutch and Chain Assembly
Unscrew the nuts and remove chain sprocket cover Note side of stamped serial numbers or graphics on chain bar Bar must be flipped when re-installed Stamped Serial #

21
Chain and Bar Removal Loosen chain by turning tensioning screw counterclockwise Once chain starts to sag on the bottom of the bar, remove the bar and chain Chain Tensioning Screw

22
Chain and Bar Cleaning Use parts cleaner to thoroughly clean chain and bar Inspect chain and determine if it needs to be out of service. 3 missing teeth in a row 6 missing teeth total 1 broken link Use a small screwdriver to remove debris from the bar chain guide Use compressed air to blow excess solvent from the chain and bar and dry with a rag

23
Powerhead Cleaning Remove the inner side mounting plate by removing the screw adjacent to the tensioning screw Remove the chain catcher with the Stihl torx wrench

24
Powerhead Cleaning Removing the E clip from the crank shaft using small screwdriver Remove clutch drum assembly Place the needle cage in a cap full of bar oil to lube Clutch Drum Rim Sprocket Needle Cage Washer E-Clip

25
Powerhead Cleaning Use compressed air to blow as much debris off of the powerhead Remove the two cover plates using the Stihl torx wrench Use the parts cleaner to further clean the powerhead Use caution with the solvent avoiding the carburetor intake Clean thoroughly Use compressed air to blow off any excess solvent and dry with a rag

26
Powerhead Cleaning Clean all parts using the parts cleaner
Use compressed air to blow off excess solvent and dry with a rag Set aside once cleaned and try to keep everything organized

27
Chainsaw Reassembly Now reassemble the powerhead in reverse order
Starting with the following 2 cover plates Clutch drum assembly When installing the clutch drum, rotate and apply slight pressure until the oil pump drive spring engages the slot on the outside diameter of the drum There should be a noticeable connection when the drum catches and drops into place The slot on the drum is identified with a mark located on the face of the drum

28
Chainsaw Reassembly Continue reassembling in the following order
Chain catcher Inner side plate Bar and chain Sprocket cover Air filter Carburetor box cover

29
Chainsaw Reassembly Replace bar and chain
Ensure the bar is flipped to the opposite side from where it was initially assembled This will help with wear over time Ensure the chain is properly seated in the bar and sprocket

30
Chainsaw Reassembly Apply tension to the chain by turning the chain tension screw clockwise Take some of the sag out of the chain Install the sprocket cover and finger tighten the two nuts

31
Chainsaw Reassembly Adjust the tension of the chain
Appropriate tension has been applied when: With a gloved hand, pull the chain upward from the middle of the bar to create a gap equal to the width of a nickels edge being exposed between the chain and bar With the chain brake off, the chain can be spun around the bar Use the Scrench to finish tightening the sprocket cover nuts until snug Do not over tighten

32
Chainsaw Reassembly Refuel with 2 stroke pre-mix 50:1 fuel
Top off bar oil Test Run Ensure adequate chain lubrication by running at full throttle and aiming saw towards the ground A light spray pattern of oil should begin to form on the ground Adjust if necessary Re-adjust chain tension if necessary Place back into service in the “Ready Run Position”

33
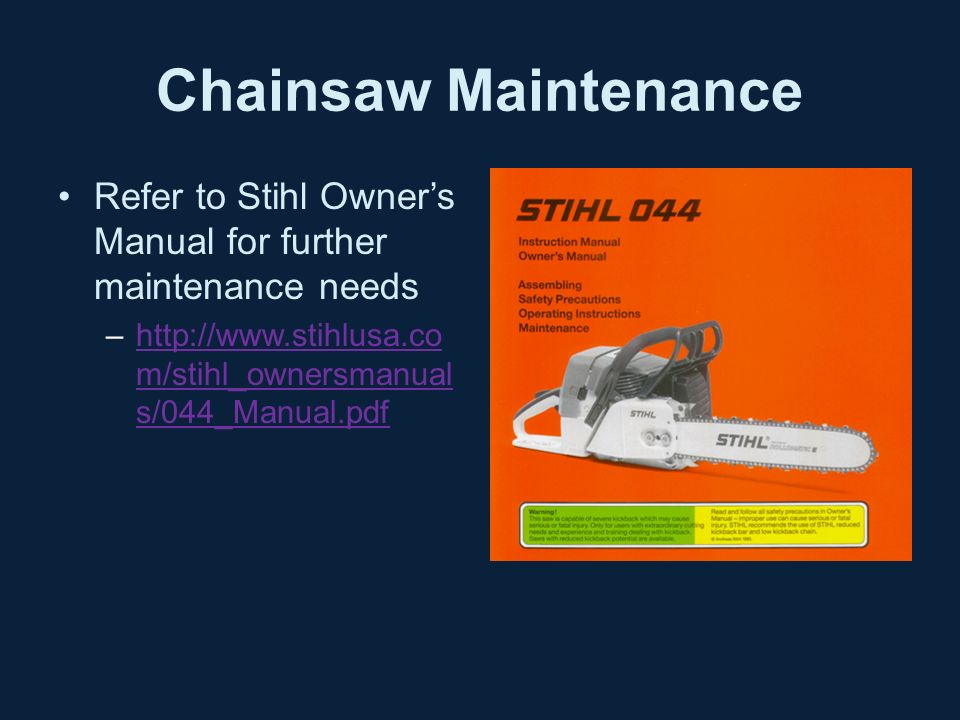
Chainsaw Maintenance Refer to Stihl Owner’s Manual for further maintenance needs
34
Safety Always wear proper PPE when operating chainsaws.
Minimum- helmet, eye protection, gloves, and hearing protection while performing maintenance Avoid cutting overhead and inline with body Maintain a firm grip at all times Cut at full throttle

35
Safety Common reactive forces when cutting
Kickback Occurs when saw chain near upper quadrant of bar nose contacts a solid object causing the saw to fling up and back in an uncontrolled arc Pushback Occurs when the chain on the top of the bar is suddenly stopped or caught, driving the saw straight back into the operator Pull in Occurs when the chain on the bottom of the bar is suddenly stopped or caught, causing the saw to be pulled forward Let the saw cool before refueling

Similar presentations


 Pumps are supplied with a 120VAC or 240VAC power cord. Use care to ensure pump.>")


. Identify daily, weekly, and monthly required chain saw maintenance items. Properly use personal protective safety.>")
