Download presentation
Presentation is loading. Please wait.

1
Computer Science 101 Introduction to Programming with Pictures

2
setMediaPath Invoking this function allows the user to choose a folder that will be the “default” location where searches for media files will start. This just makes it easier to pick files, etc. Invoking this function allows the user to choose a folder that will be the “default” location where searches for media files will start. This just makes it easier to pick files, etc.

3
JES Picture Layout With JES, pictures are laid out in an x,y coordinate system starting in upper left corner, with x increasing to the right and y increasing downward. With JES, pictures are laid out in an x,y coordinate system starting in upper left corner, with x increasing to the right and y increasing downward.

4
Working with Pixels – get values getPixel(picture,x,y) – obtains the pixel at the given coordinates in the given picture. getPixel(picture,x,y) – obtains the pixel at the given coordinates in the given picture. getColor(pixel) – obtains the color object of the pixel. getColor(pixel) – obtains the color object of the pixel. getRed(pixel) – obtains the red value of the pixel, etc. getRed(pixel) – obtains the red value of the pixel, etc. getX(pixel) – obtains the X coordinate of the pixel, etc. getX(pixel) – obtains the X coordinate of the pixel, etc.
 – obtains the pixel at the given coordinates in the given picture. getColor(pixel) – obtains the color object of the pixel. getColor(pixel) – obtains the color object of the pixel. getRed(pixel) – obtains the red value of the pixel, etc. getRed(pixel) – obtains the red value of the pixel, etc. getX(pixel) – obtains the X coordinate of the pixel, etc. getX(pixel) – obtains the X coordinate of the pixel, etc..")
6
Working with Pixels – changing values setColor(pixel, color) – changes the pixel’s color to be the given color. setColor(pixel, color) – changes the pixel’s color to be the given color. setRed(pixel, redAmt) – changes the pixel’s red value to the given amount, etc. setRed(pixel, redAmt) – changes the pixel’s red value to the given amount, etc. pickAColor() – lets the user choose a color with slide bars, etc. pickAColor() – lets the user choose a color with slide bars, etc.
 – changes the pixel’s color to be the given color. setRed(pixel, redAmt) – changes the pixel’s red value to the given amount, etc. setRed(pixel, redAmt) – changes the pixel’s red value to the given amount, etc. pickAColor() – lets the user choose a color with slide bars, etc. pickAColor() – lets the user choose a color with slide bars, etc..")
7
ZOOM

8
List of Pixels getPixels(myPicture) - returns a list of all the pixels from the picture. getPixels(myPicture) - returns a list of all the pixels from the picture. The pixels will be in the list in row order – first row followed by second row, etc. The pixels will be in the list in row order – first row followed by second row, etc. Note that the pixel in position (x,y) has list index equal to width * y + x For example, the pixel at (3,2) has index 2*4 + 3 Note that the pixel in position (x,y) has list index equal to width * y + x For example, the pixel at (3,2) has index 2*4 + 3
 - returns a list of all the pixels from the picture. The pixels will be in the list in row order – first row followed by second row, etc. The pixels will be in the list in row order – first row followed by second row, etc. Note that the pixel in position (x,y) has list index equal to width * y + x For example, the pixel at (3,2) has index 2*4 + 3 Note that the pixel in position (x,y) has list index equal to width * y + x For example, the pixel at (3,2) has index 2*")
9
Changing Individual Pixels 1. Get the pixel into a variable: myPixel = getPixel(myPicture,10,6) 2. If the change does not depend on current values in the pixel, make change: setRed(myPixel, 128) 3. If change depends on current values, get the needed values first: myRed = getRed(myPixel) setRed(myPixel, myRed * 0.5)
 3. If change depends on current values, get the needed values first: myRed = getRed(myPixel) setRed(myPixel, myRed * 0.5).")
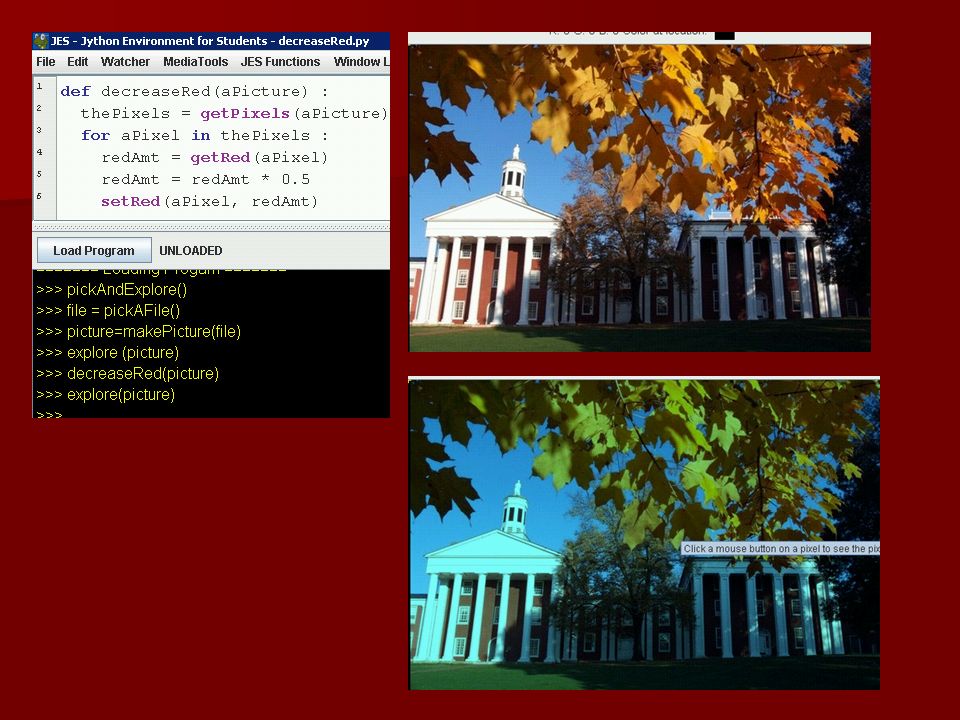
10
Processing all the Pixels The general strategy is to use a for-loop on the list of pixels: thePixels = getPixels(thePicture) for aPixel in thePixels : or for aPixel in getPixels(thePicture) : The general strategy is to use a for-loop on the list of pixels: thePixels = getPixels(thePicture) for aPixel in thePixels : or for aPixel in getPixels(thePicture) :
 for aPixel in thePixels : or for aPixel in getPixels(thePicture) : The general strategy is to use a for-loop on the list of pixels: thePixels = getPixels(thePicture) for aPixel in thePixels : or for aPixel in getPixels(thePicture) :")
12
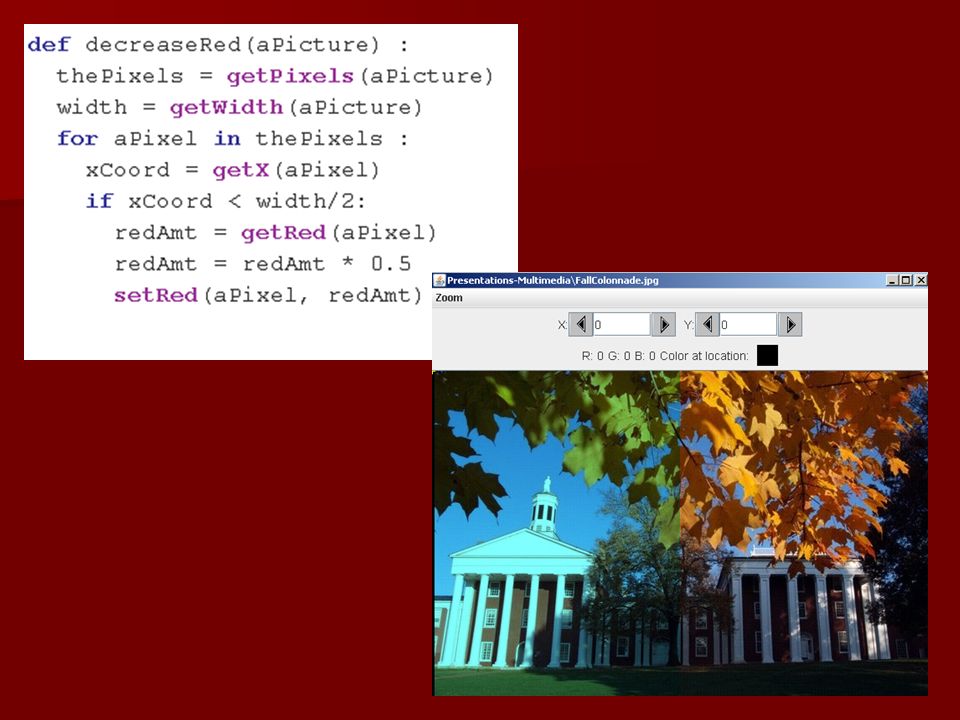
Choosing Pixels to Process Sometimes we decide which pixels to process or which process to apply depending on conditions on the pixels thePixels = getPixels(thePicture) for aPixel in thePixels: if Sometimes we decide which pixels to process or which process to apply depending on conditions on the pixels thePixels = getPixels(thePicture) for aPixel in thePixels: if
 for aPixel in thePixels: if Sometimes we decide which pixels to process or which process to apply depending on conditions on the pixels thePixels = getPixels(thePicture) for aPixel in thePixels: if")
14
Working with Pixels within a Region Often we can restrict our processing to pixels within some rectangular region of the picture. This can be much, much more efficient than iterating over all of the multitude of pixels. for x in range(a,b) : for y in range(c,d) : Often we can restrict our processing to pixels within some rectangular region of the picture. This can be much, much more efficient than iterating over all of the multitude of pixels. for x in range(a,b) : for y in range(c,d) :
 : for y in range(c,d) : Often we can restrict our processing to pixels within some rectangular region of the picture. This can be much, much more efficient than iterating over all of the multitude of pixels. for x in range(a,b) : for y in range(c,d) :.")
16
Parameter for Color

17
Add Parameters for Width, Height, and Starting Point

18
Negative

19
Lighten

20
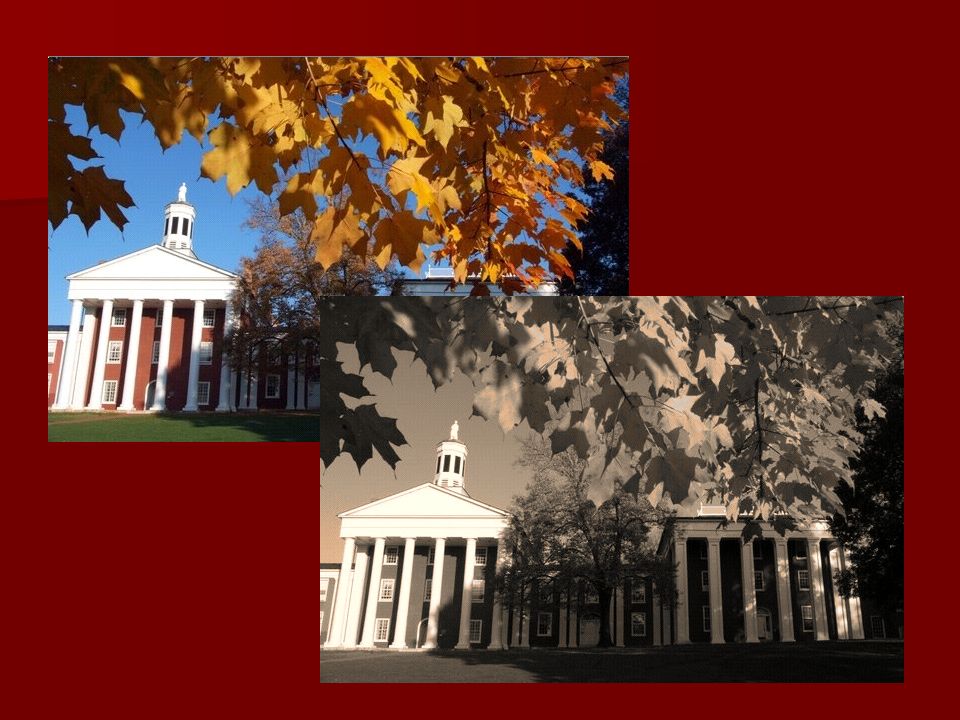
GrayScale

21
Sepia Tint

23
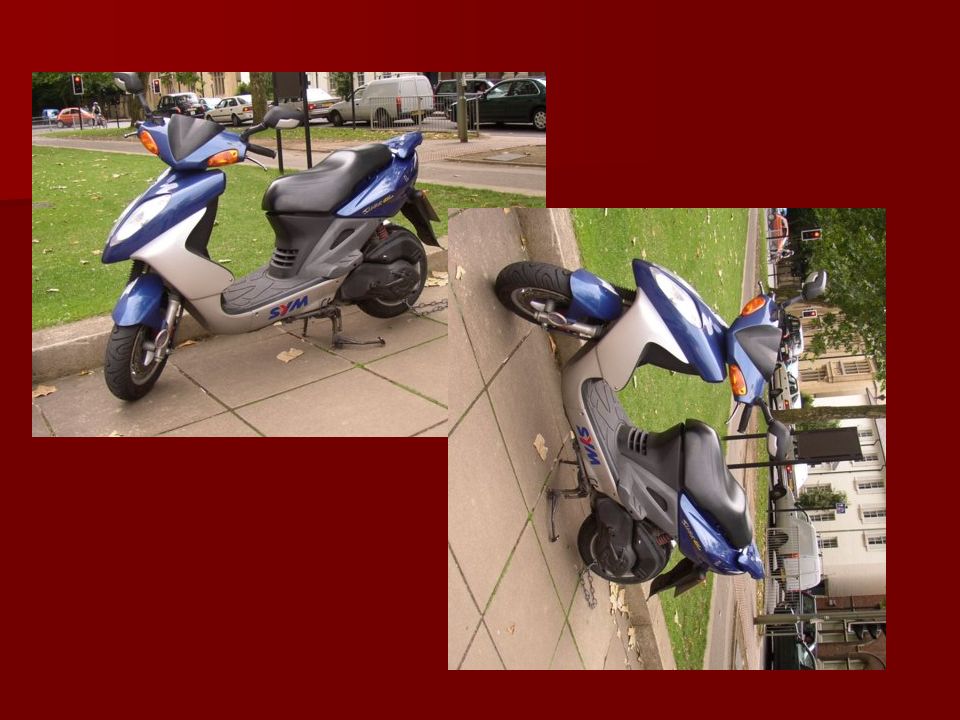
Rotate 90

25
Copy Rectangle

27
Edge Detection

29
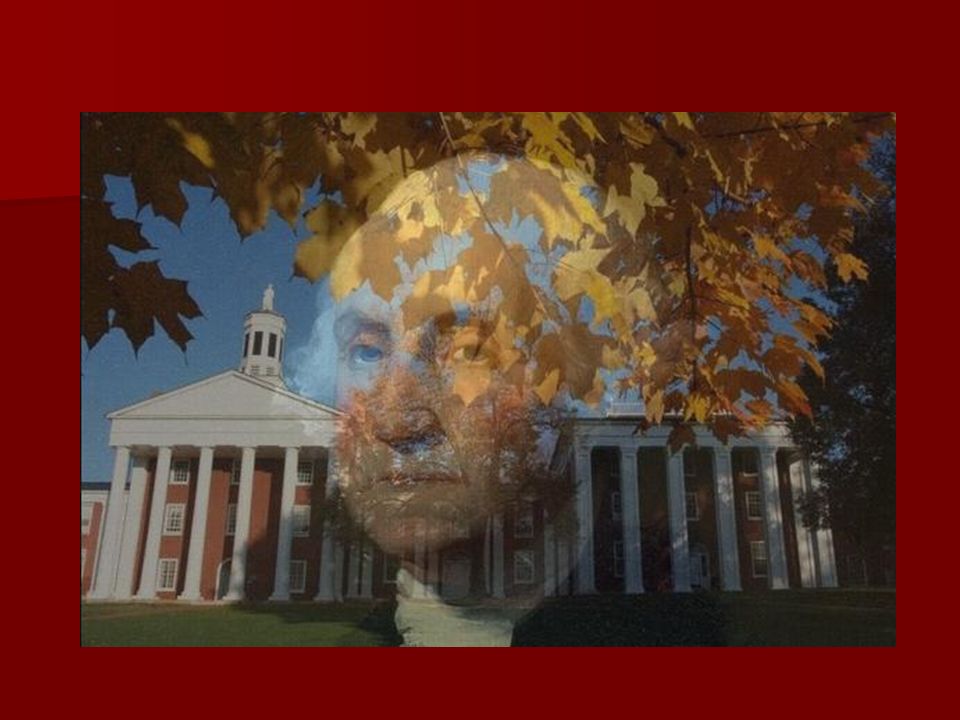
Blend

32
Frame

Similar presentations


 03 / 20 / 2009 Instructor: Michael Eckmann.>")
 02 / 25 / 2009 Instructor: Michael Eckmann.>")

>")


