Download presentation
Presentation is loading. Please wait.

1
Themes & Layout Tutorial Copyright © 2000-2006 Liferay, Inc. All Rights Reserved. No material may be reproduced electronically or in print without written permission from Liferay, Inc.

2
Objectives 1.Customize your own Liferay Theme a.Introduction to Liferay Themes b.Deploy a Liferay Theme c.Modify example theme 2.Customize your own Liferay Layout a.Create a custom 2-3 layout -(2-3 = 2 column row on top of a 3 column row) b.Select different layout templates
 b.Select different layout templates")
3
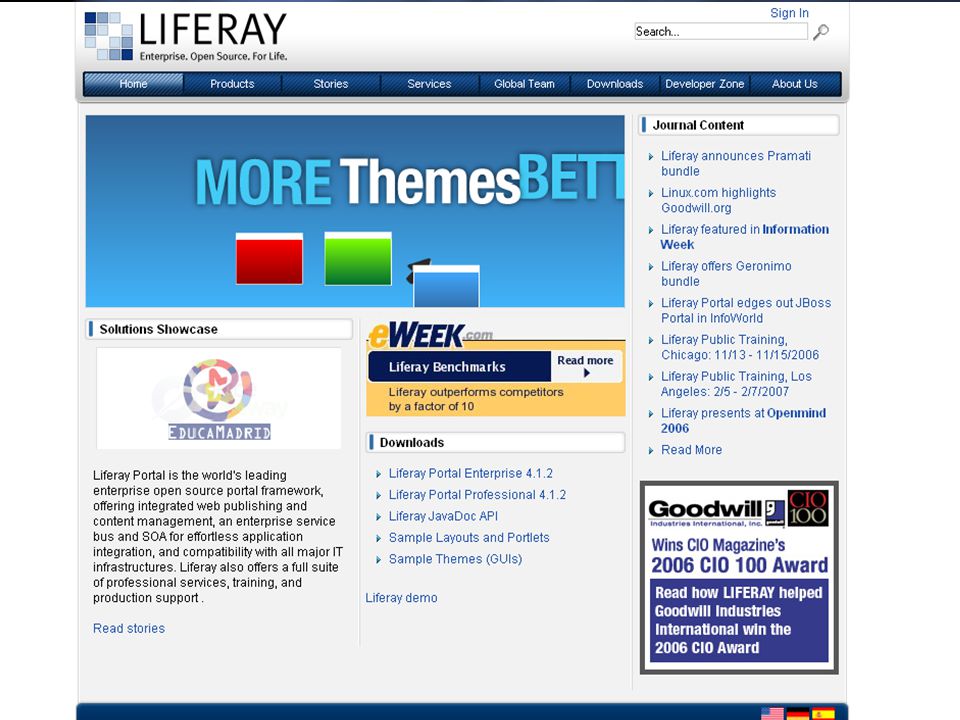
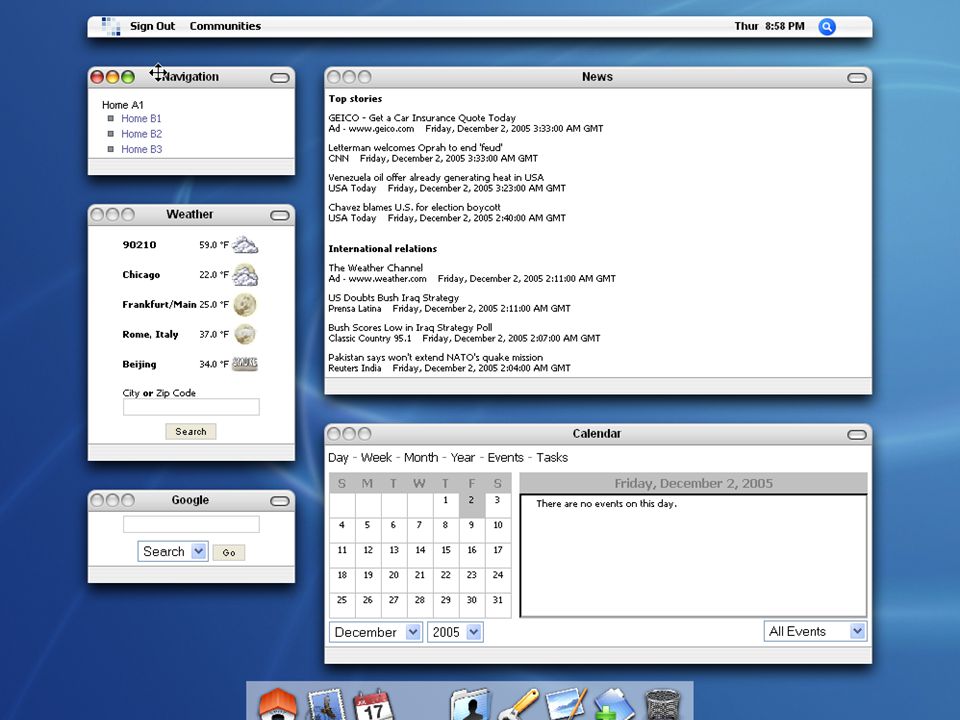
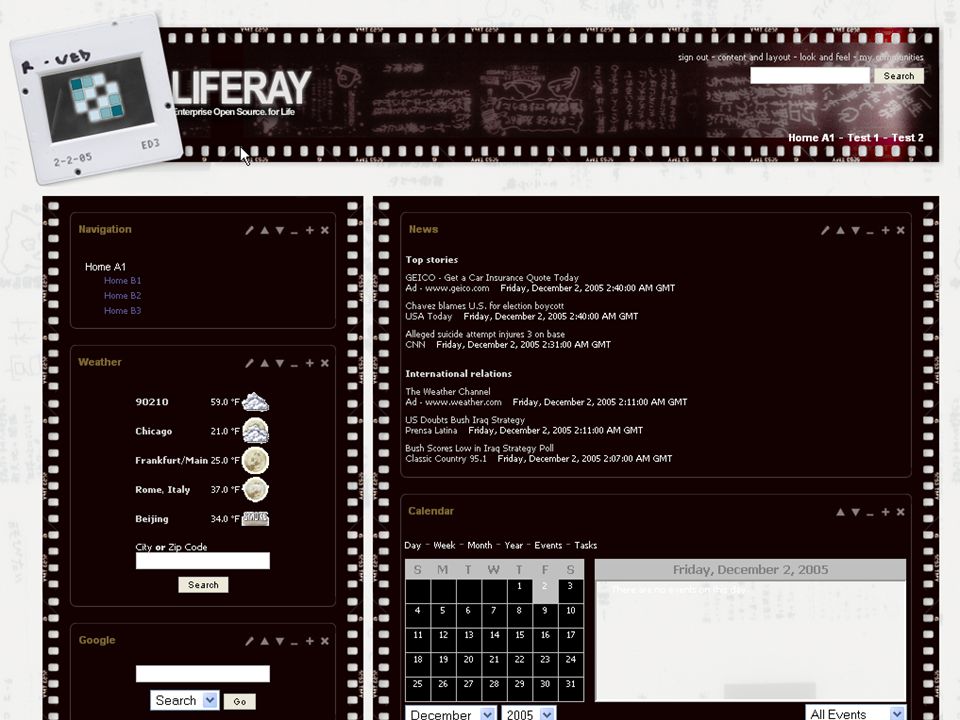
Introduction to Liferay Themes With themes, you can quickly & completely redesign a website layout with a single war file. Lets see some examples: -Themes from Liferay Website: -Liferay.com -> downloads -> community themescommunity themes

8
Exercise 1 Change the Liferay Theme a. Startup Tomcat b. On the Liferay website “Page Settings” -> “Look and Feel” -> Select Theme

9
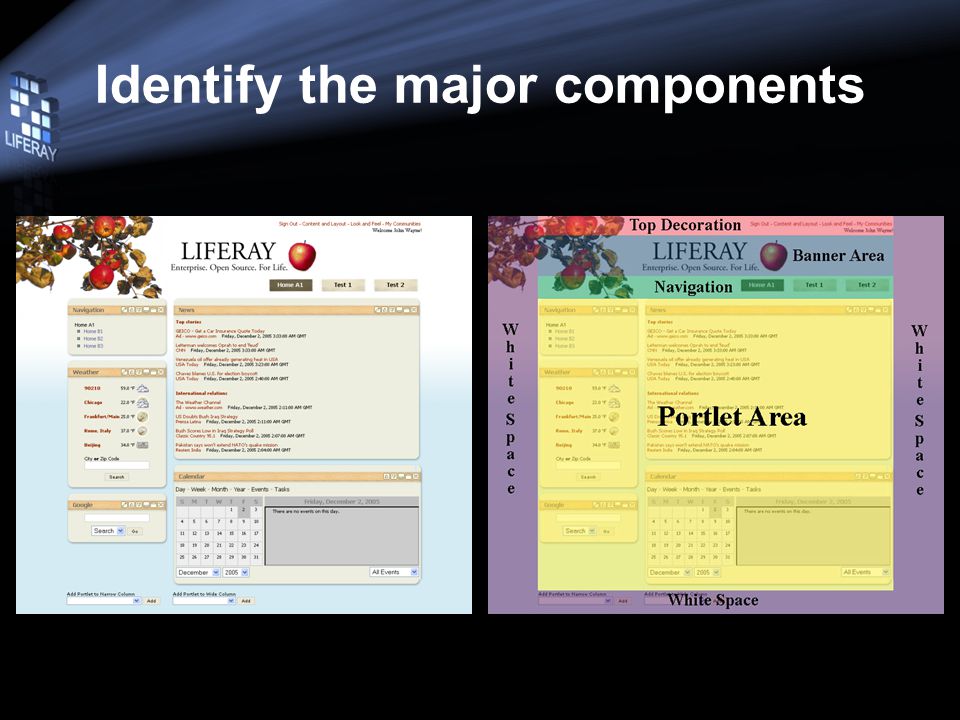
Portal Creating a theme can be a very time consuming process, depending on what exactly needs to be done. Step 1: Identify the major components Most themes contain the following elements: Banner Navigation Portlet area Some themes that are more graphically intensive also have a top, bottom, and left and right sides.

10
Identify the major components

13
Portlets Step 2: Identify the portlet areas –The next step is to identify your portlet areas. All portlets are composed of 12 pieces.

14
Look for all 12 pieces / images of the portlet Notice that some portlets have wide borders and some have thin, it all depends on how your portlet is supposed to look If there are shadows you need to incorporate the entire shadow in your image.

15
Exercise 2 Deploy your own “example.war” theme and change Liferay’s homepage to use that theme. This theme will help distinguish each of the pieces of the theme to give you practice in editing themes. Deploying your theme: 1. Startup Tomcat (if not already) 2. Copy “example.war” to your themes folder: C:\Projects\Training\ext\themes\example.war 3. “ant deploy” from your themes folder 4. Reload the page and select this theme
 2. Copy example.war to your themes folder: C:\Projects\Training\ext\themes\example.war 3. ant deploy from your themes folder 4. Reload the page and select this theme.")
16
Step 3: Putting it all together Portlet Area You will need to cut your portlets up into 12 images like shown above, then populate the 12 portlet areas based on the images you cut up (set the height, width, and file name of each images) Hint: look for these lines css_cached.vm: ext\themes\example.war\html\themes\example\templates\css_cached.vm –. portlet-header-bar-middle –.portlet-header-bar-right –.portlet-header-bar-left –.portlet-corner-ul –.portlet-corner-ur –.portlet-corner-br –.portlet-corner-bl –.portlet-border-top –.portlet-border-left –.portlet-border-right –.portlet-border-bottom

17
Banner To build the banner you need to edit: css_cached.vm: ext\themes\example.war\html\themes\example\templates\css_cached.vm.layout-banner-left.layout-banner-middle.layout-banner-right Usually only the middle is required, but if the theme needs to stretch along the x axis you will need left and right as well.

18
Top, Bottom, Left, Right Top and Bottom Decorations css_cached.vm: ext\themes\example.war\html\themes\example\templates\css_cached.vm –#layout-top-decoration –#layout-corner-ul –#layout-corner-ur –#layout-bottom-decoration –#layout-corner-bl –#layout-corner-br Use these to build your top and bottom decorations Left and Right Sides css_cached.vm: ext\themes\example.war\html\themes\example\templates\css_cached.vm –#layout-box-left –#layout-box-right Look for these to edit the sides

19
Exercise 3 Modify the example.war theme to look like the one below

20
Helpful Notes: – border-left: 1px dotted black; – In Firefox’s web developer extensions press (CTRL-SHFT-F) for helpful HTML info Files to modify: – ext\themes\example.war\html\themes\example\templates\ css_cached.vm (css) portal_normal.vm (layout) – ext\themes\example.war\WEB-INF liferay-look-and-feel.xml ($colorScheme)
 for helpful HTML info Files to modify: – ext\themes\example.war\html\themes\example\templates\ css_cached.vm (css) portal_normal.vm (layout) – ext\themes\example.war\WEB-INF liferay-look-and-feel.xml ($colorScheme)")
21
Content and Layout Why new layouts? –Variety is good –Not all sites are the same –Sometimes the defaults just don’t work for your needs How do we do it? –Layouttpl (Layout Template) 4.0.0 makes this process so much easier!
 makes this process so much easier!.")
22
Prepare the layouts folder In the EXT directory navigate to the layouttpl folder Create a folder called sample.war here > ext\layouttpl\sample.war In sample.war, create two folders: WEB-INF and html > ext\layouttpl\sample.war\WEB-INF > ext\layouttpl\sample.war\html We have now setup the basic folder structure for layouts. This is the process that must always be followed for new layouts

23
Preparing supporting files Inside the WEB-INF folder that was just created, create a file and name it liferay-layout-templates.xml > ext\layouttpl\sample.war\WEB-INF\ liferay-layout-templates.xml Now create one more file here, and call it web.xml > ext\layouttpl\sample.war\WEB-INF\ web.xml

24
liferay-layout-templates.xml ext\layouttpl\sample.war\WEB-INF\liferay-layout-templates.xml /html/layouttpl/custom/training.tpl

25
What did that do? Layout-templates is our root element, it tells Liferay that we are defining new layouts Custom tells Liferay that this is not a built in template, but something new Layout-template-id and name let Liferay know what to –Display in add content –Set as the unique id for this template Template-path tells Liferay where to find the template structure (tpl) file
 file.")
26
web.xml ext\layouttpl\sample.war\WEB-INF\web.xml sample com.liferay.portal.kernel.servlet.LayoutTemplateContextListener

27
Preparing the tpl file In ext\layouttpl\sample.war\html, –create a “layouttpl” folder: Inside layouttpl, –create a “custom” folder: Inside custom, –create the file “training.tpl” ext\layouttpl\sample.war\html\layouttpl\custom\training.tpl

28
2-3 column layout code $processor.processColumn("column-1") $processor.processColumn("column-2") $processor.processColumn("column-3") $processor.processColumn("column-4") $processor.processColumn("column-5")
 $processor.processColumn( column-2 ) $processor.processColumn( column-3 ) $processor.processColumn( column-4 ) $processor.processColumn( column-5 )")
29
Deploy Layouts Navigate to ext/layouttpl Run ant deploy Open a web browser to http://localhost Login For this example, let’s create a new page

30
Let’s add content! Click Add Content Select your Layout Template Click test and add (portlets with small width): Hello Laszlo Hello Velocity Hello World Your sample portlet
: Hello Laszlo Hello Velocity Hello World Your sample portlet.")
31
Finish it Refresh your page Drag all the portlets around to fill the five columns

32
Summary You should now know: –How to create a basic theme –How to create custom layouts –How to add new content pages –How to use change the layout template Things to practice –The more CSS and HTML you know, the better off you will be –Getting a theme just right takes time. Don’t lose faith, it is possible!

33
Congratulations! Congratulations! You’ve just modified your own theme! Login: test@liferay.com Password: test To hot deploy JSR-168 compliant portlets, Liferay layout templates, or Liferay themes just drop your *.war files in C:/home/liferay/deploy Sample portlets can be found here: http://www.liferay.com/web/guest/downloads/samples For more information on hot deploy, click here: http://content.liferay.com/4.0.0/docs/developers/ch06s01.html

34
Revision History Scott Lee11/2/2006 - Created & Updated slides from Brett’s Theme Docs & Layout Ppt Scott Lee11/10/2006 - Fixed typos (Liferay-layout-templates.xml, tpl filepath) - added “helpful notes” for excercise
 - added helpful notes for excercise")
Similar presentations


>")


 using the Page.>")


 Copyright © 2006 Liferay, LLC All Rights Reserved. No material may be reproduced electronically or.>")


 and blank.>")