Download presentation
Presentation is loading. Please wait.

1
Wireless Ad Hoc and Sensor Networks Lab1

2
2 Objective Comprehend how to setup and use the wireless communication devices, Jennic Evaluation System. You can download all resource form TA’s web site. Install Demo application and analyze its code.

3
3 Jennic SDK The Jennic SDK products can be installed for either of two types of development environment. Integrated Development Environment (IDE) Command Line Interface (CLI) Then we’ll take SDK with CLI for example.
 Command Line Interface (CLI) Then we’ll take SDK with CLI for example..")
4
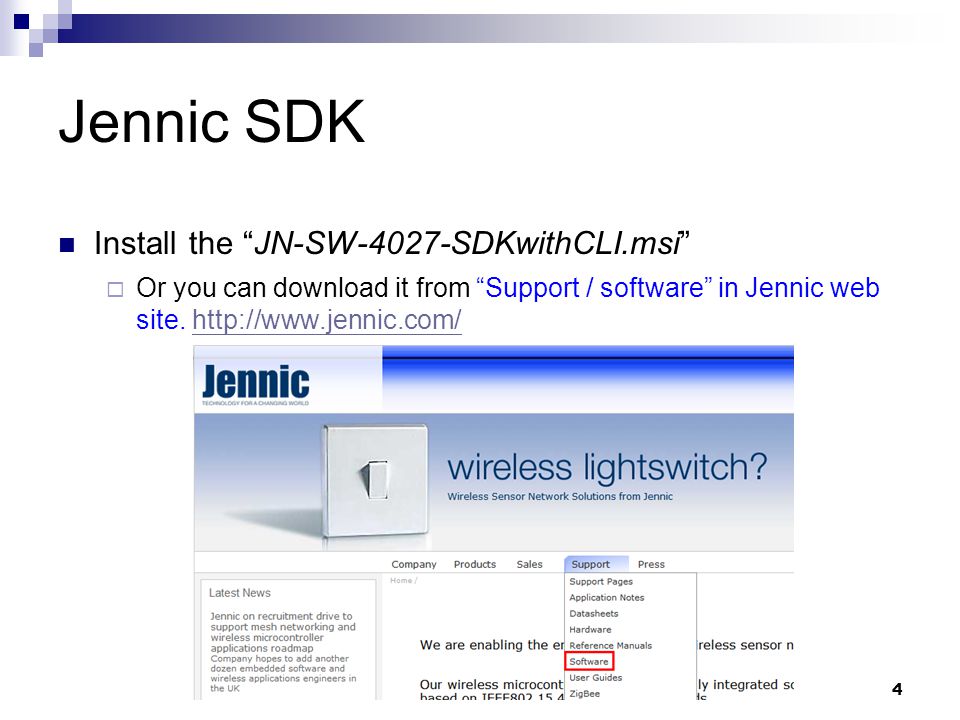
4 Jennic SDK Install the “JN-SW-4027-SDKwithCLI.msi” Or you can download it from “Support / software” in Jennic web site. http://www.jennic.com/http://www.jennic.com/
5
5 SDK Installation for CLI Follow the set-up wizard until you reach the screen which lists the possible set-up types. Select Custom, then click Next.

6
6 SDK Installation for CLI The installation location is shown in the Location field. By default, installation directory is C:\, but you can use the Browse button to navigate to the required location.

7
7 SDK Installation for CLI When the “Jennic Cygwin Setup” screen appears, click Next. Then “Choose Installation Type” screen appears. Check that Root Directory is C:\Jennic\cygwin. And Next.

8
8 SDK Installation for CLI Check the the directory, must be : C:\Jennic\cygwin\jennic\cygwin_install. Then click Next.

9
9 SDK Installation for CLI The “Select Packages” screen is displayed. S all the packages by setting the All option to Install. To do this, click once on the graphic next to the All option (at the top of the list). This changes the displayed state from Default to Install, then click Next to continue. The installation process begins.
. This changes the displayed state from Default to Install, then click Next to continue. The installation process begins..")
10
10 SDK Installation for CLI The “Add Shortcuts” screen is display will show the progress of the displayed at the end of the process. Select where shortcuts will be installed by clicking the tick boxes required. Finally, click Finish and install the Jennic Development Tools. The installation procedure presented below continues directly from the foregoing Cygwin installation description.

11
11 Jennic Development Tools Installation When the “Jennic Cygwin Setup” screen appears Check that Root Directory is C:\Jennic\cygwin. Click Next to accept the settings.

12
12 Jennic Development Tools Installation Check the the directory, must be : C:\Jennic\cygwin\jennic\cygwin_install\dev_tools Then click Next.

13
13 Jennic Development Tools Installation Select the Jennic packages and the “Miscellaneous” packages by setting the all option to Install, then click Next to continue. The installation process begins.

14
14 MAC Stack Then install JN-SW-4013-MAC Stack. Finally, copy the FontalBSP folder to C:\Jennic\cygwin\jennic\developer\ Update High-Power module library: Install JN-SW-4021-HighPowerModuleUpdate-2v6v1.msi Update the library => C:\Jennic\cygwin\jennic\developer\Stack\Library\ JennicLibHPM.a => rename as JennicLib.a (also backup the original normal power library JennicLib.a )
.")
15
15 Lab Install Blink application (Lab1) and analyze its code You must first unzip into the directory C:\Jennic\cygwin\jennic\developer\Lab1
 and analyze its code You must first unzip into the directory C:\Jennic\cygwin\jennic\developer\Lab1")
16
16 Building the Application The makefiles are located in the Build sub-directory. Start the “Jennic Cygwin Bash Shell” and navigate to the folder cd /jennic/developer/Lab1/Build To build the source code (which will create a file called Lab1.bin), type: make -f Lab1.mk clean make -f Lab1.mk
, type: make -f Lab1.mk clean make -f Lab1.mk.")
17
17 Upload Image

18
18 Upload Image The Jennic JN51xx Flash Programmer presents the following user interface in order to allow.bin file programming. ex. C:\Jennic\cygwin\jennic\developer\Lab1\Build\Lab1.bin Notice The node must connect to COM port first and then turn ON power. Choose “COM X”. X is your com port number. Once the file has been selected, click the Program button to start the download.

19
19 Upload Image Once the download has successfully completed a) Disconnect the serial cable or release the serial port. b) Reset the board or module. The downloaded code will automatically run.
 Reset the board or module. The downloaded code will automatically run..")
20
20 AppColdStart This is the main entry point for the application just like main(), called after the ROM-resident boot loader has finished. It calls the initialization function InitSystem(). AppWarmStart Required as the main entry point for a warm start (i.e. CPU has been powered down then restarted, but the RAM contents were retained). This mode is not used in this demonstrator. InitSystem Calls the 802.15.4 Stack API initialization. Also calls the Integrated Peripherals API initialization function (ex. LED).
. AppWarmStart Required as the main entry point for a warm start (i.e. CPU has been powered down then restarted, but the RAM contents were retained). This mode is not used in this demonstrator. InitSystem Calls the Stack API initialization. Also calls the Integrated Peripherals API initialization function (ex. LED)..")
Similar presentations


