Download presentation
Presentation is loading. Please wait.

1
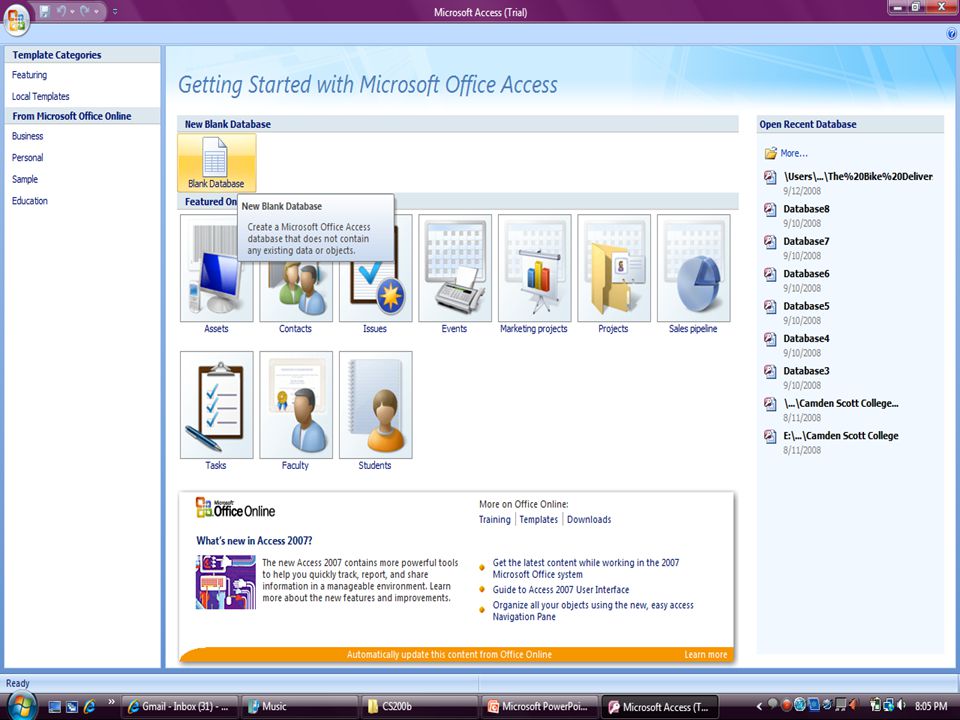
Creating a Blank Database 1. Open up Microsoft Access 2. Click on Blank document button 3. On the right panel, Specify the location for saving your database and click on create. 4. Name your database as “ Student Database”

3
Click the Folder Icon to browse for a location

4
1) Click “ OK “ after selecting the location 2) Click “Create “ to create the database
 Click OK after selecting the location 2) Click Create to create the database")
6
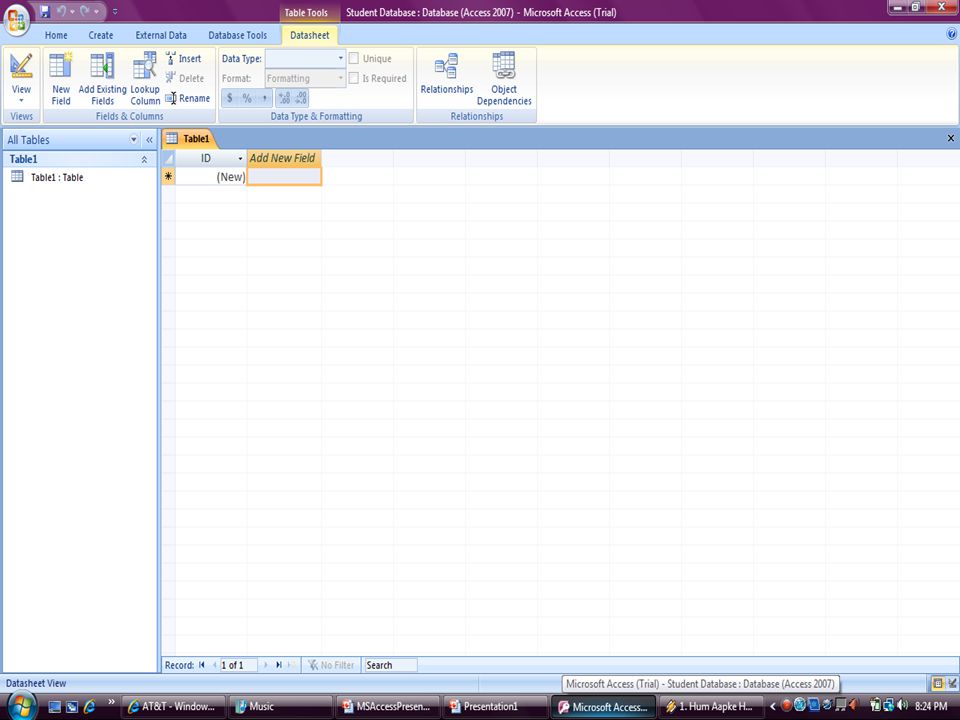
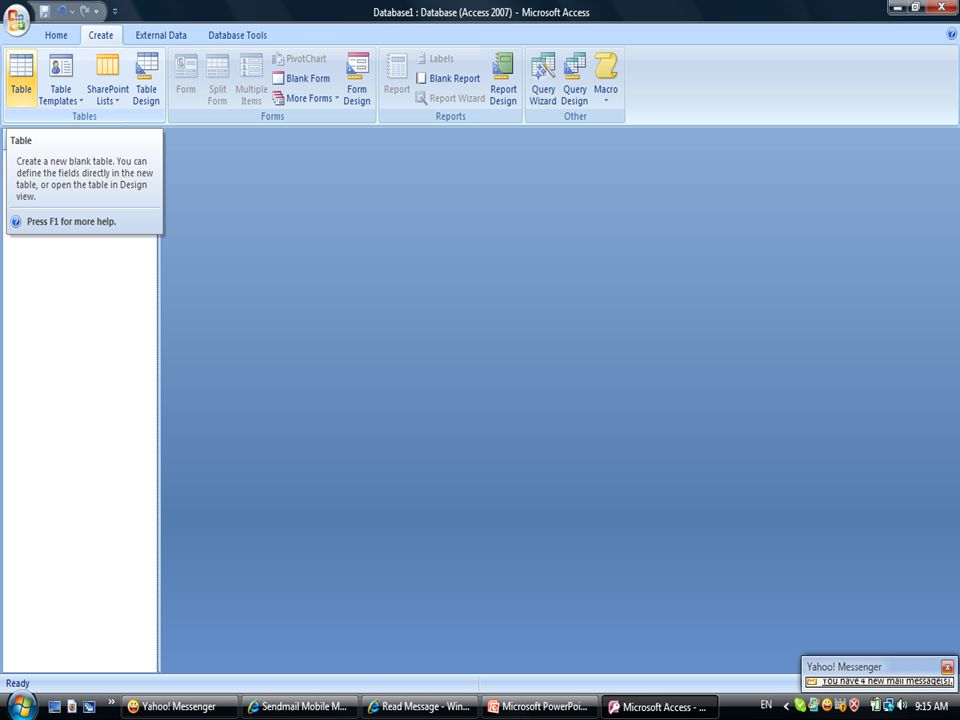
Creating Table When creating a blank database, by default a blank table will be created. For creating a new table, click on the create tab and on the ribbon choose table The left panel is called the navigation panel and shows all the objects (tables, queries, forms, reports) that have been created for this database.
 that have been created for this database..")
8
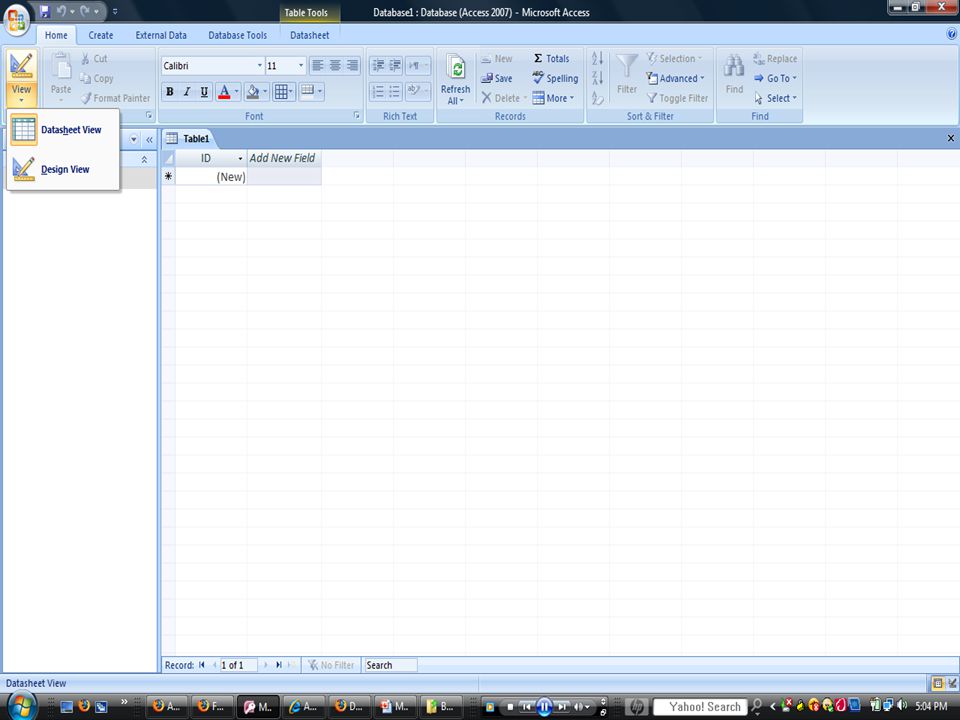
Modifying Table There are two different views used for creating and/or modifying tables: 1. Datasheet view 2. Design view: Data sheet view is easier to use when inserting data to the table (Records) Design view is more function when setting / modifying the table structure(Fields)
 Design view is more function when setting / modifying the table structure(Fields).")
10
Design view Design view is where you can define your table fields and their data types. By default an “ID” field is generated for each table. This field is a unique identifier of each record. It is referred to as the Primary Key Field. It is automatically incremented when a new record is added to the table.

11
ID Field as the Primary Key

12
Field properties Each field has some properties that can be changed. Some of these properties are: Field Name: Name of the Field Field Type: The type of values the Field takes Field Size: Specifies the max size of the field. For example “first name” is not usually bigger than 15 characters Caption: specify the label for the field when used on the form, by default caption is the field name Default value: a value that automatically entered in this field for new records

13
Renaming a Table You can rename the table even though you have already stored it with another name. Right click on the table name, close it and In the left navigation panel, which lists all the tables in your database, right click on the table that should be renamed. You can not, however, have two tables of the same name even when one table is the result of a query.

16
Example (Table 1) As an example, let’s create a new table to store Students information and name it “Student Table”. Each student, has these attributes: Student ID, first name, last name, phone, address, major Student ID is the primary key for this table. First name is not usually more than 40 characters, so the field size of first name is specified as 40. Similarly the field properties vary for each field depending on the data type.

18
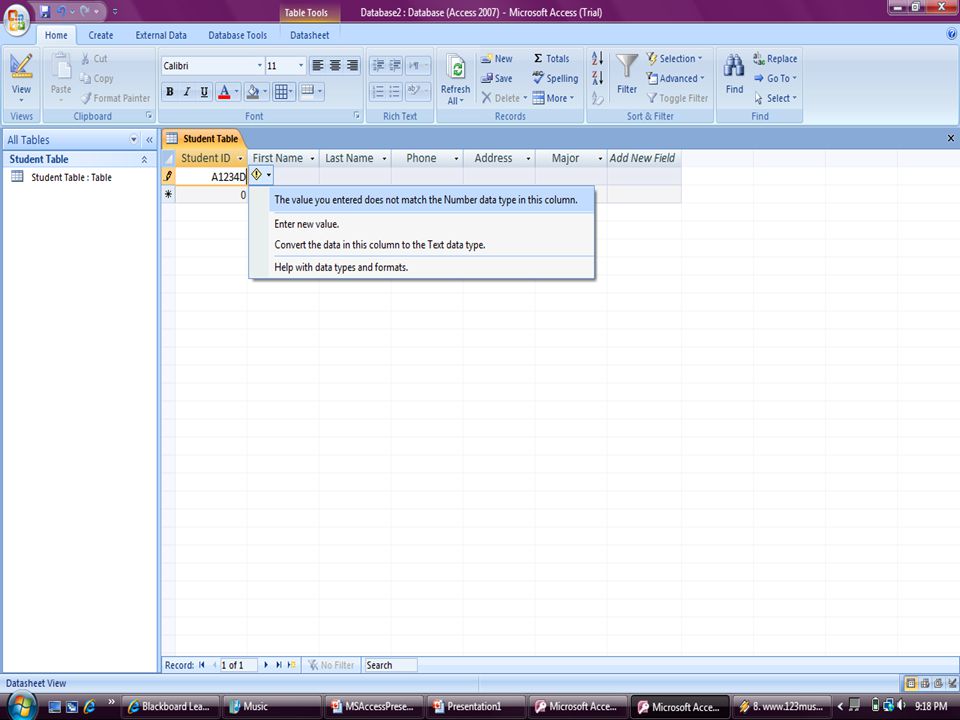
Datasheet view Datasheet view is usually used for inserting/deleting/modifying records in the table. Remember, the data entered for each field must match the data-type and attributes of the respective field, for example in the Student table, the data type of the student ID field is a number, now if we try to insert something like A1234D as a record, Access gives an error since it is not a number.

21
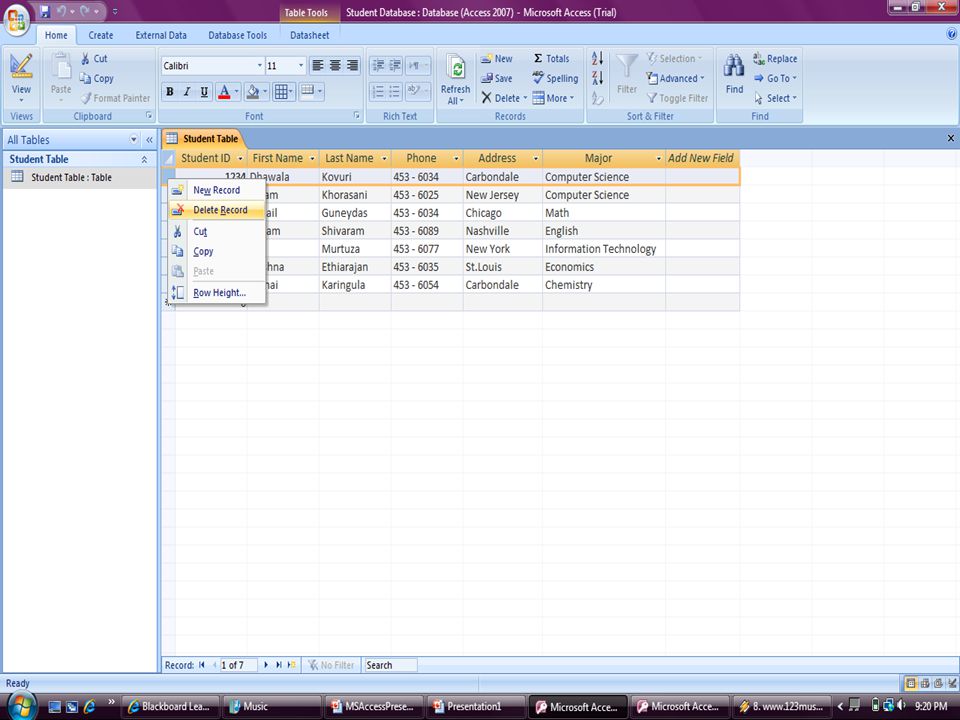
Adding/deleting Records For adding a new record after a row, select the entire row, right click and choose new record option. For deleting an existing row, select the entire row, right click and choose delete row option

23
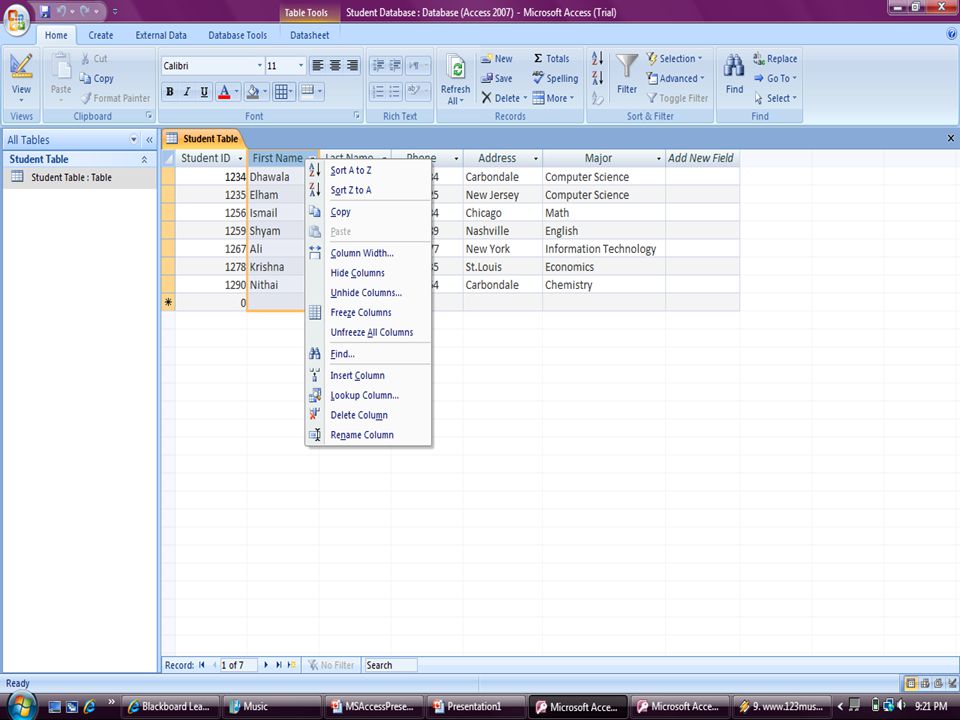
Sort records For sorting records by a specific field, right click on the column and choose “sort” option. For example, sorting the records by their first name in the Student table

Similar presentations