Download presentation
Presentation is loading. Please wait.

1
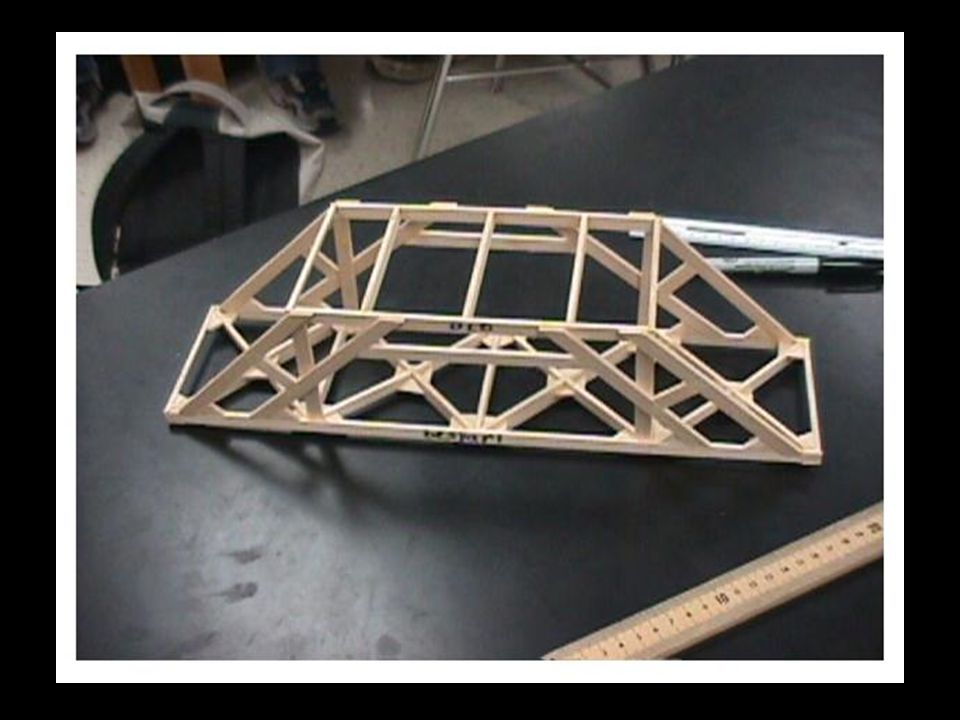
The 15th Annual Strongsville Truss Structure Competition
indianalandmarks.org

2
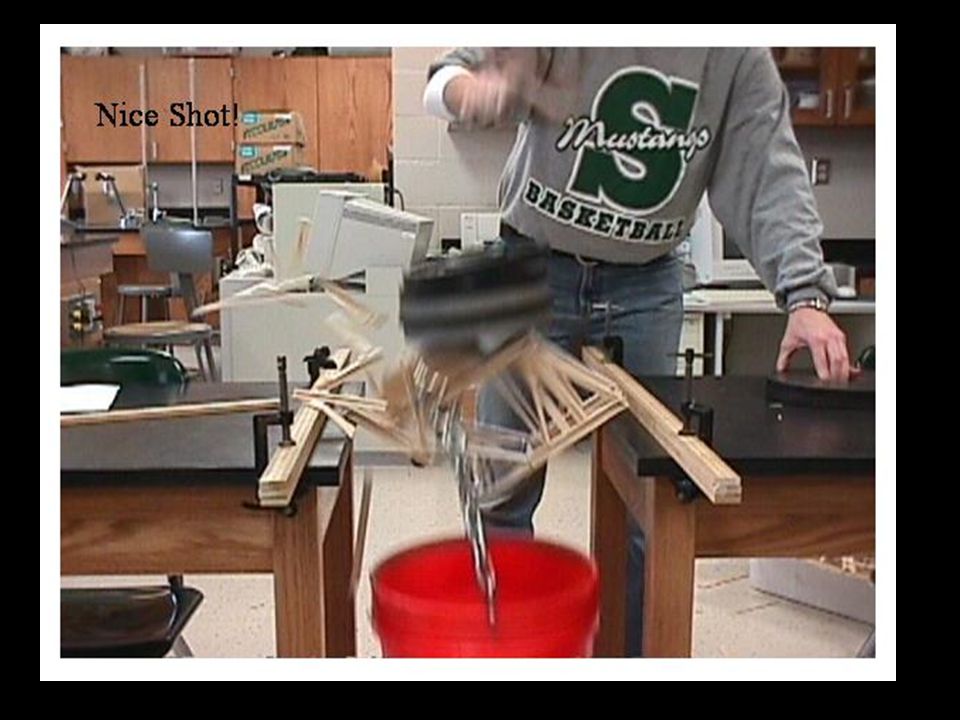
The Basics You will work in groups of 13 students to build a BALSA wood bridge. If you chose to work in a group you must work with someone taking regular physics. You will RESEARCH the concepts of stress and strain as well as different bridge/truss styles. This research will help you to design and build a (hopefully) strong/efficient structure that is made of an inherently weak material. Your teacher will eventually break your bridge
 strong/efficient structure that is made of an inherently weak material. Your teacher will eventually break your bridge ")
3
The Basics DUE November 7, 2014 (Friday)
Must submit diagrams and photos (see rules) DUE November 19, 2014 (Wednesday) Must meet all required dimensions (see rules) Must hold a minimum of 12.5 pounds (see rules) Will be graded based on 3 things (see rules): (1) met specifications and diagrams (2) held minimum weight (3) efficiency ratio* See rules sheet for details
 DUE November 19, 2014 (Wednesday) Must meet all required dimensions (see rules) Must hold a minimum of 12.5 pounds (see rules) Will be graded based on 3 things (see rules): (1) met specifications and diagrams (2) held minimum weight (3) efficiency ratio* See rules sheet for details.")
4
Bridge Rubric

5
What’s this “ratio” thing about?
Your bridges will be judged on a ratio of how strong they are to how heavy they are. It would be very easy to build a very heavy bridge that can hold a lot of weight….that’s not the goal. You want a high ratio of weight held to weight of bridge. You want to build an efficient bridge…light but strong!

6
What’s this “ratio” thing about?
Efficiency Ratio = weight held (Lbs) x 456 (grams/Lb) Mass of structure (grams) We have to convert to a common unit.
 x 456 (grams/Lb) Mass of structure (grams) We have to convert to a common unit.")
7
Minimum Total height = 15.00 cm
The Dimensions You have some room to design as you like, but you are limited in the dimensions a bit. Top must be between and cm Minimum Total height = cm Max below roadway = 7.00 cm base = span = exactly cm In addition….your bridge MUST BE cm wide (outside to outside) at all points and can be no more than 80.00grams.
 at all points and can be no more than 80.00grams.")
8
More details… To test/break your bridge we will insert a wood block into the side of the bridge. You MUST leave an opening in the side(s) of your bridge so that the block fits! Testing Block Length of block (9.8-cm) – this goes ACROSS the width (10.00cm) of your bridge Height of block Width of block Length of testing block = 9.8-cm (careful this is narrower than the bridge) Height of testing block = 3.1-cm Width of testing block= 6.3-cm
 of your bridge so that the block fits! Testing. Block. Length of block (9.8-cm) – this goes ACROSS the width (10.00cm) of your bridge. Height of block. Width of block. Length of testing block = 9.8-cm (careful this is narrower than the bridge) Height of testing block = 3.1-cm. Width of testing block= 6.3-cm.")
9
Your “roadway” must be “level” with the table.
Even more details… To test your bridge you will place it between two lab tables as shown below. Two meter-sticks will be stacked up and clamped to the table to give your bridge something to push against (anchor it) Your “roadway” must be “level” with the table. No higher than 1.0-inch 1 inch span = cm 7/8 inch 1 1/8 inches Remember that you also have the option to build underneath the roadway. Max = 7.0-cm
 Your roadway must be level with the table. No higher than 1.0-inch. 1 inch. span = cm. 7/8 inch. 1 1/8 inches. Remember that you also have the option to build underneath the roadway. Max = 7.0-cm.")
10
One more thing… What do you build this out of?
¼ inch thick BALSA wood Or thinner! You can buy the planks or the sticks…it doesn’t matter to me (but it will matter in $$$) Make sure that you buy BALSA wood, not BASS wood. Any one-part glue. Be careful with the glue…some glues are really heavy.
 Make sure that you buy BALSA wood, not BASS wood. Any one-part glue. Be careful with the glue…some glues are really heavy.")
11
What? Here…let us show you….
PLEASE NOTE… The bridges in this show were tested using the AP Mechanics testing block. Regular physics students need to be aware that their bridges will be tested with a smaller rectangular block. However, the regular testing block will also be placed on the road way in the center of the span. When constructing your bridge, pay attention to where the block will be placed.

12
The Testing Set Up AP testing block! Length = 60 cm
You can build beneath the road/deck of the bridge, but make sure that it fits!

13
The Testing Set Up Again, this is the AP testing block!
Pay attention to the dimensions of the testing block – if it doesn’t fit IN the bridge, the bridge cannot be tested! Length = 60 cm

14
Length = 60 cm

15
The other side of this bridge was open; allowing the block to slide in from just one side.
Good Idea or Bad Idea? Length = 60 cm

17
This bridge was made using I-beams.
You can NOT use I-beams!

19
Length = 60 cm 7-cm under “roadway” Super lightweight bridge design….but would it even hold the required weight (12.5 lbs)?
")
20
This bridge DOES allow for passage down the bridge.
Remember… Your design must allow for the bus to travel down the length of the bridge as well as the testing block to fit across the center of the bridge. This bridge DOES allow for passage down the bridge. If the bridge does not have a clear passage way, points will be deducted.

21
These designs do NOT allow for travel down the bridge.
This bridge DOES NOT allow for passage down the bridge. They blocked off the ends!

22
Look at the ends! you couldn’t drive down this bridge…it is all blocked off. Don’t block the ends (think about the bus).
..")
23
This is NOT a LEGAL test This resulted in a non-droppable zero!
You are NOT permitted to place the testing block on TOP of the structure. This is NOT a LEGAL test This resulted in a non-droppable zero! The testing block must go on the “roadway” which can be no higher than 1-inch above the table top.

28
Don’t get too attached….

29
Legal Truss Systems The following are common truss systems. You may use variations of the following: King Truss Warren Truss Pratt Truss Lattice Truss Whipple Truss You cannot just build a box (“box truss”) – that is NOT the intension of the project and will earn you a non-droppable zero! Hint…LOOK online and around the real world at some bridges. Don’t try and come up with something new…adapt what’s already out there to fit the needs for this project.
 – that is NOT the intension of the project and will earn you a non-droppable zero! Hint…LOOK online and around the real world at some bridges. Don’t try and come up with something new…adapt what’s already out there to fit the needs for this project.")
30
Legal Joints Single overlapping joint 1in

31
Legal Joints Double overlapping joint 1in

32
You are NOT permitted to “stack” joints.
You may have a double overlap with UP TO 4 pieces. You may NOT stack/overlap more than 4 pieces! This IS legal as long as the overlap is within the ½ inch allowance! This IS NOT legal! You may not “stack” the beams!

33
Legal Joints Butt joint
This is when two pieces of wood are “butted” up against each other (end to end) 1in
 1in.")
34
Legal Joints Gusset Plate no bigger than 1-in2 Gusset Plate
This is a SMALL square of wood that protects the joint underneath. This can be placed over any of the (legal) joints mentioned. NOTE THE DIMENSIONS!
 joints mentioned. NOTE THE DIMENSIONS!")
35
You are NOT permitted to “stack” joints.
This is a legal gusset joint This is NOT legal! This is two butt-joints protected by a gusset plate.

36
Good joints! Gusset plate
Pieces are notched so they fit snugly. This is strong as long as you don’t cut through too much of the board. Gusset plate

37
I-beams are NOT permitted!
NO I-Beams I-beams are NOT permitted!

38
H-beams are NOT permitted and they are silly.
NO H-Beams H-beams are NOT permitted and they are silly.

39
NO Lamination! Lamination is the stacking of pieces of balsa wood as shown below. THIS IS NOT PERMITTED! 1/4” or less 1/4” or less You must be very careful with your joints. If you have too much area overlapping it will be considered lamination.

40
Something like this will result in a disqualification! Come on…really?
All members must be structural in nature. You can NOT add members just to meet the requirements! Something like this will result in a disqualification! Come on…really?

41
You ARE permitted to measure the dimensions of the desk edge and build your structure so that it fits the gap. Note – the meterstick will be placed 1.0-cm away from the edge of the table.

42
Building Tips Choose your wood wisely!
Make sure that you purchase BALSA wood! Choose wood that is straight and dry! Balsa is inherently weak, but try to choose pieces with few flaws Cut your pieces with a sharp X-acto® knife OR use a miter box and small craft saw. Give yourself PLENTY of time to build! Create actual size “building plans” that will allow you to easily put your members together. Put a piece of wax paper over the plans then place objects directly over top to ensure that all pieces are cut to the appropriate size and glued in the correct manner. The wax paper keeps the glue from sticking to your actual plans.

43
Important Information
November 7, 2014 (Friday) Digital diagrams and photos (see rules) DUE November 19, 2014 (Wednesday) Bridge Due! No late bridges will be accepted! This is impound day – you will have until the end of class this day to officially impound your bridge.
 Digital diagrams and photos (see rules) DUE November 19, 2014 (Wednesday) Bridge Due! No late bridges will be accepted! This is impound day – you will have until the end of class this day to officially impound your bridge.")
44
Internet Resources http://www.brantacan.co.uk/starterpages.htm
This site will help you design your bridge. It also has links to sites that will “calculate” how your bridge will perform. This site has a link to download the West Point bridge design software. There is a LOT of information on the web for this stuff…remember this is a RESEARCH PROJECT so do some RESEARCH!

45
Good Luck!

Similar presentations