Download presentation
Presentation is loading. Please wait.

1
Creating *Newsletters in Microsoft Word For this lesson (?) you will create a newsletter! *This is only ONE suggestion for an easy newsletter!

2
Step 1. Open Microsoft Word. Step 2. Open a new blank document using keyboard commands: Use Ctrl+N (Hold down the Ctrl key and tap the N key one time)
.")
3
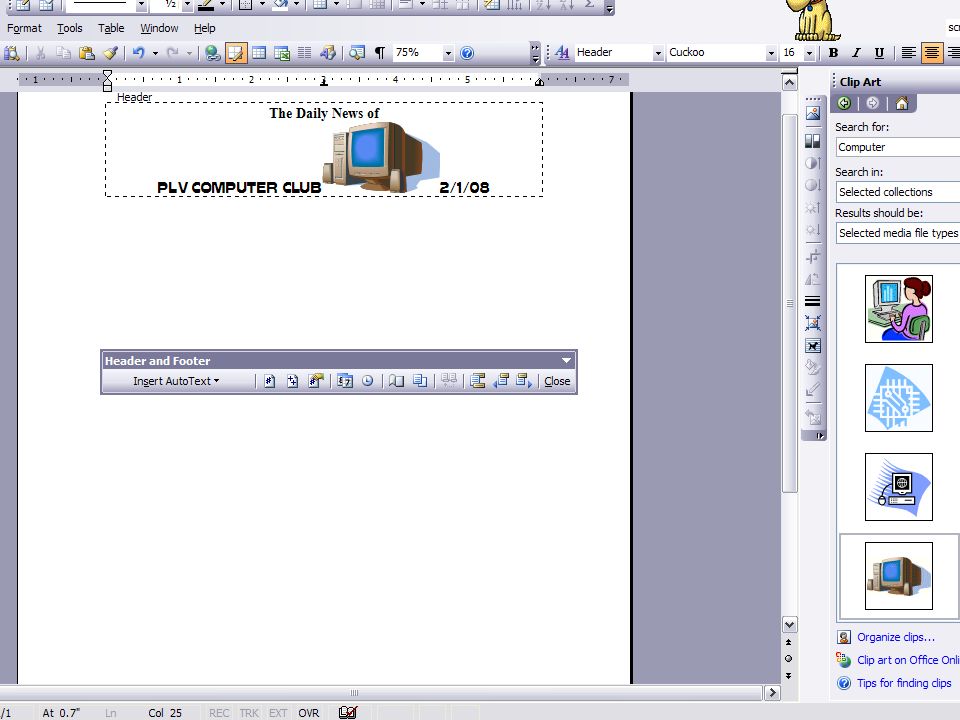
Step 3. Go to View menu and select Header and Footer. Create your title in the header. Center, change font and/or insert an image to your liking. When finished, close the Header and Footer dialog box. Note: Your header will appear light gray.

5
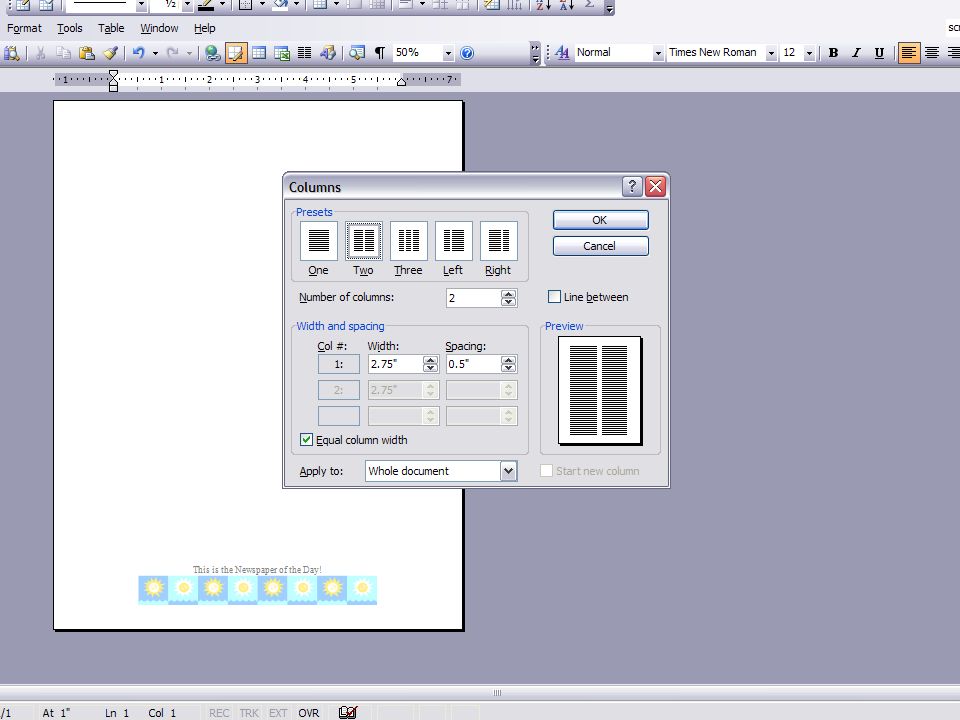
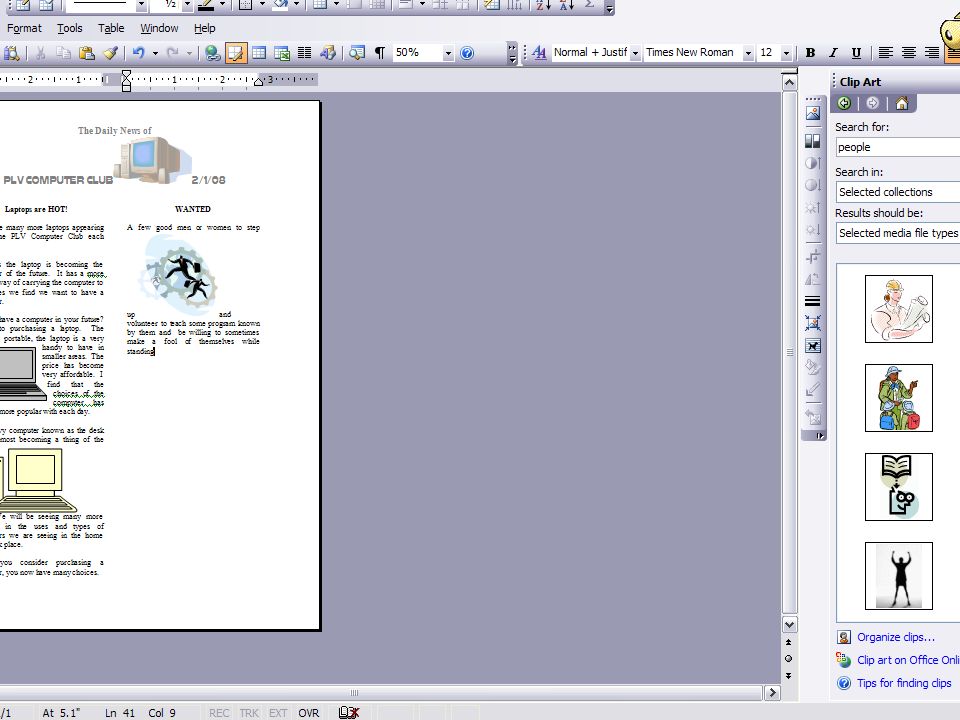
Step 4. Go to the Format menu and select Columns. Decide how many you wish and select the appropriate number. Most newsletters use two columns. You will see no difference in the set up of the page right away. As you type, the words will fill down in column one first.

8
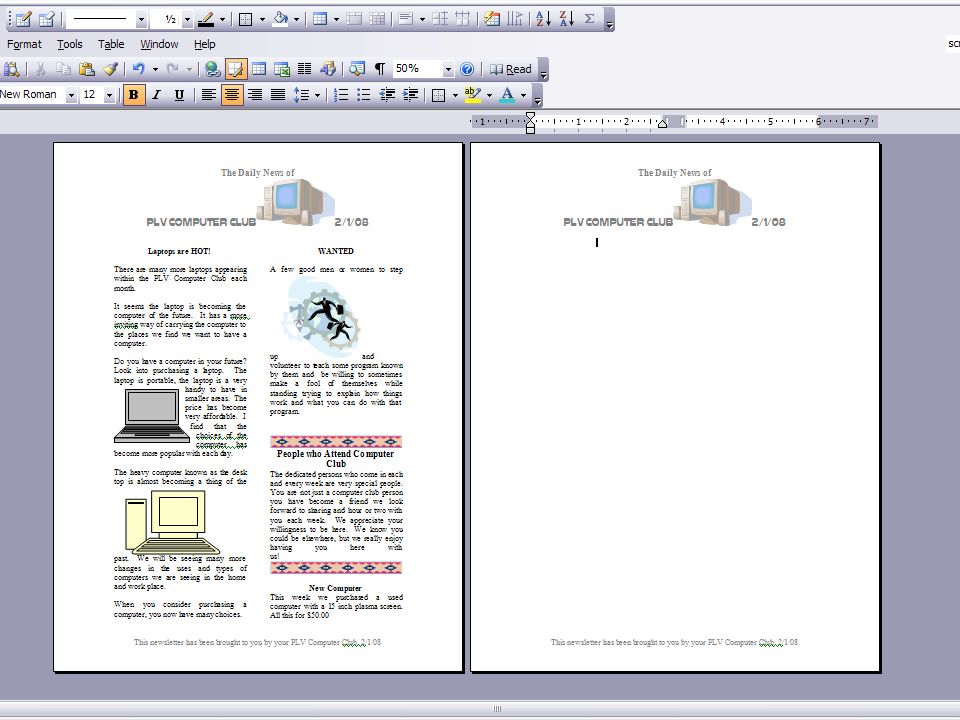
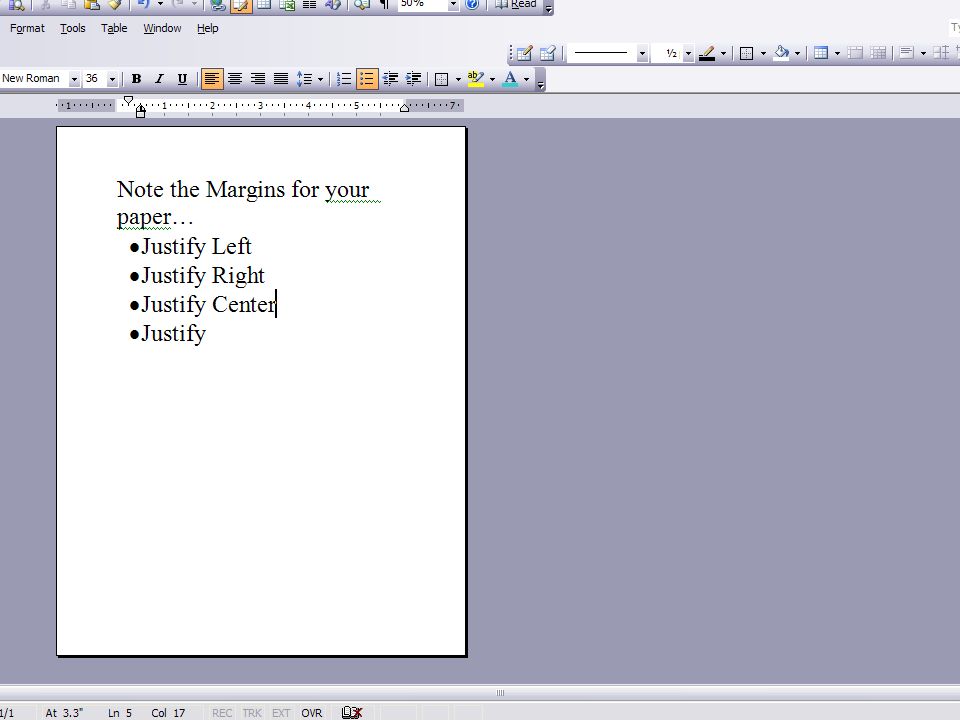
Step 5. If you wish for your newsletter to look like an actual newspaper, you should select Justify which aligns the print both on the left and the right.

11
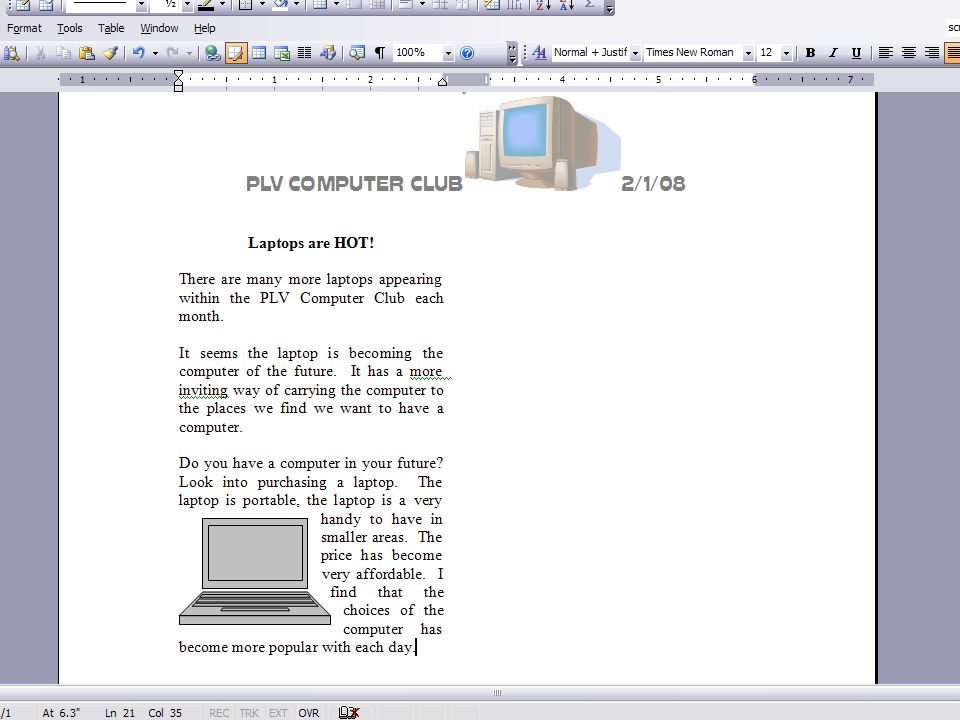
Step 6. Insert pictures as you go along. Place your cursor where you wish to insert the picture. You will need to resize most pictures to fit into the column.

13
Tab and Actions Available Picture Crop the picture one margin at a time Change the color to grayscale, black and white, or make a very light watermark out of the image Change the brightness or contrast of the image

14
Wrapping Five styles of wrapping allow you to place an image in the middle of a block of text Four possible alignment of text choices are offered distance from the text to the picture can also be specified

16
Colors and Lines Place a block of color or a pattern behind the image Place a box around the image, change the thickness and character of the line making the box

18
Size Change the size of the picture using an inches scale, or a percent scale (best done by clicking and dragging) Position Change the position of the image on the page (best done by clicking and dragging)
 Position Change the position of the image on the page (best done by clicking and dragging)")
19
Step 7. At the bottom of your newsletter you may wish to add information about the staff in charge of this project. Add a footer to this page (View/Header and Footer) and type in the information just as you did in step 3.
 and type in the information just as you did in step 3..")
21
This is THE END of this Program! Step 8. Save and print the newsletter. (Sorry, NO printer) Did you remember, this is only one fun way to create a single or more sheet?
 Did you remember, this is only one fun way to create a single or more sheet .")
Similar presentations


. Click on the specific template.>")


