Download presentation
Presentation is loading. Please wait.

2
Session 1: Drills; Saws, Part 1

3
Session One Objectives When trainees have completed this session, they should be able to do the following: 1.Identify and explain how to use various types of power drills and impact wrenches. a.Identify and explain how to use common power drills and bits. b.Identify and explain how to use a hammer drill. c.Identify and explain how to use pneumatic drills and impact wrenches. 2.Identify and explain how to use various types of power saws. a.Identify and explain how to use a circular saw. b.Identify and explain how to use saber and reciprocating saws. Related Performance Tasks: Safely and properly demonstrate the use of the following tool(s): Electric drill Hammer drill or rotary hammer
: Electric drill Hammer drill or rotary hammer.")
4
Section 1.1.0 – Drills and Bits Basic drill design is the same for most types, with only slight differences. Bit selection depends upon the material being drilled and, of course, the size of the hole required.

5
Section 1.1.0 – Drills These drills work well between studs and joists in walls and ceilings. The difference between the two models shown here is power.

6
Section 1.1.2 – Drills These drills are operated like a drill press, using a hand wheel to push the bit against the workpiece. Maintain power to maintain the electromagnet!

7
Section 1.1.3 – Using a Drill Use the chuck key to tighten the chuck jaws; use all three holes in the chuck. Most cordless drills have a simpler type of chuck that does not require a key, but grip is slightly compromised.

8
Section 1.2.0 – Rotary Hammers Rotary hammers provide more pounding action than hammer drills, and at a lower frequency. Each rotary hammer brand requires a specific bit shank style. Adapters can be used, but they extend the overall length of the bit.

9
Sections 1.3.1 to 1.3.3 – Pneumatic Tools Pneumatic drills and impact wrenches eliminate the electric motor and provide plenty of power and durability. A whip check keeps the hose from whipping about if the connection is severed while under pressure.

10
Section 2.1.0 – Circular Saws Like drills, all circular saws have a great deal in common. However, the weight, balance, and feel of saws can differ quite a bit. Blade choice depends upon the material being cut, cut direction (cross-cut or rip for wood), and how smooth the cut edge needs to be. Carbide teeth increase blade life significantly.
, and how smooth the cut edge needs to be. Carbide teeth increase blade life significantly..")
11
Sections 2.1.1 and 2.1.2 – Circular Saws The saw kerf must be considered in measurements and when making the cut. Always be aware of which side of the cut line you need to place the saw blade. As you mark the cut line, mark an X on the side that is waste. Guards will move as the cut progresses. Both hands on the saw. The material should be clamped, not held with one hand. Use the blade as a guide once the notch in the baseplate moves off the workpiece. Never force the saw. Manage the power cord before the cut begins. Keep the lower blade guard free and clean. Do not add oil or grease.

12
Section 2.2.1 – Saber Saws Technically, these are reciprocating saws too. Adjustable baseplates, swiveling left to right, allow them to make beveled cuts.

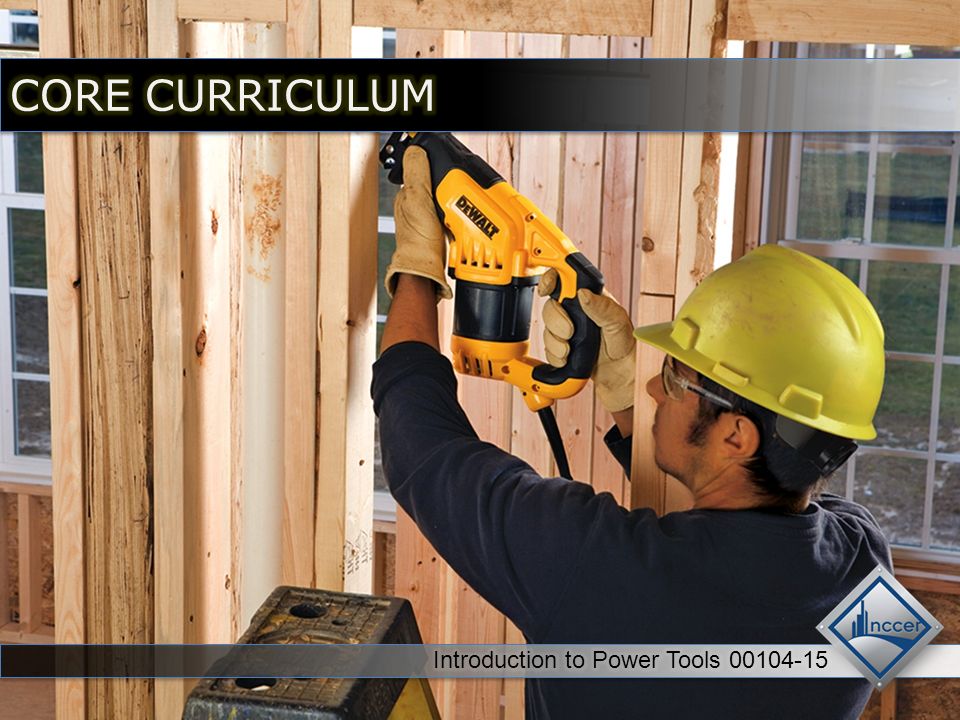
13
Sections 2.2.2 to 2.2.4 – Reciprocating Saws These saws are excellent for demolition work. Their design and cutting action makes them unsuitable for detail work. Clamp the workpiece down or be sure that what is being demolished is physically sound. Be aware of what may fall or change position in the midst of, or at the end of, a cut. Use sharp blades; they can dull quickly. Use higher speeds for wood than metal. Metal blades have significantly more teeth. Avoid bending the blade over while cutting. Ensure the blade is properly secured in the saw; broken blades often leave a piece in the saw blade mount. Keep a firm grip. These saws often jump around, especially when using coarse blades.

14
Next Session… SAWS, PART 2; OTHER POWER TOOLS Read Sections 2.3.0 through 4.3.1. Complete the Section Review for each section as you complete the reading (including Section 1.0.0).
..")
Similar presentations