Download presentation
Presentation is loading. Please wait.

2
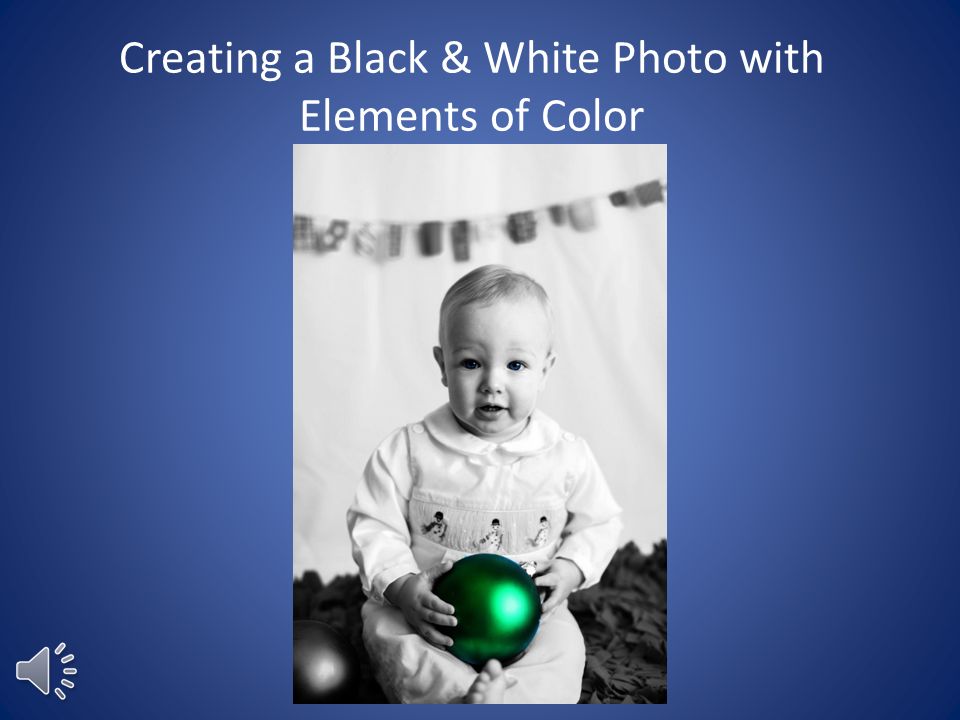
Creating a Black & White Photo with Elements of Color

3
Layers in Digital Photography Digital photos can be edited using layers Layers are elements of the image that overlay to produce the final photo Layers allow you to edit only the parts of the photo you want to edit = +

4
Adding a black and white layer to an image Start by adding a layer from what’s visible in the image Change the saturation of the image to -100

5
Exposing the Elements of Color Select the eraser tool from the Toolbox dock Zoom in on the area where you want to expose the color Using the eraser tool, carefully “rub” the eraser over the desired areas to expose the colors

6
Getting the Photo Ready to Share Photos edited in GIMP are converted to XCF files which can’t be viewed without GIMP Export the files to a common format by changing the file extension to.jpg before sharing

7
Wrap-up and a Contest!! Contest!! Submit a photo you created using the techniques you learned for a chance to win an individual teaching lesson on the photography topic of your choice! I’ll post the submissions on my Facebook page for a fan vote to determine the winner. Submit your entry by 1/31/2014 via email to bwcontest@kaylonkrukiel.com Send questions, comments, or requests for feedback to me at kaylon@kaylonkrukiel.com

Similar presentations
>")


